Framing Curved Stairs on Site
A stud wall, not a laminated stringer, shapes these stairs.
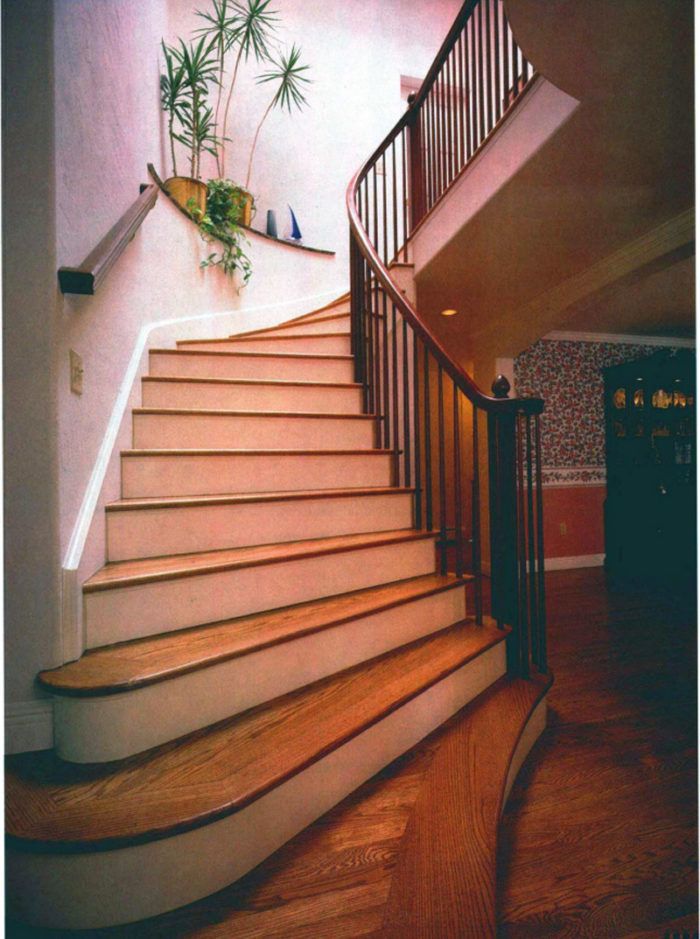
Synopsis: This article describes how to build a set of curved stairs on site, with straight stair stringers and a curving knee wall made from standard framing material. The trick is laying out the treads full-scale on the floor.
Construction is too specialized today. I once worked for a construction company where we did all the carpentry ourselves, from demolition to trim. I like working in this kind of environment. There is a real motivation to maintain quality. If I am tempted to leave out a difficult piece of blocking while framing, thinking about trying to nail crown molding to air puts me right back on track. Even so, we usually subcontracted the stairs.
Looking over blueprints for the whole-house remodel we were doing, we saw that the main stairs would be difficult. They curved, and their radius changed halfway up. We solicited bids from several stair builders, expecting to be able to choose based on price and delivery date.
Someone has to build them
Only one stair builder submitted a bid, and it was high. This setback, combined with our desire to do most of the work in-house, led us to build the stairs ourselves on site.
Four constraints made this staircase challenging. The stairs had to fit in a confined area. Then, the plans called for the stairs’ radius to change: The lower half would have a 6-ft. inside radius, and the upper a much tighter 1-ft. 6-in. inside radius. Next, a closet was planned under the upper section, and of course, everything had to meet the current building code.
Our first job was enlarging the stairwell opening in the second floor to accommodate the larger stair. Then we built the platform where the stairs would land on the first floor; it stepped down to the living room, and its edge was a modified French curve. The platform’s right side curved into what would become the inside wall of the stairs, creating an area for the handrail volute. We drew the French curve by eye on a piece of 3/4-in. plywood, cut it with a jigsaw and used this pattern for the 2x top and bottom plates. We framed the edge of the platform like a kneewall, using 2×4 cripple studs.
The main body of this platform was framed conventionally—2×8 joists with 3/4-in. tongue-and-groove plywood glued and nailed to them. The living room, landing and stair treads all would have 3/4-in. oak flooring installed later. We used standard strip flooring on the stairs to avoid wide glued-up treads.
Using chalklines and story poles to lay out the stair
Two existing straight walls at 90° to each other defined the outside of the stairs. The double curve that defined the inside of the stairs was more difficult. The blueprints showed the locations of two centerpoints for radii to establish the inner curves and specified where on the staircase the radius changed. Once we found the centerpoints, we used compasses made from 1x4s to draw two connecting arcs on the floor. We snapped lines on the floor representing the stairwell opening, which, with the two back walls and two intersecting arcs, provided us the outline of the stair in its opening.
For more photos and information on how to frame curved stairs, click the View PDF button below.
Fine Homebuilding Recommended Products
Fine Homebuilding receives a commission for items purchased through links on this site, including Amazon Associates and other affiliate advertising programs.

Stabila Classic Level Set

Leather Tool Rig
Portable Wall Jack


