Laying up Concrete Block
Get evenly spaced courses and consistent mortar joints by using the proper layout, mortar consistency and troweling techniques.
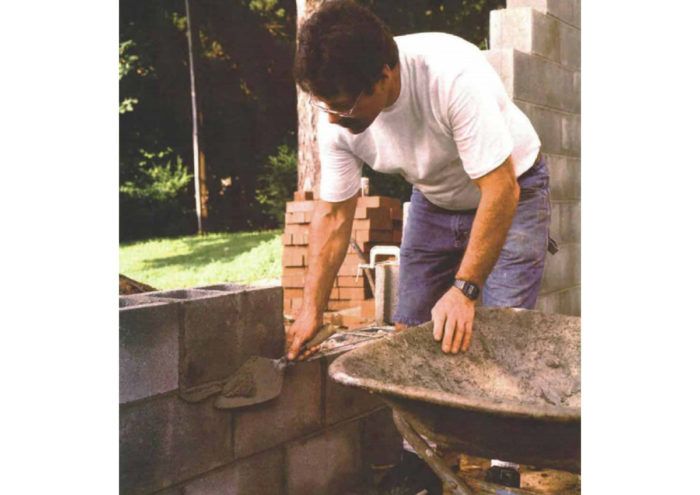
Synopsis: From layout to mixing mud, this article takes a good look at how to set concrete block so the mortar joints are consistent and the walls are straight and plumb.
Masons work from the ground up. You’re probably not surprised to hear that. As simple as this principle sounds, however, it’s also a bit misleading. Masons build from the ground up, but they measure from the top down, which means the real starting point of a masonry job is the top line.
From this line, masons measure down, marking in equal increments what will be the top of each course of brick or block. By working to these marks, masons arrive with evenly spaced courses at the tops of foundations, the bottoms of windowsill or other predetermined landing places.
Even when I’m using basic techniques for planning and laying up a simple concrete-block foundation, I return again and again to the same starting point: the top line.
Planning and laying out a block structure
Before any mud is slung or any blocks are buttered — indeed, before any dirt is dug or any concrete footings are poured — the finished dimensions of a block structure should be established. These dimensions are length and width — along with any variations in the basic rectangle — and exact height.
When I build a foundation, for instance, the first thing I do is see if any small dimension adjustments might allow the masonry units to fit without being cut. Say this foundation is 12 ft. by 13 ft. I try to change the 13-ft. dimension to 13 ft. 4 in. so that it works out to an even number of blocks.
Unlike the foundation for a freestanding building, where a difference of an inch or two in the final height usually isn’t too important, the height of the foundation for an addition must be right on the money. To get to this point, the first thing I do is to mark the height of the existing finished floor on the outside wall of the house. For this, I set up my laser level, shoot the elevation of the floor through an open door or window, then transfer that elevation to the outside wall.
Next, I find out exactly what will be used in the addition as floor covering, subfloor, joists and sills. On the foundation project shown in this article, these included carpet and pad (3/4 in.), tongue-and-groove plywood (3/4 in.), 2×10 joists (9 1/4 in.) and 2×8 sills (1 1/2 in.). By measuring down a total of these depths — 12 1/4 in. — from the mark I made on the outside wall, I arrived at the correct height for the top of the foundation. Using my laser level, I made marks at this elevation at both ends of the planned addition, and I snapped a line on the house to represent the top of the new foundation.
Establishing the entire top-of-foundation line
The project pictured in this article is a 16-ft. by 24-ft. foundation for an addition. Here’s how it began. After I snapped a line on the house to represent the top of the foundation, I marked the beginning and end of the foundation on this chalkline, which served as a reference to lay out the rest of the foundation.
For more photos and details, click the View PDF button below:
Fine Homebuilding Recommended Products
Fine Homebuilding receives a commission for items purchased through links on this site, including Amazon Associates and other affiliate advertising programs.
Plate Level

100-ft. Tape Measure
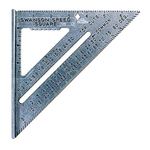
Original Speed Square
