Building Finish Stairs
With a housed stringer on one side and an open, mitered stringer on the other, these stairs look harder to build than they are.

Synopsis: A carpenter details construction of a set of stairs that includes a housed stringer on one side and an open, mitered stringer on the other side. Simple tools and jigs do the job, which is well within the reach of any journeyman carpenter. Sidebars cover the use of a framing square to lay out stringers and how to make a jig for mortising them.
I had often marveled at the seamless construction of finish stairs. The rounded, tapering mortises in the housed stringer seemed to be made by sorcery, or at least by expensive, specialized machines. Then, 10 or 12 years ago, I read a review of a stair-routing jig. This simple $132 aluminum jig was an epiphany, and I bought one the next day. I built a few sets of stairs with it but found its rise-and-run range was too limited. Frustrated, I made a jig from 3/4-in. plywood. The store-bought jig hasn’t been out of its drawer since.
It’s easier to build stairs in the shop
Most finish stairs that I’ve built have an open, mitered stringer on the outside and a housed stringer, where the risers and treads are glued and wedged into mortises, on the wall side. I usually built them in my shop because my tools were all at hand. Shop-built stairs call for careful measurements. If built to the wrong size, they can take up valuable shop space for a long time before you find a house they do fit. Measuring for stairs and ciphering rise and run are beyond the scope of this article. See here for a primer on stair layout.
I make the stringers from 5/4 stock because I can get clear, long lengths of dried and surfaced material. Nominal 10-in. stock is plenty strong for the housed stringer, but I use 5/4×12 for the mitered stringer. Even so, the notches will weaken it so that it must be supported by a wall. The inside of this wall is usually flush with the edge of the stairwell, and it’s typically built after the stair is set. Plan the stair width so that the mitered stringer overhangs the wall enough for drywall to slide behind it.
The treads and stringers on this stair are 5/4×12 yellow pine. Where I worked in New Jersey, it’s sold in lengths from 6 ft. to 16 ft., bullnose for use as stair tread. It also makes good stringers; it’s strong, and it’s usually the least expensive clear pine available. When using it for stringers, I simply rip the stock to width on my tablesaw and save the rippings for tread returns.
Mitering the treads and risers
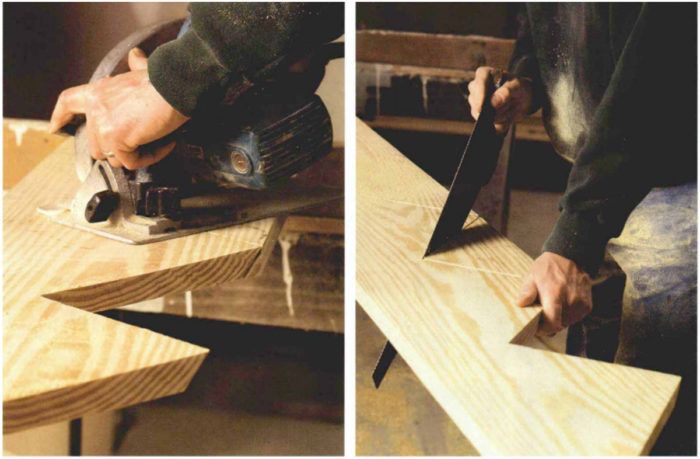
I usually make the risers from 1×10 or 1×8 stock, depending on which generates the least scrap. I first square-cut the risers about an inch oversize. This way, I can look at them individually and decide which edge to trim when I rip the risers to width. Then I set the tablesaw fence to the riser dimension and rip all but two risers to width.
For more photos, drawings, and details, click the View PDF button below:


