Souping up a Chopsaw Stand
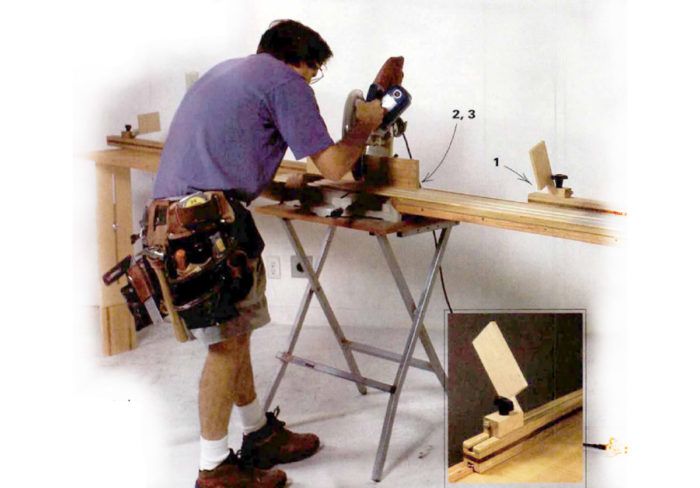
To get all the features he needed in a chopsaw stand, one finish carpenter made his own extension tables and stops.
Synopsis: This short article shows a chopsaw stand made by a carpenter who needed more features than he could find on any one commercial model.
Three years ago, I walked out of my house one morning to find that my truck and all my tools — including my chopsaw stand — had been stolen. As I began to replace my tools, 1 looked at a bunch of saw stands and saw a lot of great features on the various stands. But no one stand combined all the features I was looking for, so I decided to buy a basic stand and add the rest of the features myself.
The manufactured folding stand that I set my saw on is no longer being made, but there are other stands, such as Black & Decker’s Workmate, that would work fine. Even a pair of sawhorses or a tablesaw stand can give you a good solid base for the chopsaw.
Lightweight extension tables are the heart of the system
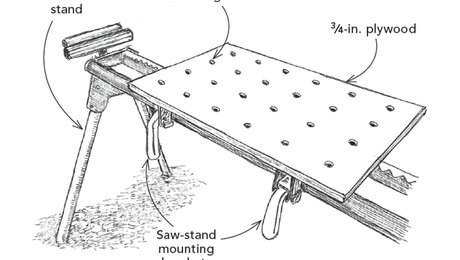
The first parts that I made were lightweight extension tables and folding legs. The tables are made of birch plywood 5 ft. long and 8 in. wide.
The legs are two pieces of plywood with a groove cut into one and a hardwood runner glued to the other. The runner rides in the groove to keep the two leg pieces aligned while the legs are adjusted to whatever height the job site demands. Tightening a single knob secures the two pieces together. The legs are joined to the tables with piano hinge so that the whole system folds flat for storage and transportation.
My Makita chopsaw came factory-equipped with two short extension wings made of bent steel rod that slides into holes on the saw base. Thumb screws hold the rod in the holes. I used the same system to connect my extension tables to the saw.
I cut short sections of rod from one of the saw’s extension wings and then glued them into blocks on the ends of the extension tables. To keep the rods and the extension tables perfectly aligned with the saw, I left the rod sections inserted in the saw base while the epoxy set up. If your saw does not come with predrilled holes, there is an alternative: You can attach a block to the saw base and then bolt the tables to the block.
The sliding fence extends to 9 ft.
I do a lot of finish work, including door casings, so I need fences that extend for cutting long stock. I made my fence out of two pieces of Baltic-birch plywood laminated to a center strip of walnut. The fence is lightweight, straight and rigid, and the walnut adds a touch of class.
For more photos and details, click the View PDF button below:
Fine Homebuilding Recommended Products
Fine Homebuilding receives a commission for items purchased through links on this site, including Amazon Associates and other affiliate advertising programs.
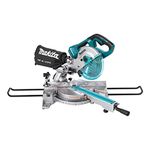
Large-Capacity Lightweight Miter Saw
Milwaukee Cordless Shop Vac (0880-20)
Heat-Shrink Tubing
