A Different Approach to Rafter Layout
Measuring along the bottom of the rafters and using a site-built jig simplify the process.
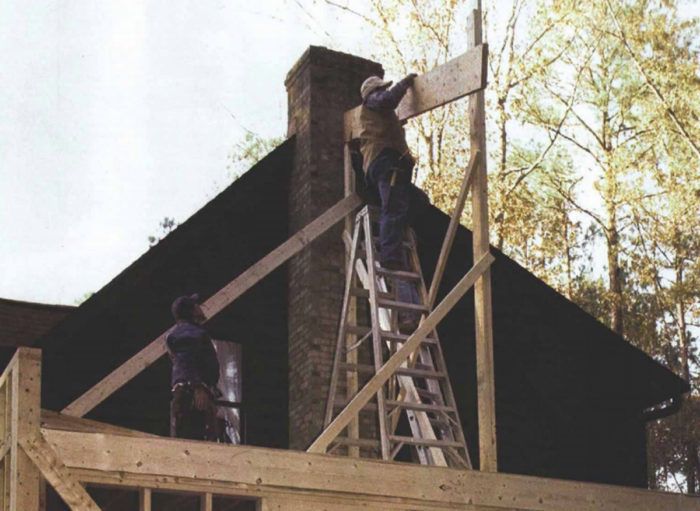
Earlier this year, I helped my friend Steve build a 12-ft. by 16-ft. addition to his house. A few days before we got to the roof frame, I arrived at his place with a rafter jig that I’d made on a previous job. I’m a real believer in the efficiency of this jig, so I told Steve that it would enable me to lay out the rafters for his addition in 10 minutes.
His look suggested that I had already fallen off one too many roofs. “Come on, John,” he said. “Ten minutes?” I bet him a six pack of imported beer, winner’s choice, that I could do it.
Like most builders, I have a long and painful history of underestimating the time different jobs require. In this case, however, I was so certain that I agreed to all Steve’s conditions. In the allotted time, I would measure the span of the addition; calculate the exact height that the ridge should be set; measure and mark the plumb cut and the bird’s mouth on the first rafter; and lay out the tail of the rafter to shape the eaves.
When the moment of reckoning arrived, we set a watch, and I went to work. Eight minutes later, I was done and in the process secured the easiest six bottles of Bass Ale in my life. With this layout in hand, we framed the roof in 5½ hours.
Why should it take an hour to do a ten minute job?
That evening, as we enjoyed my beer, Steve’s wife asked him how long he would have taken to do the same layout. “An hour,” he said, “at least.” Steve is a seasoned carpenter who now earns a living as a designer and construction manager. So why does a ten-minute job require 60, or possibly 90, minutes of his time? The answer is that Steve, like many builders, is confused by the process.
The first framing crew I worked with simply scaled the elevation of the ridge from the blueprint and then installed the ridge at that height. Once the ridge was set, they held the rafter board so that it ran past both the ridge and the top plate of the wall, then scribed the top and bottom cuts. Then they used this first rafter as a pattern for the rest. This technique worked. And because it’s so simple and graphic, I’m convinced that it still is a widespread practice.
There are several reasons why I retired this method decades ago. To begin with, I haven’t always had a drawing with an elevation of the roof system, which means that I couldn’t always scale the height of the ridge. Second, it’s just about impossible to scale the ridge with any degree of precision. Because of this fact, these roofs usually end up merely close to the desired pitch. Third, this method typically leaves the layout and cutting of the rafter tail for later, after the rafters are installed.
For more photos, drawings, and details, click the View PDF button below:
Fine Homebuilding Recommended Products
Fine Homebuilding receives a commission for items purchased through links on this site, including Amazon Associates and other affiliate advertising programs.

Shingle Ripper
Portable Wall Jack
Roof Jacks


