A Large Cornice Made From Built-up Moldings
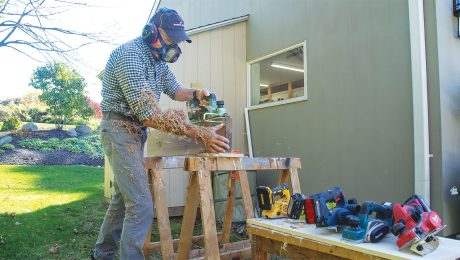
A molding head on a radial-arm saw shapes the coves, and plywood forms support the moldings.
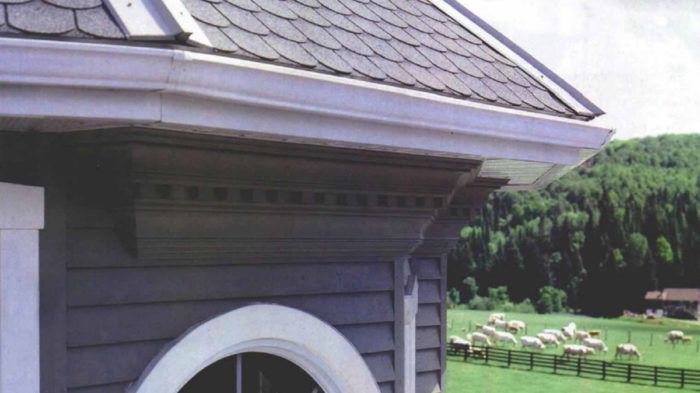
Synopsis: This article explains how to make large cornices by building up layers of molding. The author uses a molding head attached to a radial arm saw to create profiles.
Although I am a cabinetmaker, the scarcity of craftsmen here in rural Quebec often leads me to jobs that are outside cabinetmaking’s usual realm. Such was the case when the owners of a local Victorian home asked me to design and make the cornice moldings for the three-story turret they were adding.
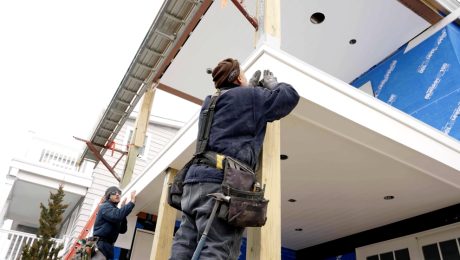
Because of the house’s grand scale and the fact that the cornice could be viewed only from 40 ft. below, it had to be big. The cornice that I designed measures 20 in. across its face and was built up from ten individual pine moldings. Other carpenters would install the cornice from scaffolds, so the installation had to be as simple as I could possibly make it for them. My solution was to build a series of shop-made plywood forms that screwed to the house, forming a nailing surface for the overlapping moldings of the cornice.
Molding the coves
I made all the smaller molding profiles with a molding head on a table saw. These were fairly straightforward. However, the 7-in. wide cover took some thought because I don’t have a shaper or molder that can cut such a large profile in a single pass.
I considered making the coves on a table saw, using a molding head with knives sharpened on one edge. I could feed the stock into the knives at a right angle, taking successive, shallow passes.
However, I made the coves on a radial-arm saw instead, locking the carriage in place and using the same right-angle feed. Because the stock passed under the cutter, I could watch the profile take shape, and I could minimize tearout by controlling the feed rate.
The other key to a smooth surface was minimizing vibration. To this end, I mounted featherboards on two bridges above the saw table. They held the stock flat to the table, and another featherboard held it to the fence, resulting in a fairly smooth cut. It’s not smooth enough for a stained interior molding, but it is more than adequate here because the machined surface of the cove matches the texture of the siding.
A jig speeds the cutting of the plywood forms
Before starting, I had drawn a section of the cornice for the client’s approval. After machining all the moldings, I drew a final full-scale section of the cornice using the actual moldings as templates. I used this drawing to lay out the 5/8-in. CDX-plywood forms that would hold the molding to the house.
For more photos, drawings, and details, click the View PDF button below:
Fine Homebuilding Recommended Products
Fine Homebuilding receives a commission for items purchased through links on this site, including Amazon Associates and other affiliate advertising programs.

Festool Cordless Track Saw (TSC 55 KeB-F)

Paslode Cordless Finish Nailer (IM250A)

DEWALT 18v Cordless Multitool (DCS355)


