Circular-Saw Basics
A sidewinder is the most important tool on the job site, but did anybody ever teach you how to use one safely and effectively?
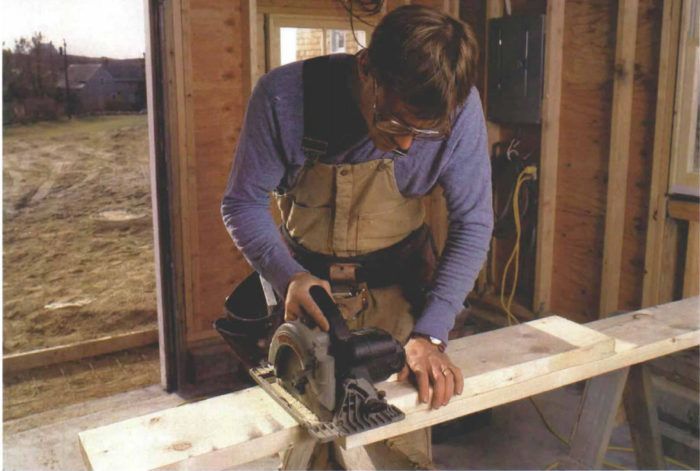
Synopsis: A builder shares his tips for using a side-winder circular saw effectively and safely, with tips on ripping, crosscutting, cutting sheet goods, and using the saw for angle cuts and finish work.
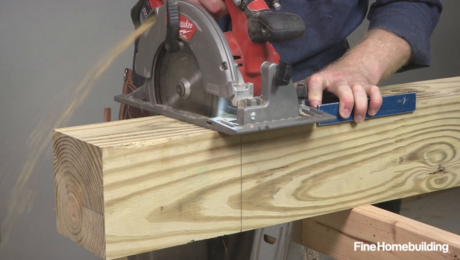
As a professional carpenter who has built houses from Arizona to New England, I’ve probably run more kilowatts through portable circular saws than through all my other power tools combined. This article will serve as a primer for novice carpenters and as a refresher course for veterans. There’s much more to learn about circular saws than will fit here, but I urge you to learn the basics first. Get comfortable with the tool and its dangers before you climb a ladder and start cutting rafter tails 20 ft. in the air.
Buy a good saw and use a good blade
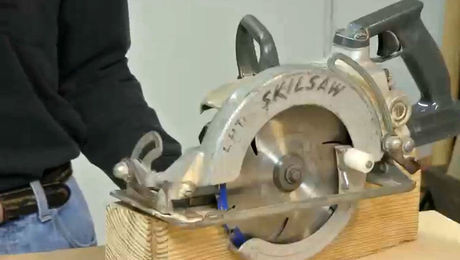
I own both sidewinders and worm drives, but here I’m going to focus on the 7-1/4 in. sidewinder. (In an upcoming issue, Larry Haun will discuss the basics of using a worm-drive saw.) These saws can cost anywhere from $50 to $200. But with a dozen good-quality professional saws on the market for under $150, I recommend spending a little more for a professional saw.
The biggest factor that affects the performance of a circular saw is choice of blade. The newer thin-kerf carbide-tipped combination blades are excellent all-around blades that cut quickly and stay sharp a long time, and I buy whatever brand is on sale.
Protect your eyes
Before you start cutting, let’s talk about safety. Circular saws can cause serious damage with eye injuries and cuts being the most common. On my job sites, eye protection is a must. My employees all wear good-quality safety glasses whenever they’re using a circular saw.
Proper blade depth minimizes kickback
Most injuries from circular saws occur when the sawblade binds in the cut and the saw kicks back toward the operator. Adjusting the cutting depth so that the blade extends no more than 1/8 in. beyond the bottom of the material is an important first step in avoiding kickback. Having the blade at the proper depth limits the area of the blade that’s in the kerf. It also exposes less of the blade if the saw kicks back.
A number of situations can cause a saw to bind and kick back. The first is when the piece being cut off is not allowed to fall down and away from the saw properly. The board should be positioned so that the weight of the cutoff keeps the saw kerf open as the cut is being made. If you’re working off the end of a sawhorse or some other working platform, make sure you’re not cutting uphill. Cutting on the slightest incline can cause the saw to bind. Instead, lift the back edge of the board as you finish the cut so that the saw runs downhill.
If someone is holding or catching the cutoff, he or she should support the piece gently but with a firm grip while applying slight forward pressure on the end of the cutoff to keep the saw kerf open. If your “catcher” is a novice, make sure that he or she understands the procedure before you start cutting.
For more photos and details on circular-saw basics, click the View PDF button below.
Fine Homebuilding Recommended Products
Fine Homebuilding receives a commission for items purchased through links on this site, including Amazon Associates and other affiliate advertising programs.

Reliable Crimp Connectors
DEWALT 2 1⁄4-hp Router Combo Kit (DW618PK)
Makita Top-Handle Jigsaw (4350FCt)
