Bench-Built Window Trim
How one trim carpenter turns jamb extensions into an advantage by using them to reinforce preassembled window casings.
Synopsis: An experienced trim carpenter shows his technique for preassembling window trim and installing jamb extensions and casing as a single component. Step-by-step photos clarify the process.
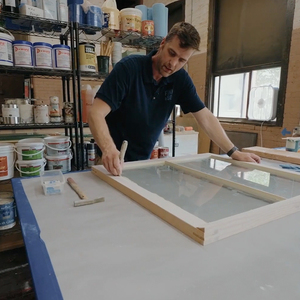
Back in the early 1980s, I saved a general contractor a bushel of money by preassembling a massive window-trim unit (for 12 windows), and then lifting it into place as a single component. I could do this because all the windows needed jamb extensions, which acted as reinforcement for the mitered casings for each window. So I built the trim on the floor near the windows, and a fellow worker helped me set the unit in place. With only minor tweaking, I was able to plumb and line the trim to near perfection. Since that day, I have never trimmed a window a piece at a time.
Preassembled casings and jambs begin with the stool
I’d say about 80% of the windows that I install need jamb extensions. Windows are typically made for 2×4 walls, and they end up in walls framed with 2x6s. You can pay a premium for windows with jamb extensions, but the builders I know usually make their own to save a little money. I typically make them out of preprimed, 3/4-in.-thick finger-jointed pine, the material used in the project illustrated in the PDF. But you can also use any of the other popular trim woods or medium-density fiberboard. The first step in making jamb extensions is to decide how wide to make them. I measure the distance from the window to the finished wall at the top and bottom of the window, and then split the difference. This works fine if the discrepancy is no more than 1/8 in. If it’s more, you’ll have to cut tapered jamb extensions, a sure way to bring a production pace to a virtual halt.
My first cut is the head-jamb extension. Its length is equal to the width of the window plus the reveals on both sides of the window. I chose a 3/16-in. reveal for this job, so the length of the head-jamb extension equaled the width of the window plus 3/8 in. Next, I calculate the height of the side extensions. In this case, I measured the window and added 3/16 in. for the top reveal, plus 3/4 in. for the thickness of the head jamb. The length of the stool depends on the reveals, the width of the side casings and the distance that the stool projects beyond the casing— 3/4 in. for this job.
Once I’ve got the jamb extensions and the stool screwed together into a big, shallow rectangular box, I’m ready to attach the casings and the return miters at the ends of the stool.
Jockey the assembled frame into its opening
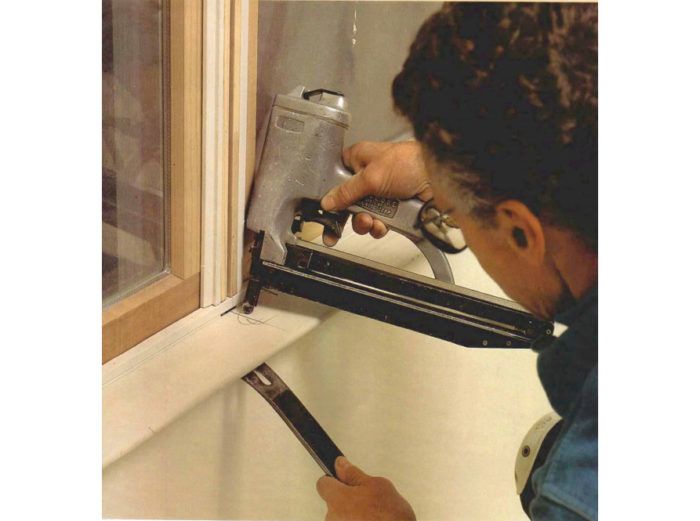
I lift the trim unit into position and wiggle it around until I like its location with respect to the desired reveals. Then I fasten the assembly at the lower corners by nailing through the side casings into the trimmers. Next I fasten the top corners by nailing through the side casings near the top. The assembly is now located and ready for lining the head, sides, and stool. To line, simply move the casing, and the jamb will follow. When it’s straight, nail through the casing. I end up putting my nails about 12 in. apart.
For more photos and details, click the View PDF button below:


