Framing and Sheathing Floors
If you do the layout carefully and precut all the joists, the floor will go together quickly like a giant jigsaw puzzle.

Synopsis: Two carpenters explain their approach to framing and sheathing floors, which includes careful planning and labeling parts and pieces to avoid confusion. They also make a case against bridging, the mid-span bracing installed between floor joists.
We’ve finished backfilling the foundation, and the mudsills are level and square. Now the real fun begins: saws screaming, hammers humming, sawdust flying. But as anxious as we are to shift into high-gear production mode, we always approach the task of floor framing methodically and thoughtfully. With this strategy, everything goes together right the first time, and the reciprocating saw and the cat’s paw stay in the toolbox where they belong.
A good framing plan streamlines layout and installation—Before we even think about getting our tools out, and usually before breaking ground, we start our floor on paper with a framing plan. Most of the house plans we work from do not include a framing layout, so usually we create our own.
First, we choose the best starting point for the joist layout to minimize the number of joists and the subfloor waste. After looking at how the house is laid out (where the jogs are; how the roof trusses will be laid out; where bearing walls are; where toilets, tubs and showers fall), we decide where to begin the layout. With the house featured in this article, the natural starting point was the front left corner because of the two adjoining sections where the joists changed direction. When in doubt, we usually pick the 90° corner that has the longest uninterrupted legs. All smaller sections are then blended into the larger layout.
On our plans we draw lines for each joist, header, in-floor beam and any special framing details for the house. By using a different colored pencil for each joist length, we can use the plan for accurate material ordering later. When materials are delivered, the joist plan also enables us to direct the different-length 2xs to the appropriate areas of the floor with just a glance.
We try to have a preliminary meeting (or at least a couple of quick faxes) with the plumber and heating contractor to identify any joists that might pose a problem with their systems. We can also alert each contractor if we see that both of them expect to fill the same joist bay. By moving a joist a couple of inches to one side or to the other, we sometimes can resolve competition for space. We generally try to avoid having a joist positioned directly below a wall above, and knowing which interior walls will contain vents, drains or ductwork keeps us from placing a joist where it might have to be cut.
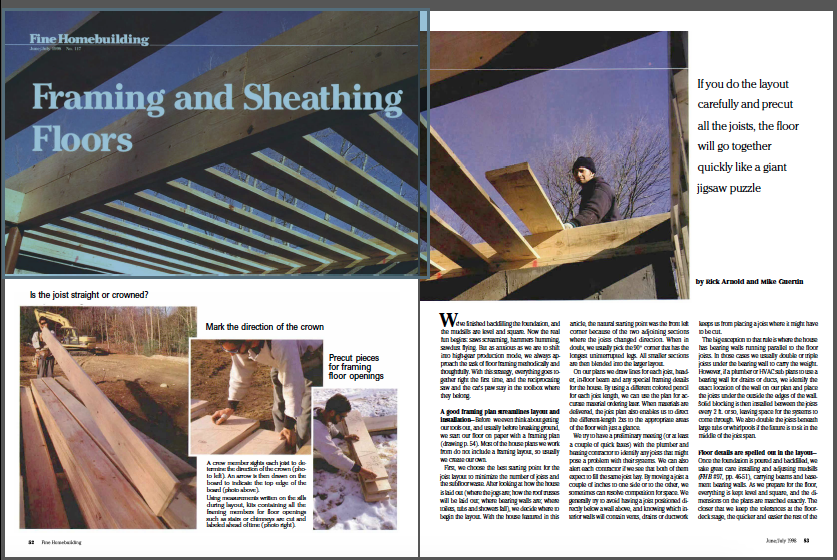
For more photos and information on framing and sheathing floors, click the View PDF button below.
Fine Homebuilding Recommended Products
Fine Homebuilding receives a commission for items purchased through links on this site, including Amazon Associates and other affiliate advertising programs.

Smart String Line

Bluetooth Earmuffs

Protective Eyewear


