Building a Circular Porch
A curving plywood beam and laminated trim solve some of the problems associated with working in the round.
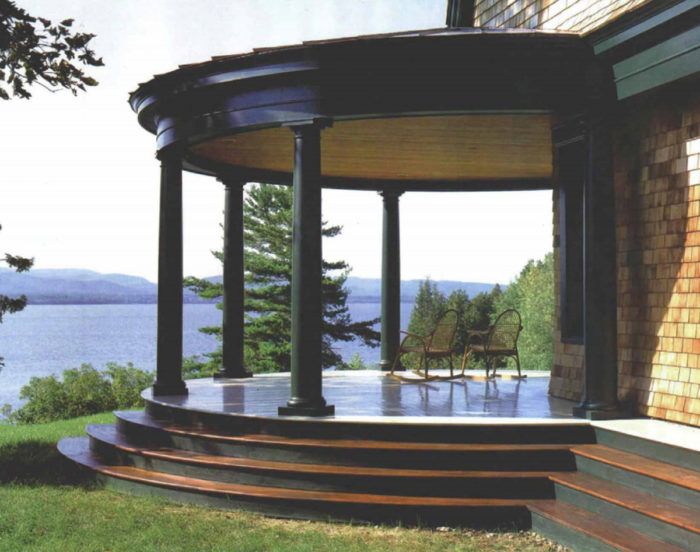
Synopsis: The author builds a circular porch supported by curved beams made from layers of plywood. Trim is also laminated from strips thin enough to make a bend.
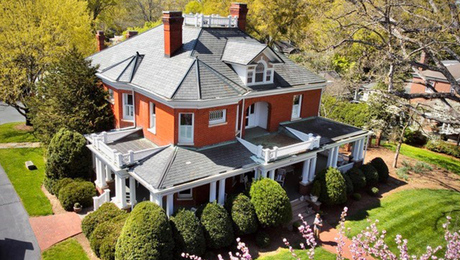
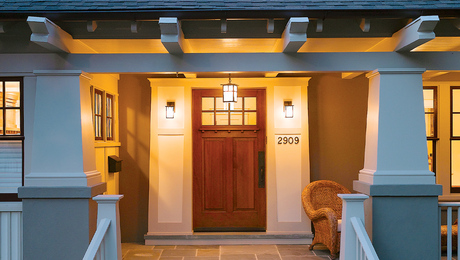
As carpenters, our day-to-day routines are filled with straight lines and square corners—steady, predictable work. When I began to project manage a new lakefront home, I knew that our days would be far from routine. The house’s design included many of the features associated with a classic shingle style: a turret, steep gambrels, and, facing the southern exposure, an open circular porch. Experience had taught me that the round porch would be one of the more challenging parts of the house. The first trick would be to construct a circular beam with an accurate and fair curve that was strong and easy to build. There was also the matter of the trim: The design called for a substantial crown, which normally won’t bend around a curve and maintain its shape.
Curved beam sets the stage for roof framing
Once the frost-wall foundation of the porch was complete, we framed the deck and started preparations for framing the roof. The beam was really the key to the roof framing, both from a structural viewpoint and for ensuring accuracy.
To make the six sections that comprise the beam, we first built a short, curved stud wall. The plates were laid out and cut from ¾-in. CDX; we used the first plate as a template and cut the rest with a circular saw, trimming edges with a router and a top-bearing bit. After nailing 2×6 blocking (short studs, really) between the plates on 16-in. centers, we doubled the top and bottom plates, then glued and nailed a single layer of ½-in. CDX plywood to both sides of the section. (Nails provide most of the shear strength in this box beam-like construction, but I also used construction adhesive.) The plywood ran ¾ in. higher than the top plate, making a channel for a third top plate that would tie the sections together and overlap each intersection by at least 32 in.
We placed two temporary posts at the column locations and set the first beam section on these posts. A third temporary post, braced on the outside, kept the beam from tipping over. After bracing a second section, we joined the sections by overlapping a third plate into the channel described above, and then we plumbed and braced the free end going around the circle.
Once the sections were all in place, we nailed five layers of 1/2-in. plywood around the outside to provide structural support for the roof, staggering the seams as we went. (The 1/2-in. plywood bent easily around the 12-ft. radius, but I would recommend 3/8-in. plywood for smaller radii.) Keeping the layers flush top and bottom was the key to providing a good bearing surface for the rafters. If the plywood started to run low, we worked it up by nailing off the bottom edge first; if it started to run high, we then nailed the top edge first.
For more photos, drawings, and details, click the View PDF button below:
