Counter Act
A belt sander will be your best friend when fitting factory-made laminate countertops to wavy walls.
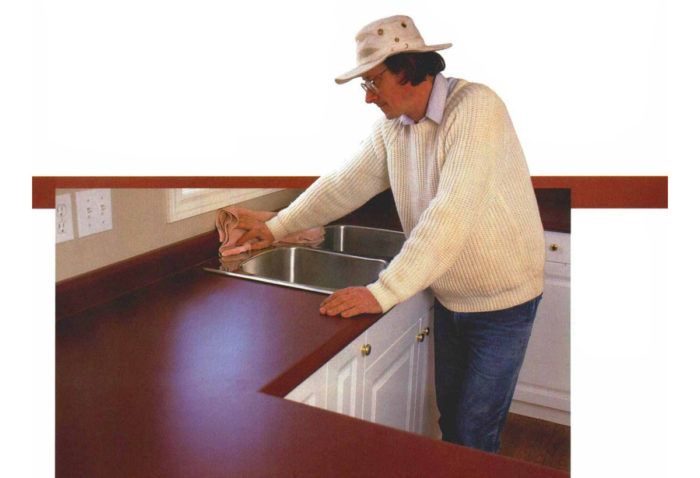
Synopsis: This article explains how to install a post-formed, factory-made laminate countertop. The author pays particular attention to getting a nearly undetectable miter at the countertop’s corner, and to scribing the backsplash so the counter fits snugly against the wall.
People love laminate. If you took all the countertop laminate produced in the United States in a year—about 1.5 billion sq. ft.—you could pave Interstate 80 from New York to California and still put new kitchen counters in millions of homes. Half of all countertop laminate is postformed: It is heated and bent around a curved particleboard substrate to produce a seamless, counter-and-backsplash combination. Developed in the 1950s, postformed countertops are still a favorite among builders and homeowners. They are economical, widely available, and easy to install, even along undulating drywall. I must have fastened down a mile of postformed countertops last year, sometimes finishing two kitchens in one day. Along the way, I’ve learned some time-saving techniques to fit these factory-made surfaces to the waviest walls.
Measure at least twice
Standard countertops are 25-1/2 in. deep and come in 6-ft. to 12-ft. lengths. With sections mitered together, postformed countertops conform to almost any cabinet layout. One rule about countertop joints, however: Keep them away from the sink. If water seeps into a joint, it can ruin the particleboard underneath. Before measuring a kitchen for new counters, I sketch the plan view of the cabinets. I draw all the miters or butt joints, and mark any exposed ends of the countertop; they should overhang cabinets by 1/4 in. If a stove or refrigerator fits between two cabinets, I leave a small gap on both sides.
Once the sketch is done, I measure each run of countertop along the front and back edges of the cabinets and take the larger of the two dimensions. Layers of drywall tape and mud can build up as much as 1/4 in. in the corners of walls. If you measure just along the wall, you may wind up with a top that is too short.
Unless by some miracle the walls are perfectly smooth and square, you will have to scribe the countertops to fit flush. Use a square or straightedge to see how wavy the walls are, and if extra material is needed, include this amount in your drawing.
Postformed countertops can be purchased any number of ways. At many home centers, you can buy premade blanks, which you cut yourself. Or you can have the home center or the countertop manufacturer do everything but install them, including join the miters. I usually have the factory do most of the countertop preparation. The integral backsplash makes cutting countertops with a circular saw a little tricky. The postforming factory and many home centers have special circular saws that make cutting postformed counters easy, so when possible, let the factory do the cutting.
The manufacturer will supply the end caps and end splashes, too. An end cap is simply a piece of laminate glued to the end of the countertop that covers the particleboard. An end splash is a laminate-covered piece of particleboard that continues the backsplash where a countertop butts up against a wall.
I stop short of having the manufacturer or the home center assemble the countertop joints. Although they can do a superb job, an L-shaped or U-shaped countertop is difficult to load into a vehicle and carry into a small kitchen. Also, preassembled countertops are more difficult to scribe and cut. I prefer to fit each piece of countertop separately and assemble the joints in place.
For more photos and details, click the View PDF button below:


