How to Install a Toilet
Reinforce the floor and use the right components for years of trouble-free service.
A step-by-step guide to installing a toilet correctly. A sidebar explains what to do if the closet flange is broken or below floor level.
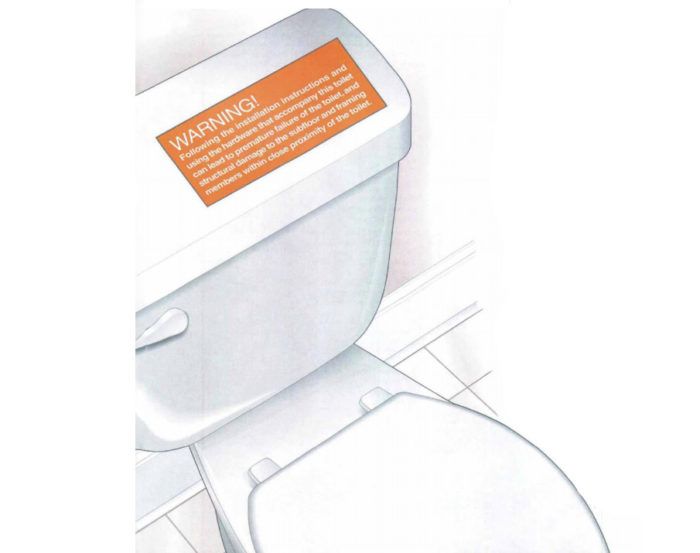
Do the cautionary words above sound a little harsh? I haven’t actually seen that warning included in the directions that accompany new toilets, but it wouldn’t be out of place. The blister packs and directions tucked away in the box routinely include details and components that will work for a while but won’t stand the test of time. I guess the manufacturers haven’t had to pull up a toilet that began to seep after a few years. I have lots of them.
A toilet failure is really a shame because with just a little bit of additional work, you can add years of service to the toilet and protect the structure that supports it. After going through the process many times, I’ve worked out a good method for installing a close-coupled toilet in new wood-frame construction. This is the garden-variety two-piece toilet that’s in about every residential bathroom in the country. Close-coupled toilets are easier to install than one-piece toilets simply because they are easier to handle. You install the bowl first, then attach the tank. But you can also use the advice presented here to install any kind of toilet, be it a one-piece Kohler or a temperature-controlled Toto.
A good installation begins with the floor framing
The first commandment of toilet installation: The toilet shall not move. By this, I mean it has to be connected to the floor as firmly as possible, and the floor has to be sturdy enough not to deflect when someone is sitting on the throne. This means that the ideal floor framing takes into consideration the placement of the toilet. If I get my way, the toilet’s drain is centered between floor joists that are 12 in. o.c. with a pair of blocks flanking the drain line.
Framing doesn’t always turn out this way, of course. And I will admit to having remodeled more than a couple of bathroom floor joists with my chainsaw to make room for drain lines. But I head off any joists that have to be removed and put blocking on both sides of the toilet flange. This blocking helps to distribute the weight of the toilet.
Trim the pipe and install the flange
When I became a plumber, toilet drains were made almost exclusively of cast-iron pipe. But now, most new homes are plumbed with ABS or PVC plastic. I used 4-in. ABS pipe in the demonstration job shown in the photos in the PDF button below. Where I live in the Bay Area, you can also use 3-in. pipe for replacing existing 3-in. drain lines. But inspectors require 4×3 closet bends for connecting the toilet to 3-in. lines.
During installation, the toilet’s drain line extends above the floor, where it is capped with a plastic plug to make a watertight seal for the leak test. When it’s time to install the toilet, I knock out the plug with a hammer and trim the pipe flush to the finished floor.
For more photos and information on installing a toilet, click the View PDF button below.
