A Gate That’s Built to Last
Weather-resistant construction means this driveway gate will stand up to Rocky Mountain storms for years to come.
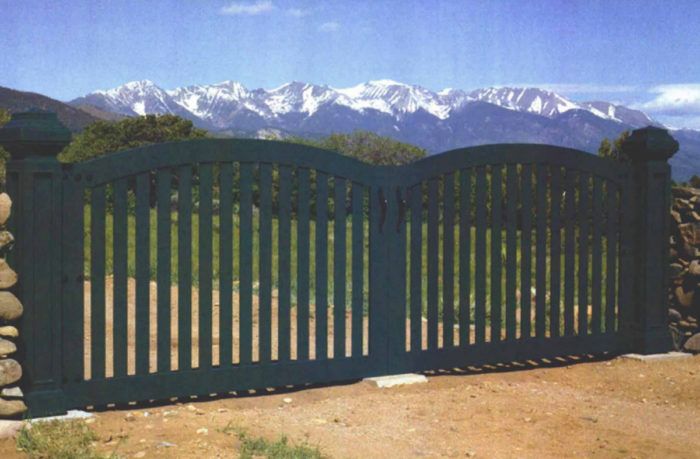
Synopsis: The author explains how he built a pair of swinging entry gates for his Colorado home. Gate posts of exterior plywood are strengthened with concrete-reinforced galvanized pipe set in a concrete base.
Where I live in the Rockies, everything is on a big scale. The elevation is 8,000 ft. above sea level, and the mountains behind my house rise 5,000 ft. higher still. The views are virtually limitless, deer and elk pass through in herds, and the stars at night are countless. Unfortunately, the weather is big, too. Winters are bitterly cold, the snows deep and the wind ferocious. All in all, it’s a wonderful place to live, but a tough place to build anything that will stand up to the elements. When it came time to design a new gate for the lane to my house, I was determined to build something that not only looked good but also was going to last. I don’t mind a little routine maintenance work. But as a recent retiree, I don’t relish the thought of a rebuilding project sometime in the future when I might be moving even slower than I am now.
A wooden gatepost with a backbone of steel
More than anything else, the longevity of my gate depends on the structural design of the gateposts. I wanted to build a traditional wooden post featuring inset panels and built-up moldings. But I swore that I’d never again throw out my back trying to wrestle a rotten mass of wood and concrete out of the ground.
My solution was to create a two-part post that would consist of a concrete-reinforced galvanized pipe at the core surrounded by a built-up wooden box. Resembling a Popsicle on a stick, all the cosmetic wooden parts would be safely above grade, while the concrete-and-steel backbone would extend deep into the ground.
The backbone is a 7-ft. length of 2 3/8-in. galvanized fence post stock. The concrete, which stiffened the steel core so that it wouldn’t flex under the load of the gate, was poured 6 in. short of the bottom to allow me to trim the pipe to length later.
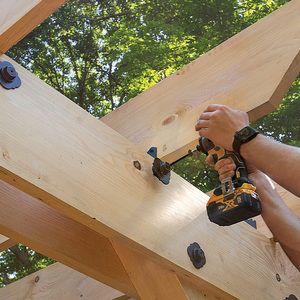
The body of the post is a rectangular box made of ¾-in. ACX plywood. After backpriming all the pieces, I used corrosion-resistant screws (McFeely’s Square Drive Screws) along with biscuits and exterior carpenter’s glue to assemble the box. I also sealed the openings around the hinge bolts with an epoxy filler and used black Rust-Oleum paint to protect the hinge parts against rust.
Once the carcase was assembled, building the remainder of the post was straightforward woodworking, the only differences being the weatherproofing measures I took: I selected redwood for most of the trim due to its resistance to decay, and I back-primed every piece before installation. I used weather-resistant fasteners and covered them with redwood plugs, exterior wood filler or other layers of trim. As a last step before priming and painting the posts, I ran a thin line of caulk along horizontal joints where water might seep in.
For more photos, drawings, and details, click the View PDF button below:
