A Simple Approach to Frame-and-Panel Trim
Assemble the frames with pocket screws and trim plywood panels with molding for a traditional look.
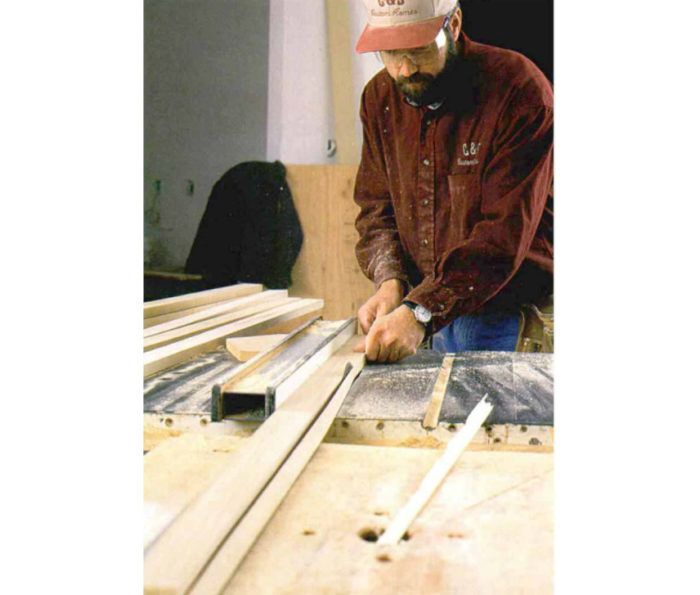
Synopsis: Here’s a step-by-step guide to making traditional looking frame-and-panel interior trim without traditional mortise-and-tenon joinery. The author assembles frames with pocket screws and uses plywood panels to speed up the job.
With my partner, Dan Cobb, I build custom houses in Arkansas. Traditional detailing remains in demand here, and paneled walls are one way I accommodate clients. Because of the cost, I avoid raised panels, instead site-building flat panels from 3/4-in. birch plywood and 4/4 poplar rails (horizontal members) and stiles (vertical members), trimmed with stock moldings.
Flat panels lend themselves to applications that range from wainscoting to full-height walls, niches around windows and even door jambs, columns and newel posts. For jambs, newels and other load-bearing applications, I replace the 1/4-in. plywood back with stiffer 3/4-in. plywood.
The first step in building wall panels is to pencil the outlines of the panels on the wall. I follow a few rough layout guidelines. For a floor-to-ceiling paneled wall, I put the rail between 32 in. and 36 in., standard chair-rail height, above the floor. To my eye, an odd number of panels looks best, and I try to limit their width to around 16 in.
Drawing the panels on the wall helps me to be sure that the proportions are right. It also identifies electrical boxes or HVAC grilles that fall in a rail or a stile, or in the molding. The electrical boxes, I move; the grilles, I panel around.
After drawing out the panels, I make a cut-list of all the frame material. Because most of my work will be painted, I substitute medium-density fiberboard (MDF) for poplar when I need wide members, say, those that are 6 in. or wider. MDF is more stable than solid lumber, and the joints stay tighter. I don’t use MDF for everything because of its weight and because of the fine dust that cutting it creates.
Start with layout and stock preparation
Drawing lines on the wall to represent the rails and stiles quickly identifies inconveniently located electrical boxes or out-of-plumb walls. Frequently, a small adjustment in panel size or spacing can sidestep these glitches. The author finds that stiles 2 in. to 2 1/2 in. wide look good, but this dimension can be adjusted to fine-tune the panel’s fit. Rails are frequently wider so that trim such as chair rail or base can be added. Rails and stiles are sometimes located and sized to match and align with an existing component, such as window mullions.
Production methods for speed and accuracy
One of the tenets of trim carpentry is not to show end grain because it finishes differently from long grain. With this in mind, the stiles of vertical panels run floor to ceiling, hiding the end grain of the rails. With horizontal wainscot panels, the rails run through with their end grain hidden in corners or by butting to door or window trim. In that case, the stiles butt to the rails. Whether the butting member is a rail or a stile, the author sets a common component length to ease assembly-line production.
For more photos and details, click the View PDF button below:


