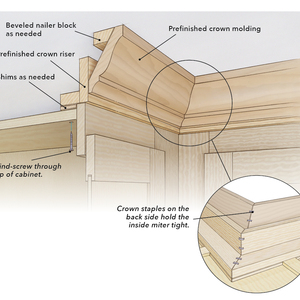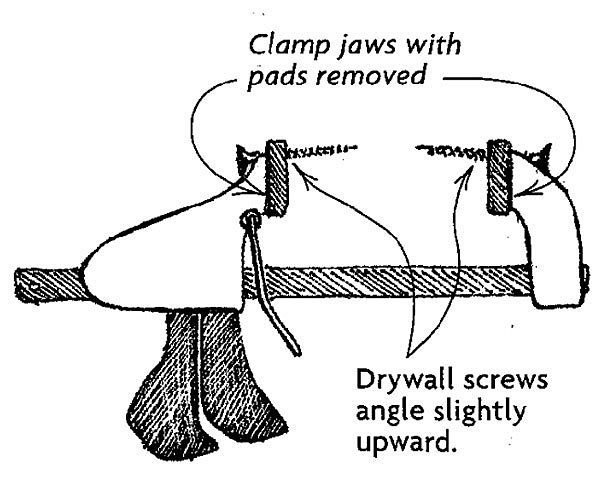
In my cabinetmaking business, I am faced with a fair number of crown-molding installations. While searching for ways to ease the job of pulling tight the moldings on outside corners, I considered buying some spring miter clamps — the kind that use a C-shaped spring with pointed ends to draw parts together. I blanched at the price. So I looked at the tools I already had and wondered how they might solve this problem. The drawing illustrates my solution.
I took a 12-in. Quick-Grip mini bar clamp and removed the rubber clamppad guards, exposing the black-plastic material of the clamp jaw. Then I drilled a 7/64-in. hole 1/4 in. down from the top edge of each of the clamp jaws. I angled the drill bit up about 5° to allow the screws a better bite into the molding. Then I drove a 1-1/4-in. coarse-thread drywall screw into each jaw.
Using the clamps is easy. Attach the first piece of molding. Then spread a bit of glue on the face of the next piece and nail the joint together near its bottom. Now position the clamp so that the screw points touch the molding near the upper part of the joint in an inconspicuous part of the molding. Gently squeeze the clamp handle until the joint closes tight. Allow the glue to set up, remove the clamp, and touch up the two dents with a color-matched fill stick or with some colored putty.
I’ve modified a dozen such clamps so that I can finish an entire job without needing to recycle clamps before the glue sets up. Lacking that many clamps, use a pin nailer to secure a clamped joint while the glue dries. Incidentally, these clamps are equally useful for picture frames.
Mike Hathaway, Huntington Beach, CA


