Straightening Framed Walls
Blame it on sloppy framing or lousy lumber, but many stud walls need some remedial work before the drywall goes on.
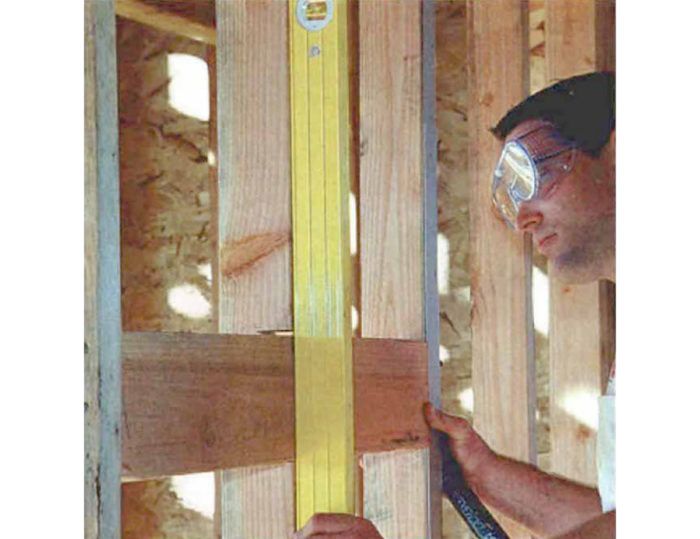
Synopsis: You can’t hide a crooked stud wall with a layer of gypsum drywall. The author explains how to check the rough framing before the finish walls go up, and how to correct common problems such as a bowed stud.
As a craftsman, I’m offended when I notice bowed walls and wavy ceilings in newly finished houses. Everyone knows it’s tough to find straight, knot-free lumber these days. But bad lumber is not the only cause of bad walls. Extreme weather conditions that strike before the roof is dried in, as well as fluctuations in temperature and humidity afterward, can make even good studs go bad.
The frequency of warped and twisted studs in the average frame house can be reduced if lumber is kept banded and covered until the framers are ready for it. Conscientious framers will also crown moderately bowed studs and cull the worst offenders, setting them aside for use as nailers and blocking. Unfortunately, the supply of skilled labor seems to be dwindling faster than that of straight lumber; so my company maintains a crew of “pickup” carpenters like me who follow behind the framers, straightening studs and flattening walls.
Tolerances vary from room to room
I work for a high-volume framing contractor who builds tract houses in California, so I have to balance my perfectionist tendencies with the pressure to get the job done as efficiently as possible. Keeping this balance requires me to choose which walls are most critical and will thus receive more of my attention. The choice is not difficult; entries and long hallways are more visible than bedrooms, closets and garages, and are therefore held to a higher standard. More critical are bathrooms — where cabinets and mirrors must lie flat — and kitchens. Because their long rows of cabinets and countertops make flat walls and straight corners essential, kitchens are the most critical rooms of all. For kitchen walls, I allow no more than 1/16-in. variance from perfectly straight and flat, but I’ll accept as much as 3/16 in. for the garage and the closets.
Efficient straightening requires a good eye
To minimize stud deflection, I prefer not to begin straightening walls until all roofing tile is in place and until bearing walls are fully loaded. Once I start working, all my measuring is done by eye. My tape measure never leaves the toolbox, and I rarely use a chalk box or dry line.
I use the top and bottom plates as starting points to check the straightness of a vertical plane, so my first step is to verify that both ends of each stud are flush with the plates. Any stud that isn’t where it’s supposed to be gets hammered into position and toenailed. With the starting points in alignment, I give myself a glimpse of the work ahead by sighting down the length of the wall and visually lining up the studs. A quick glance such as this one lets me know what gross irregularities are lurking, and when all the studs line up like soldiers, I know there’s a good chance I can move on to the next wall.
Unless every stud lines up perfectly, the next step is to find out where the deviants are. This step requires a long straightedge. Any perfectly straight piece of wood or steel will do, but because I believe a lightly armed carpenter is an efficient one, I use the same 8-ft box level that I use for plumbing walls. I’ve also found that the smooth surface of my box level is much kinder to my fingers after a day of continuous handling than the rough edges of wood or the sharp edges of steel.
For more photos and details, click the View PDF button below:
Fine Homebuilding Recommended Products
Fine Homebuilding receives a commission for items purchased through links on this site, including Amazon Associates and other affiliate advertising programs.

Stabila Classic Level Set

Magoog Tall Stair Gauges

Protective Eyewear


