A Gable-Dormer Retrofit
Framing around an existing roof requires different skeletons for two similar structures.
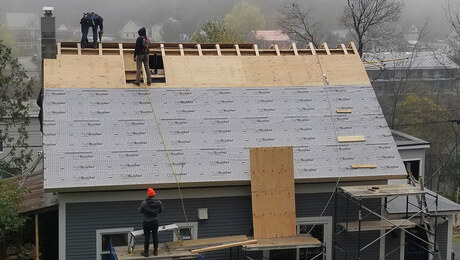
Synopsis: An experienced carpenter offers a step-by-step explanation of how he added two gabled dormers to a Cape Cod-style house. He pays particular attention to distributing structural loads with new roof framing and flashing to prevent water infiltration.
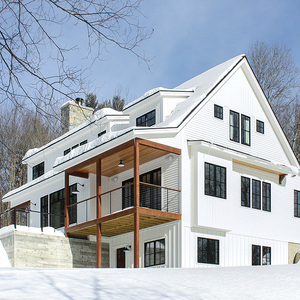
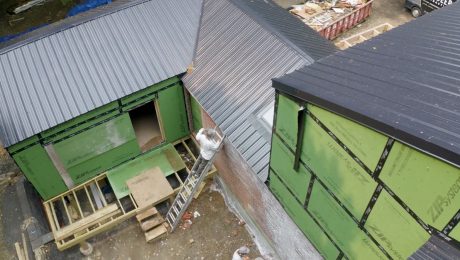
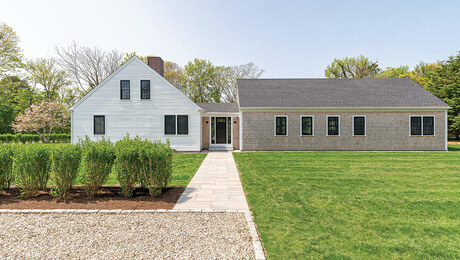
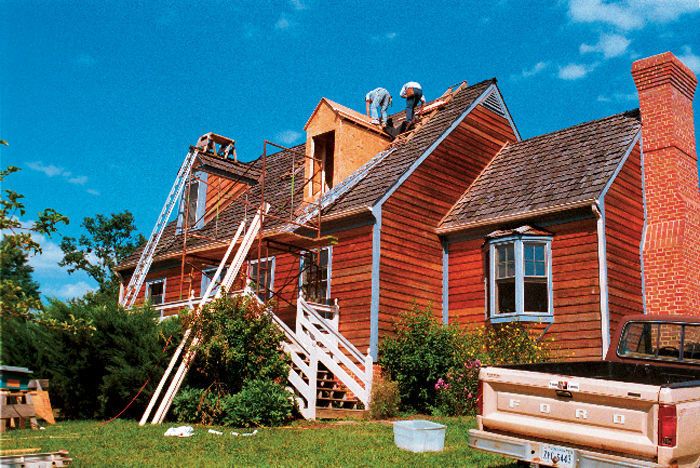
Carol and Scott Little’s home draws its inspiration from the cottages of colonial Williamsburg and the one-and-a-half story homes of Cape Cod. Both styles typically feature a pair of front-facing gable dormers. But for some reason, the builder of the Littles’s house put only one dormer on the front, leaving the façade looking unbalanced. I was hired to add a new dormer on the front of the house to match the existing one and, for more light, added a scaled-down version of the same dormer on the back of the single-story wing.
As the crew set up the scaffolding and rigged the tarps against the possibility of rain, I crawled under the eaves to study the existing roof. I soon realized that framing the sidewalls of the two dormers and directing their load paths would require different strategies, as would the way the dormer ridges would be tied to the main roof.
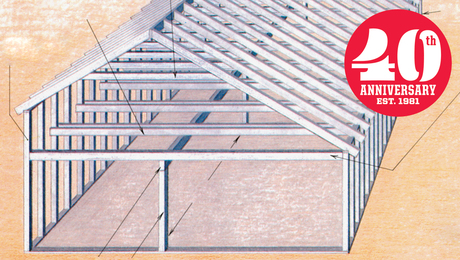
The first consideration in a retrofit is the location of the dormers, and the second is their framing. The existing front dormer fit neatly into three bays of the 16-in. o. c. main-roof rafters. These main-roof rafters (or commons) were doubled up on each side of the dormer, creating the trimmer rafters that carry the roof load for the dormers. Full-height dormer sidewalls stood just inside these trimmers, extending into the house as far as the bedroom kneewalls. Additional in-fill framing completed the dormer walls that were above the sloped bedroom ceiling.
Fortunately, three rafter bays at the other end of the roof landed within a few inches of balancing with the location of the existing dormer. Consequently, I had only to sister new rafters to the insides of the existing ones to form the new trimmers, and I could match the framing of the existing front dormer, leaving a uniform roof placement, appearance and size.
Cut the opening and shore up the main-roof framing first
After laying out the plan of the front dormer on the subfloor, I used a plumb bob to project its two front corners up to the underside of the roof sheathing. Drilling through the roof at this location established the reference points for removing the shingles and cutting the openings.
The tricky part was establishing how far up the slope to cut the opening. To play it safe, I first opened just enough room to raise the full-height portion of the sidewalls. With those walls up and later with some dormer rafters in place, I could project back to the roof to define the valley and then enlarge the opening accordingly.
Inserting new rafters into an already-sheathed roof can be problematic because of the shape of the rafters. They are much longer along the top edge than along the bottom, so there’s no way to slip them up from below. A standard 16-in. bay doesn’t afford nearly enough room to angle them in, either. To form the new trimmer rafters, we cut the new members about 6 in. short of the wall plate before we secured them to the existing rafters.
When faced with this situation, I normally use posts to transfer the load from the trimmer rafters to an above-floor header. In fact, I did follow this step with the smaller rear dormer, but that would not work in this case. Here, the floor joists ran parallel to the front wall, instead of perpendicular to it, and so could not transfer the load to the wall.
For more photos and details, click the View PDF button below:
Fine Homebuilding Recommended Products
Fine Homebuilding receives a commission for items purchased through links on this site, including Amazon Associates and other affiliate advertising programs.
Ladder Stand Off

Fall Protection
11" Nail Puller


