Building a Deck Over a Living Space
If you don't want the roof to leak, careful flashing details and a watertight membrane should be your primary concerns.
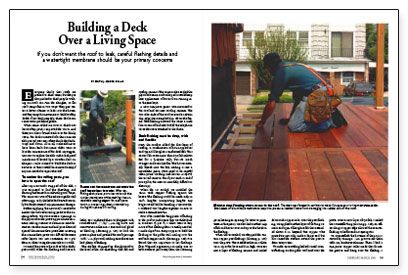
Synopsis: How to build an exterior deck over a flat roof so it won’t leak, including details on how roofing membrane and wood components should be layered.
Everyone thinks that roofs are pitched to shed water, but they’re also pitched to shed people. Walking on roofs can ruin the shingles, so flat roofs tempt fate in two ways: They give water a better chance to leak into the house, and they tempt homeowners to build rooftop decks. If not built properly, these decks can cause water problems galore.
When Marie called me over to check out her rooftop patio, I expected the worst. And that’s just what I found. Built over the family room, the deck consisted of a thin concrete slab poured over 2×8 rafters that leaked sideways and down. All in all, it should never have been built, but Marie didn’t want to lose the convenience of the deck. My suggestion was to replace the slab with a leakproof membrane followed by a wooden deck on sleepers. I also wanted to build the deck in sections so that it could be removed easily if anyone needed to repair the roof.
To anchor the railing posts, you have to open the roof
After my crew and I stripped off the slab, I was surprised to find the sheathing and framing underneath in relatively good shape. The same was true of the adjacent gable wall; the leaks had started recently but hadn’t caused any permanent damage.
Before applying the new roof, I needed to anchor the 4×4 cedar railing posts to the existing rafters. We cut oversize openings in the plywood at the posts’ approximate locations, making it easier to determine exact locations. I set the corner and end posts first and spaced the intermediate posts later. Locating the intermediate posts was difficult because rafter layout was not consistent, so I put them in as close to regular intervals as I could.
I wanted the posts to be rock solid (a shaky post could stress the flashing and cause a leak), so I anchored them to the joists with counterbored lag bolts and construction adhesive. I screwed and glued 2x blocking to lock the posts in place and patched the roof openings with plywood, making sure the seams had plenty of backing.
The roofers shimmed up the plywood to the level of the old sheathing with felt and roofing cement. The cement also sealed the plywood seams, and we hoped it would keep later applications of hot tar from running into the joist bays.
A new one-piece gutter was mounted to the roof and set into roofing cement. The two rake ends of the roof received a custom drip edge that extended 4 in. down the fascia. This flashing allowed the water a wide face to run off and also hid all the telephone wires that were attached to the fascia.
For more photos and details, click the View PDF button below:
Fine Homebuilding Recommended Products
Fine Homebuilding receives a commission for items purchased through links on this site, including Amazon Associates and other affiliate advertising programs.
Flashing Boot Repair

Metal Connector Nailer
Ladder Stand Off
