Building a Crosscut Sled for a Tablesaw
Making square cuts on wide stock is quick, safe and easy with this simple jig that you can build in a day
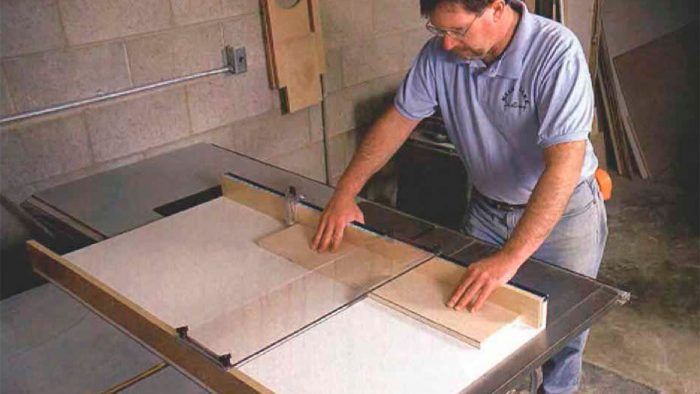
Synopsis: A Michigan cabinetmaker offers this short description of a tablesaw crosscut sled, a shop jig that allows precise crosscuts of large cabinet components.
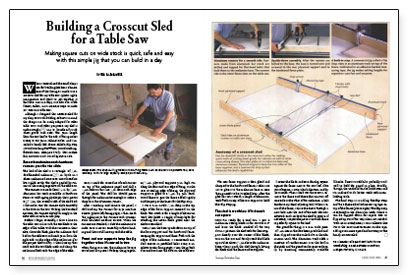
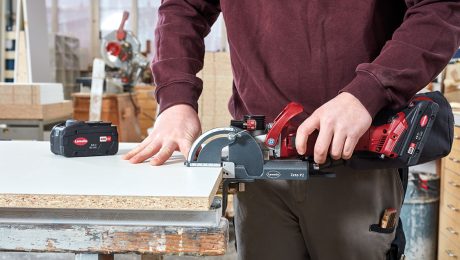
When I streamlined the small shop I use for building kitchen cabinets, one of the first jigs I made was a crosscut sled for my tablesaw. Inexpensive and quick to put together (I built this one in a day), it is also one of the fastest, safest, most accurate ways to make 90° cuts on a tablesaw.
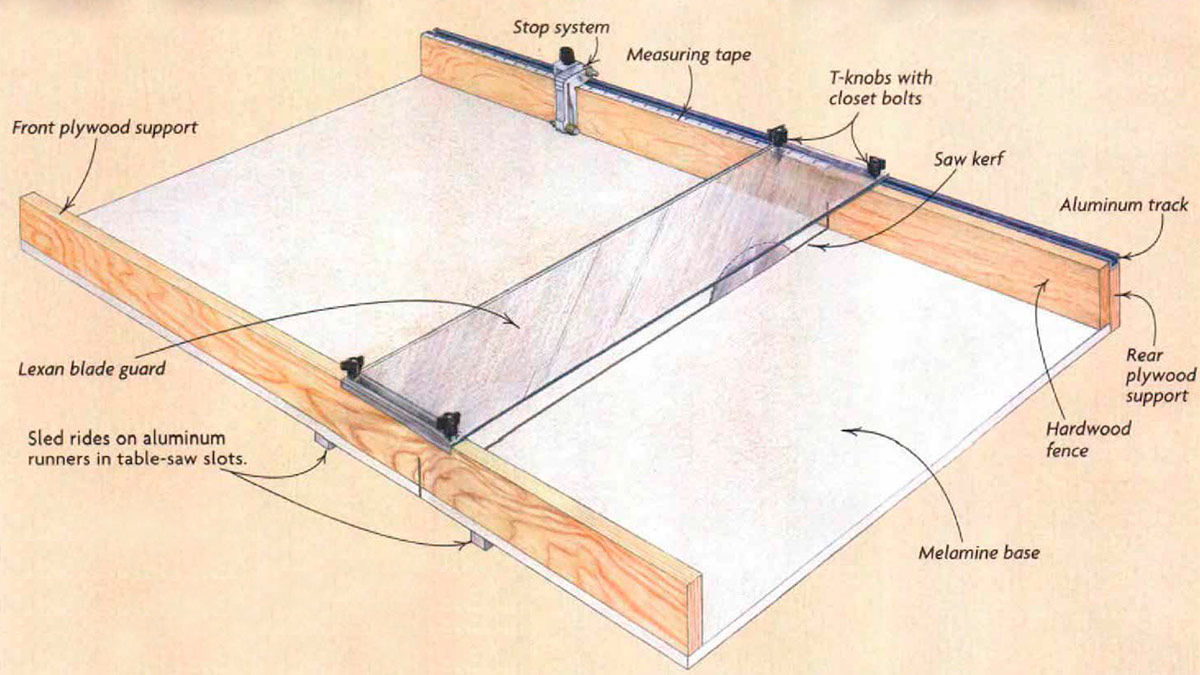
Although I designed this crosscut sled for my shop saw with building cabinets in mind, the design can be easily adapted for other tablesaws and other purposes. My sled is wide enough (24-1/8 in.) to handle 2-ft.-wide sheet goods with ease. The 32-in. length from the saw kerf to the side of the jig makes it easy to cut 30-in. cabinet sides. And I installed a handy little device called a Flip Stop that makes fast, accurate work out of repetitive cuts.
Smooth melamine and aluminum runners provide the slide
The bed of the sled is a rectangle of ½-in. double-sided melamine 25½in. by 48 in. I chose melamine because its smooth surface lets it glide easily. The sled is guided by runners in the miter-gauge slots on the tablesaw.
The runners are made from ¾-in. by 3/8-in. aluminum bar stock (available at hardware stores or welding-supply shops) that I precut to 25½in., the overall width of the sled bed. I first make sure the runners slide smoothly in the slots on the saw. To keep the box dead accurate, the runners should fit snugly in the slots with no side-to-side play.
Before I begin assembly, I draw a line on the tablesaw in line with the sawblade to the edge of the table. With the runners in their slots, I lower the blade, place the melamine sled bed on the tablesaw and mark 32 in. from the right side on the edge of the melamine (for the proper sled width). I then line up that mark with the sawblade mark and clamp the melamine flush with the edge of the table.
Next, I mark the centerline of each runner on top of the melamine panel and drill a 1/8-in. hole on this line 3/8 in. from each edge of the panel. The drill bit should pierce through the melamine just enough to make a dimple in the aluminum runner.
For more photos and details, click the View PDF button below:
