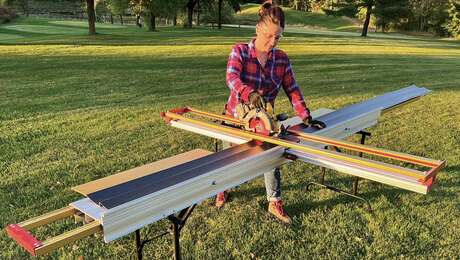
Working With Fiber-Cement Siding
Impervious to bugs and water, fiber-cement lap siding requires some special tools and techniques to be installed properly.
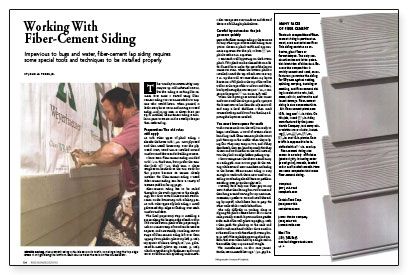
Synopsis: The author, a carpenter in California, details the installation of fiber-cement lap siding, an alternative to traditional wood siding that is handled somewhat differently. He covers layout, cutting, nailing, and sealing, with sources of supply.
The words fiber-cement siding may conjure up cold industrial visions, but this siding is nothing like cement. Ever since I started using fiber-cement siding, I’ve recommended it to anyone who would listen. When painted, it looks every bit as warm and inviting as wood siding. And in my area, at about $1.80 per sq. ft. installed, fiber-cement siding is similar in price to stucco and is actually cheaper than cedar siding.
Preparation: The old rules still apply
As with other types of plank siding, I sheathe the house with 1/2-in. CDX plywood and then install housewrap over the plywood. Next, wood trim is installed around windows and doors and at building corners.
I have seen fiber-cement siding installed with ¾-in. thick trim, but I prefer the sturdier look of 1½-in. thick trim. I chose rough-sawn hemlock as the trim stock for this project because its texture closely matches the fiber-cement siding I used. Fiber-cement siding can have a variety of textures.
Fiber-cement siding has to be nailed through to the studs (not just to the sheathing), so I draw vertical lines at each stud location on the housewrap with a felt-tip pen. As with other types of plank siding, I install galvanized drip edge as flashing over each window and door.
The final preparatory step is installing a spacer along the bottom edge of each wall to kick out the bottom plank to the proper angle. Lath or a narrow strip of wood can be used as a spacer, and occasionally, I use long, narrow strips of fiber-cement siding left over from ripping down planks. My spacer of choice, though, is 3/8-in. galvanized Z-metal, which is just the right thickness and won’t rot or swell from rain splashing underneath. I also use spacers over windows and doors if there is a full-height plank above.
Careful layout makes the job go more quickly
Layout for fiber-cement siding is the same as for any other type of horizontal siding once you’ve chosen a plank width and approximate exposure. For this job, I chose 8¼-in. planks with a 7-in. exposure.
I start each wall by putting on the bottom plank. This plank can be cheated down a little if need be to make the rest of the layout come out even. When the bottom plank is installed, I mark the top of each course every 7 in. up the wall. It’s rare when my layout leaves me a full plank at the top of the wall as well as at the tops of the windows and doors, but by adjusting the courses just ¼ in., I can gain or lose up to 3½in. on an 8-ft. wall.
When the layout goes around the corner and onto a wall that drops in grade, I project the lowest course line from the adjacent wall and snap a level chalkline. I then mark courses both up and down from that line, adjusting the layout as needed.
For more photos and details, click the View PDF button below:


