Asphalt Shingling From the Top Down
On steeply pitched roofs, working from the ridge down is faster, safer and easier on the shingles.
Synopsis: The author explains his technique of applying asphalt shingles in sections, beginning at the top of the roof and working down to the eave. He argues the technique is faster, safer, and easier on steep-pitched roofs than the standard approach of working from the bottom of the roof up.
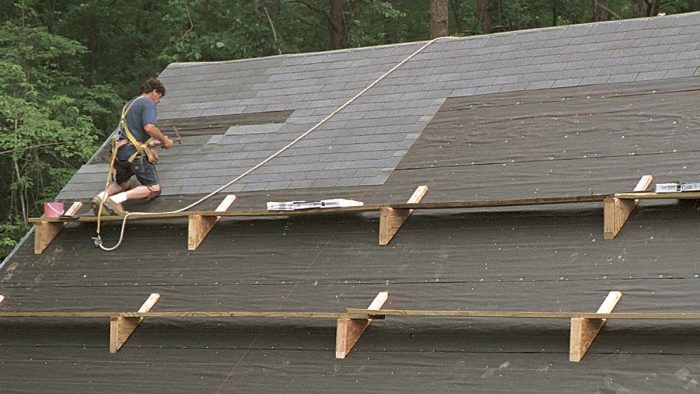
Although it may seem like putting on your shoes before your socks, top-down roofing is a safe, effective way to shingle steep roofs. The phrase top-down roofing is a little misleading: You don’t actually install the shingles from the top down. Instead, you shingle the roof in sections, starting at the top and working your way down. Each section is shingled from the bottom up, and for the most part, the installation is identical to that of any other roof.
Top-down roofing is possible only because of the flexibility of asphalt shingles, which can be lifted and bent back without being damaged. The top-down method takes a little getting used to and requires more forethought than the conventional approach. But it’s not a difficult technique to master, and I’m convinced that it saves time, reduces scuffing of the shingles during installation and is safer than standard shingling techniques.
One set of scaffolding for two jobs
There are two distinct advantages to the top-down roofing method. The first is that you don’t have to buy, borrow or rent manufactured roof jacks to support scaffold planks. Instead, you can make your own scaffolding brackets out of scraps. Second, the same scaffolding that’s used for shingling also can be used for sheathing the roof and for trimming the eaves and rakes.
Building scaffolding once rather than twice not only saves time and money, but it also encourages you to use safer scaffolding. Carpenters typically work off 2×4 toe boards, and then the roofers pry up the toe boards and use their own roof jacks to shingle the roof. Using the top-down method justifies the time spent building scaffolding that most carpenters would consider a luxury because you can use the same scaffolding to do the roofing. Economic issues aside, it’s just easier and more enjoyable working off good scaffolding.
Because both carpenters and roofers can use the same scaffolding, this method works best when the same crew does both jobs, as was the case here. If different crews do the job, the technique still works, but the carpenters need to run the tar paper and install the scaffolding with the needs of the roofers in mind.
Installing the sheathing, tar paper and scaffolding
On this job, my crew and I set up pipe scaffolding across the front of the house and installed a 2×6 subfascia along with the first row of roof sheathing. Next, we installed a row of tar paper and then installed our first row of scaffolding brackets. We placed them just above the bottom edge of the roof, about 6 ft. to 8 ft. apart, with the exact spacing determined by the length of our 2×10 scaffolding boards and the layout of the rafters. Using 16d nails, we nailed each bracket through the sheathing to a rafter.
Because the brackets are 3 1/2 in. wide, we can nail the scaffolding boards securely to them, so the boards don’t slide around as they sometimes do on metal roof jacks.
Fine Homebuilding Recommended Products
Fine Homebuilding receives a commission for items purchased through links on this site, including Amazon Associates and other affiliate advertising programs.

Roofing Gun
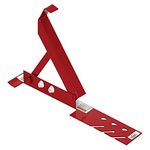
Roof Jacks
Hook Blade Roofing Knife


