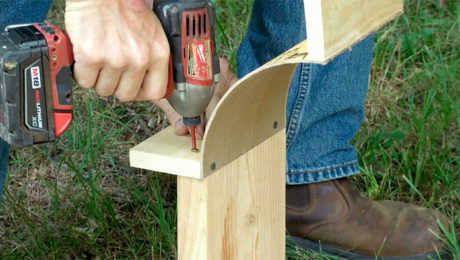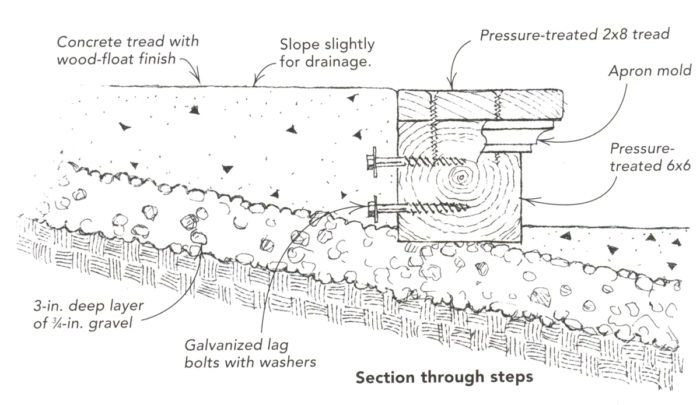
This design has three important points. First, I use pressure-treated 6x6s for the risers, with a screwed-down 2×8 tread. The 6x6s are more presentable than a bunch of creosote-dripping railroad ties, and they are more uniform in size. Also, the 2×8 treads can be replaced from time to time if necessary, and they provide some toe-space overhang.
The second key point is drainage. The steps should be sloped downward at about 1/8 in. per ft. to prevent puddles. I also build the steps atop a 3-in. deep layer of 3/4-in. gravel, which lessens the chance of frost heaving the steps in winter
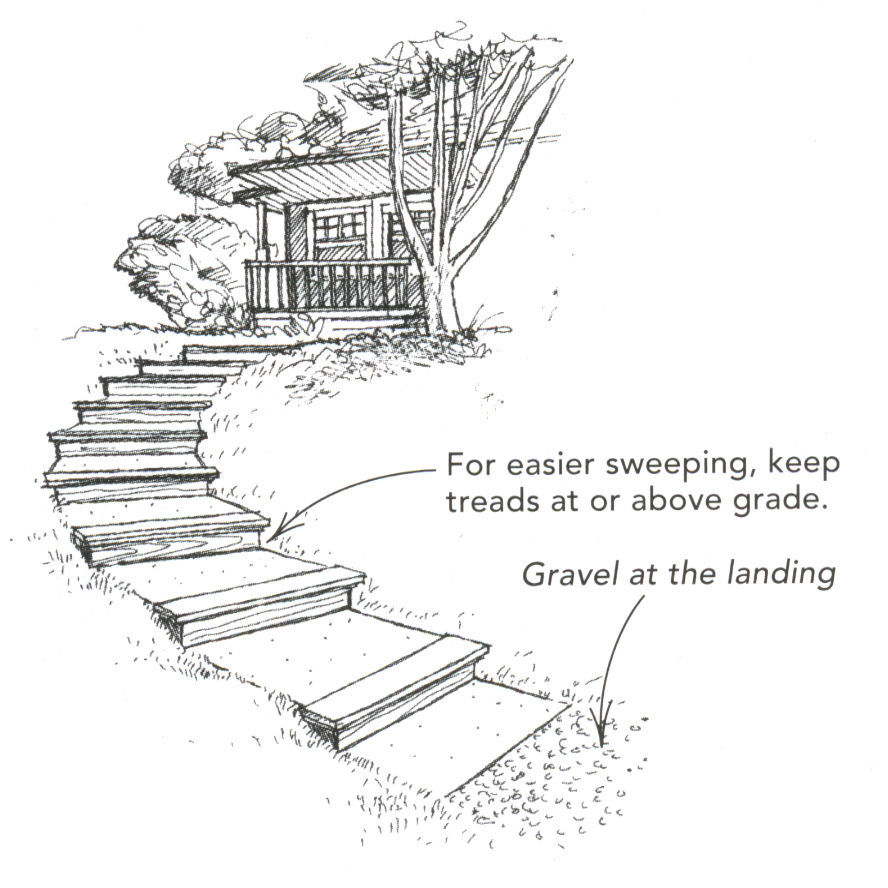
The third detail is to keep the treads at or above grade, if possible. If they are lower than grade, it’s tougher to sweep them clean of leaves and snow.
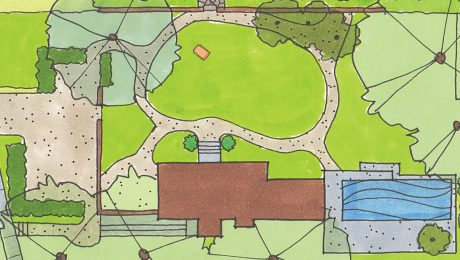
For this job, I had a 63-in. fall from the front step of the house to the driveway. The grade was too steep for a continuous pour and too shallow for standard 10-in. treads. So the owner and I decided to create a path made up of nine 7-in. risers between 24-in. treads, arranged in a curve. We draped a hose across the lawn to make sure that the curve had a pleasing sweep to it. When we were satisfied, I made up a long bending board and staked it along the curve for a place to measure and locate each tread.
I used an edger to soften the corners of the concrete portions of each tread. And I finished their tops with a wood float to create a rough texture. Each tread took about two wheelbarrows full of concrete. Galvanized lag bolts in the back of each 6×6 lock the risers and the concrete together. I decided to dress up each tread with pressuretreated apron mold and finished the job by staining the wood with a deep-brown wood preservative.
Clyde R. Kennedy, Rushville, OH


