Building a Deck: Laying Out and Installing Joists
For a sturdy, long-lasting deck, size the joists correctly for the anticipated load and space them accordingly.

Synopsis: On most decks, the joists are attached to the ledger at one end, extend away from the house, and are capped at the other end with either a beam or a single board called a rim joist. Other parts of the joist system include headers and blocking.
Joists need to be sized and spaced with considerations for loading, span, wood type, and decking material. In this excerpt from Building a Deck, author Scott Schuttner shows you how to size, lay out, and install your deck joists for maximum strength and durability in a variety of situations.
Laying out and installing joists
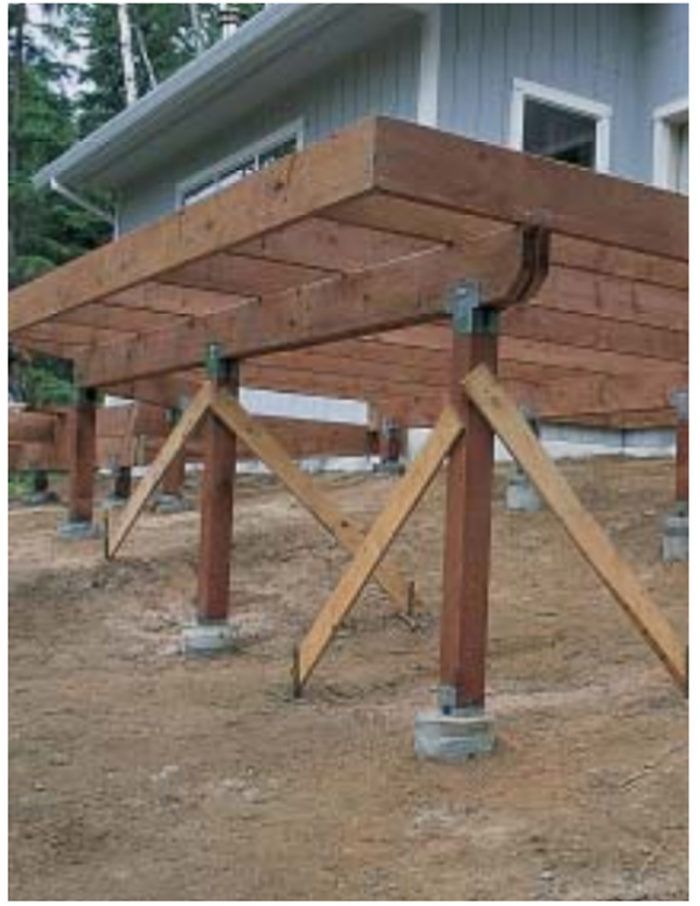
On most decks, the joists are attached to the ledger at one end, extend away from the house, and are capped at the other end with either a beam or a single board called a rim joist. Other parts of the joist system include headers (short beams made of doubled joist material that span framing discontinuities and support cut joists) and blocking (short pieces of joist material installed perpendicular to regular joists to help stabilize the system or reinforce particular areas such as railing attachment points.
Joists need to be sized and spaced with considerations for loading, span, wood type, and decking material. Like all other deck framing, joists are subject to rot and should be made from treated or rot-resistant wood. Sometimes joist framing is covered around the perimeter with a finish material called a skirt or fascia.
Sizing joists
With cost in mind, I initially choose the smallest and least number of joists that will do the job properly from the span table. In this case, the live load for this deck is 40 psf, but remember that live loads vary according to use. Wood species is also an important factor, as some woods are definitely stronger than others. Again, this difference is taken into account in the various span tables.
Although span tables are conservative, I prefer to step up to a larger joist whenever I come anywhere close to the maximum span acceptable; very seldom do I use anything smaller than a 2×8, except on small areas like landings. Overbuilding may cost a bit more, but it will give you a deck that feels solid.
Spacing joists closer will increase their span, because the load will be spread over more joists. If you are close to the maximum span, you will have to evaluate the economic advantages of choosing more closely spaced, smaller joists or choosing to use larger-sized joists that are spaced further apart. The type of decking that you are using will also influence your joist spacing. Decking such as 1½-in. thick cedar or pressure-treated wood is strong enough to span joists that are 24 in. o.c., while some of the newer composite decking materials require joist spacing to be 16 in. or even 12 in. o.c. If your decking choice requires you to place joists closer together than the span tables call for, you might be able to reduce the size of the joists.
Joist layout
Sizing the joists also helps determine the spacing between them. Usually they are placed 16 in. or 24 in. o.c., so this spacing—called the layout— needs to be marked on the ledger for one end of the joist and either the beam or rim joist at the other.
Layout isn’t complicated, but it does require a consistent approach. Make sure that your starting point on the ledger and rim joist is referenced off of a joist common to both. On a simple rectangle, this is usually the outside joist, but on more complicated decks with angles, it may need to be an interior joist that is uncut and perpendicular to both rim and ledger.
For more photos and information on building a deck, click the View PDF button below.
Fine Homebuilding Recommended Products
Fine Homebuilding receives a commission for items purchased through links on this site, including Amazon Associates and other affiliate advertising programs.

4-Gallon Piston Backpack Sprayer

Smart String Line

100-ft. Tape Measure


View Comments
The pdf link is broken.