Q:
Trying to figure out the proper cope angles for a crown-molding installation in a 135º inside corner in my kitchen has left me mumbling. I sure would appreciate some help with this problem before I end up with more waste than the trash bin will possibly hold.
Mark Banton, Trenton, MS
A:
Roe A. Osborn replies: Few things in the construction business can make me mumble to myself faster than coping crown molding. I’ve always had to resort to making a drawing.
Don’t bother with trying to draw the whole crown; just draw the 135º angle and divide it in half (see Splitting angles). An angle of 67.5º from one side of the crown is the same as an angle of 22.5º from the other side (on most planets), which will be the angle for your cope. The first piece of crown should be cut on a 45º angle (90º + 45º = 135º) to fit tightly against the opposite wall.
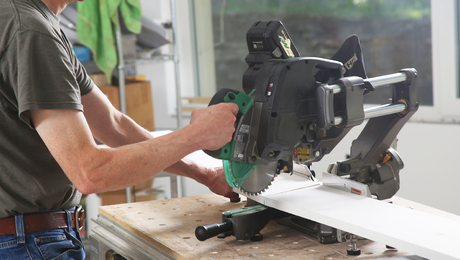
Next, set your miter saw to the cope angle of 22.5º and, using Clayton DeKorne’s cool jig (see Choosing and Using a Miter Saw, FHB #146, p. 60), cut the intersecting piece. (Don’t try to cut the crown on the flat. That practice is just for wizards and alchemists. In more than 20 years as a carpenter, I never successfully cut a crown-molding intersection on the flat.)
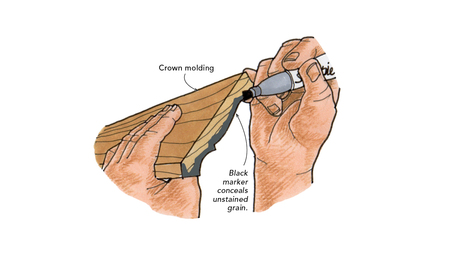
Next, cope the intersecting piece along the cutline, giving the cut a slight back bevel for an easier fit. Remember that the minimum angle of your coping saw is 45º back from the face. Test the piece. It should go right in. If the coped piece of crown is running to another inside corner, cut the uncoped end first, then measure the length back to the coped end.
If you still have doubts, take some scrap, mock up the 135º corner, and do a test fit. And for pity’s sake, stop mumbling. You’re starting to sound like me.


