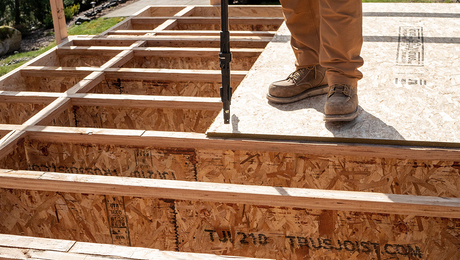
Because my crew and I frame our floors exclusively with I-joists, we needed to find an efficient way to cut them to accurate lengths. Using a regular framing square to mark them wasn’t as accurate as I like, and a Speed Square required several steps to get a line across the recessed web of an I-joist.
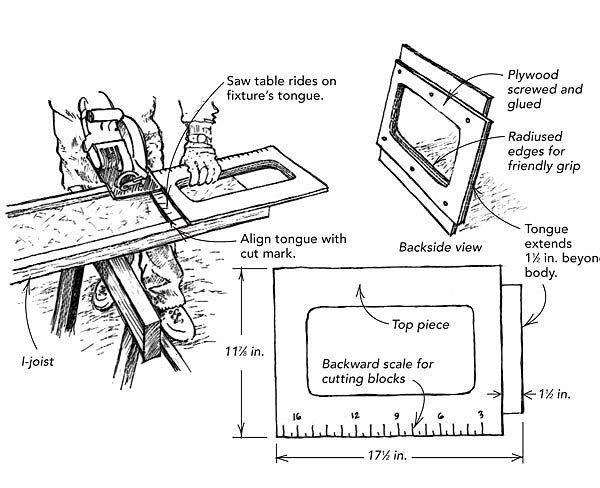
As shown in the drawing, we now use a cutoff fixture that consists of two layers of 1/2-in. plywood. We typically use I-joists that are 11-7/8 in. deep. The top piece is ripped to that width so that it spans both the top and bottom chords of the I-joist. The lower piece, or tongue, is 8-5/8 in. wide. It is screwed and glued to the underside of the top piece, and it rides between the top and bottom chords of the I-joist. The tongue projects 1-1/2 in. past the top piece. This length is the distance between the left edge of my circular saw’s table and its blade.
Before use, I cut out the center of the fixture for a handhold. Then I chuck a roundover bit in my router to smooth the cutout’s edges to make it easier on the hand. Last, I spray the fixture with lacquer to make it last in the weather. In use, the tongue of the fixture is aligned with the cut mark on the joist, and the saw table rides atop the tongue, with the edge of the table placed hard against the top piece I’m working on.
Over the years, this fixture has evolved to include a ruler scribed across the bottom edge. The ruler reads from right to left, and it’s there to help in cutting blocks. Cutting blocks to the right length is as simple as lining up the left end of the joist with the measurement of the block you need and running the saw across the joist.
— Jim Anderson, Littleton, CO
RELATED STORIES
This post contains affiliate links, which means Fine Homebuilding may receive a small commission, at no cost to you, if you make a purchase through a link. As an Amazon Associate we earn from qualifying purchases.


