Hide Those Ugly Window Shades
A valance of MDF and crown molding hides an unsightly shade.
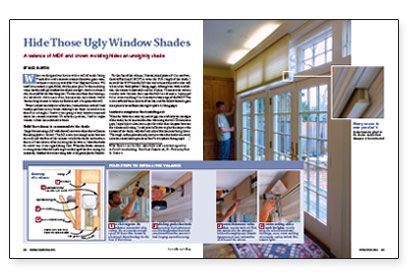
Synopsis: The construction of a simple valance is explained in drawings and photographs. This architectural detail dresses up the room, hides an energy-saving set of insulated window shades, and makes a great space to tuck some fluorescent lighting.
When we designed our house with a wall of south-facing French doors and transoms to create a luminous great room, we knew it wasn’t practical for New England winters. We used low-e coated, argon-filled, double-pane glass for the insulating value, but the dark glass looked out of place at night. And on a winter’s eve, we could feel the heat being lost. To overcome these shortcomings, we installed a white accordion, honeycomb-style shade (hunterdouglas.com) to help trap the heat and to brighten the wall.
When I pulled the shade out of the box, I immediately realized I had another problem on my hands. Although the shade retracted to less than 8 in. in height, I knew it was going to look hideous mounted above the transoms and trim. To solve this problem, I built a simple valance to hide the unattractive shade.
Build the valance to accommodate the shade
I began by mounting a 2×3 with drywall screws to where the wall meets the ceiling. The 2×3 creates just enough space between the wall and the face of the valance to hide the shade and anchors the rest of the valance. After installing the hardware, I took the shade for a trial run. It was a good thing I did: When the shade retracted, it swung toward the wall and caught on the top of the door casing. As a remedy, I blocked above the casing with a 1×2 guide.
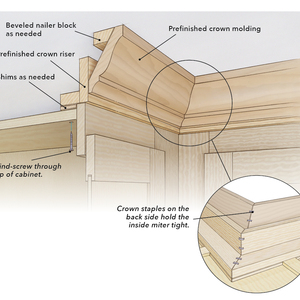
For the face of the valance, I biscuit-joined pieces of 3⁄4-in. medium-density fiberboard (MDF) to cover the 18-ft. length of the shade. I screwed the MDF into the 2×3 cleat and returned the ends to the wall to box in the shade. Although the shade was hidden, the valance looked stark and out of place. To connect the valance visually with the trim that caps the built-in cabinetry, I mounted 4-5⁄8-in. crown molding 1⁄4 in. from the bottom edge of the MDF. The crown softened the projection of the box, and the hollow behind it gave me a place to locate fluorescent lights.
Laminate completes the vanishing act
When the shade was retracted, narrow gaps were left between the edges of the shade, the valance, and the door trim along the wall. To hide these gaps, I ripped plastic-laminate strips a bit wider than the space between the valance and casing. I used panel adhesive to glue the strips to the bottom of the shade, with the back side of the laminate facing down. The rough surface painted nicely, and now when the shade is retracted, only the control cords give away the illusion.
For more photos, drawings, and details, click the View PDF button below:


