Installing an Electric Radiant Floor
Under tile, heat mats warm your toes without pipes and a boiler.
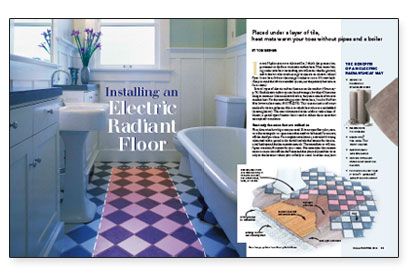
Synopsis: Tilesetter Tom Meehan takes readers step by step through the installation of an electric radiant floor in a bathroom remodel. He also explains the need for and process of testing the wires before setting the tile.
In my 30-plus years as a tile installer, I think the greatest improvement to tile floors is electric radiant heat. That warm feeling under your feet is something you will never take for granted, and it doesn’t take much energy to operate an electric radiant floor. It can be as little as the energy it takes to run a 100-watt bulb. (Keep in mind that this is a comfort system, not the primary heat source for a room.)
Several types of electric radiant heat are on the market. Each electric radiant system has advantages, but they all have one thing in common: Like an electric blanket, they use a matrix of wires to conduct heat. For the remodeling project shown here, I used a NuHeat Mat. This system consists of a mat made of a woven polyester fabric in which heat wires are embedded. The mat is laminated to the subfloor with a layer of thinset, a special type of mortar that is used to adhere tile in areas that are exposed to moisture.
Heat only the areas that are walked on
First, determine how big a mat you need. If it’s an open floor plan, measure the rectangular or square area that needs to be heated for an easy, off-the-shelf purchase. For complex installations, a detailed drawing submitted with a special order should include the location for the electrical hookup and the thermostatic controls. The manufacturer will configure a custom-fit system for your room. But remember that custom mats cost more than off-the-shelf ones and that you really need the wires only in the locations where you’re likely to stand. In either case, heat wires should never run under a cabinet or toilet, where the wires can overheat and possibly burn out.
Electric radiant heat can go over existing materials
The remodeling job illustrated here takes a different kind of preparation than new construction. A few years ago, I would have ripped out the old floor, right down to the subfloor. Now, I save the mess and extra cost, and install over a properly prepared vinyl floor.
The work starts with the electrician drilling a hole for the wires in an inconspicuous spot that doesn’t see much traffic or making a hole in the wall where the baseboard will cover it. Next, I scarify the vinyl with a grinder or sander to give the thinset a surface it can bond to. Then I nail off the floor with galvanized roofing nails 8 in. apart as if it were a piece of underlayment. This step ensures that no voids or inherent weak spots are in the floor. After nailing it off, I know this floor isn’t going anywhere.
For more photos, drawings, and details, click the View PDF button below:


