How To Mortise a Hinge with a Chisel
Learn how to to lay out and cut a mortise for a door hinge with a sharp chisel.
If you’ve got a houseful of doors to hang, a router and a hinge template are what you need to mount hinges quickly. But these tools are expensive, and they require time to set up. If you’re installing only one or two doors, you can mortise the hinges just as quickly with a sharp chisel. And if you don’t have a door buck, handy, try this trick.
Wood chisels are not fully sharpened at the factory. For fine carpentry work, the back of the chisel must be perfectly flat, and the beveled side must be razor sharp. Plenty of jigs are available to simplify this process, or you can send your chisels to a local sharpening service. Either way, make sure the chisel is sharp before you start. There are plenty of ways to accomplish that, but to get you started, have a look at this guide.
Becoming proficient with a chisel is useful for more than just hinges. Among other things, the mortising and carving techniques shown here can be used to install strike plates.
Laying out the mortise
Follow the sequence below to lay out and mark the mortise using a pencil, a sharp knife, and an awl.
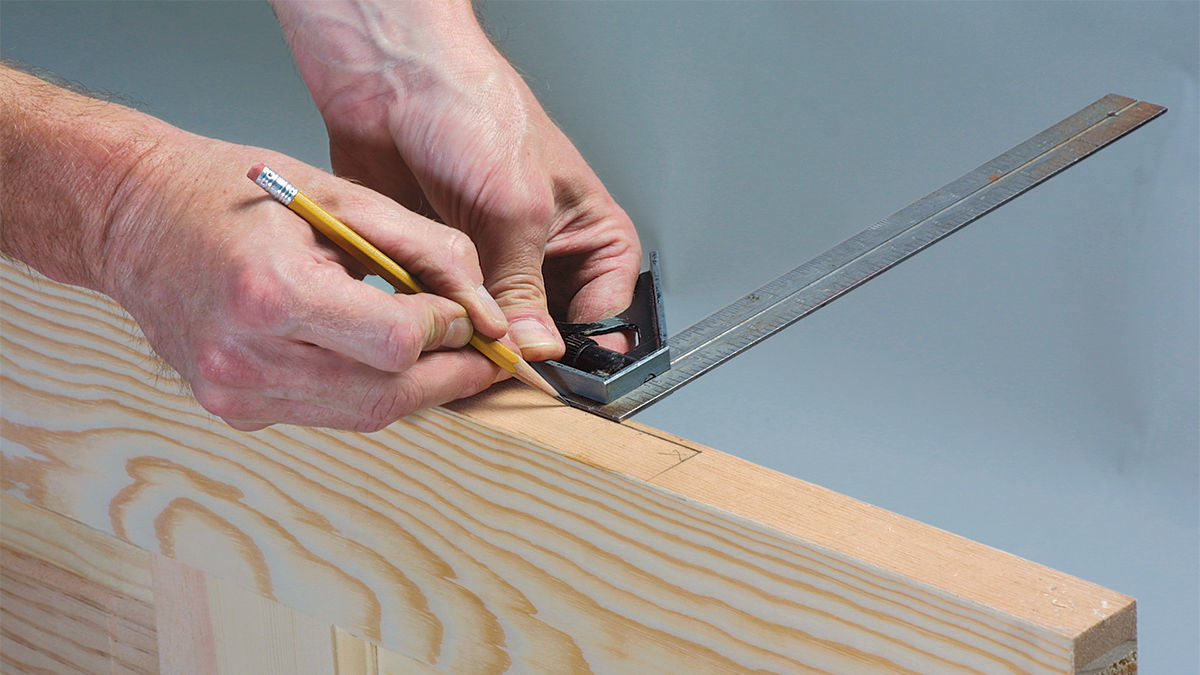
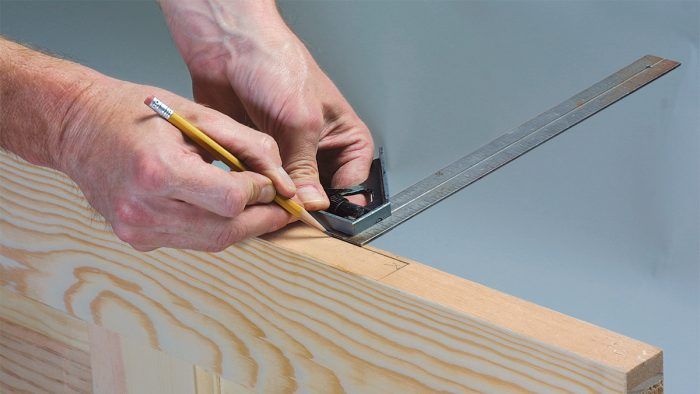
1. Locate the back of the hinge on the door. Using a combination square — with 1/4 in. of blade exposed — as a gauge, lay out the back edge of the hinge with a pencil.
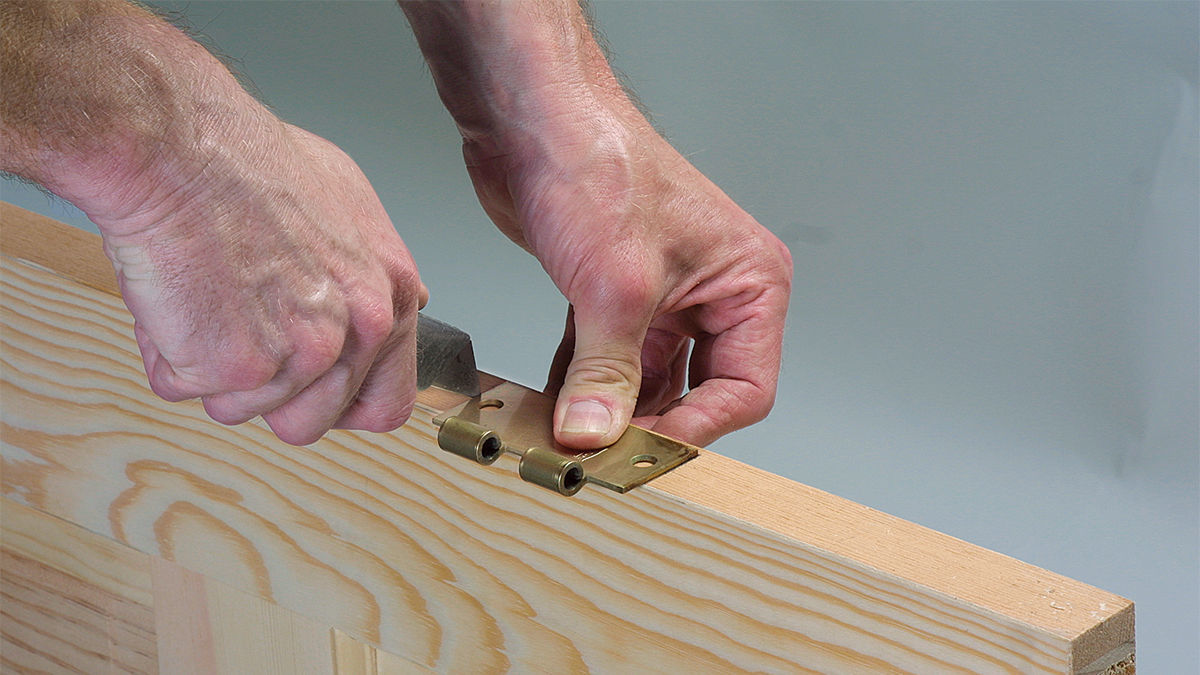
2. Score along the ends of a hinge leaf. It’s easy to control a sharp knife cutting across the grain. Scoring offers a distinct and easily located starting spot for the chisel.
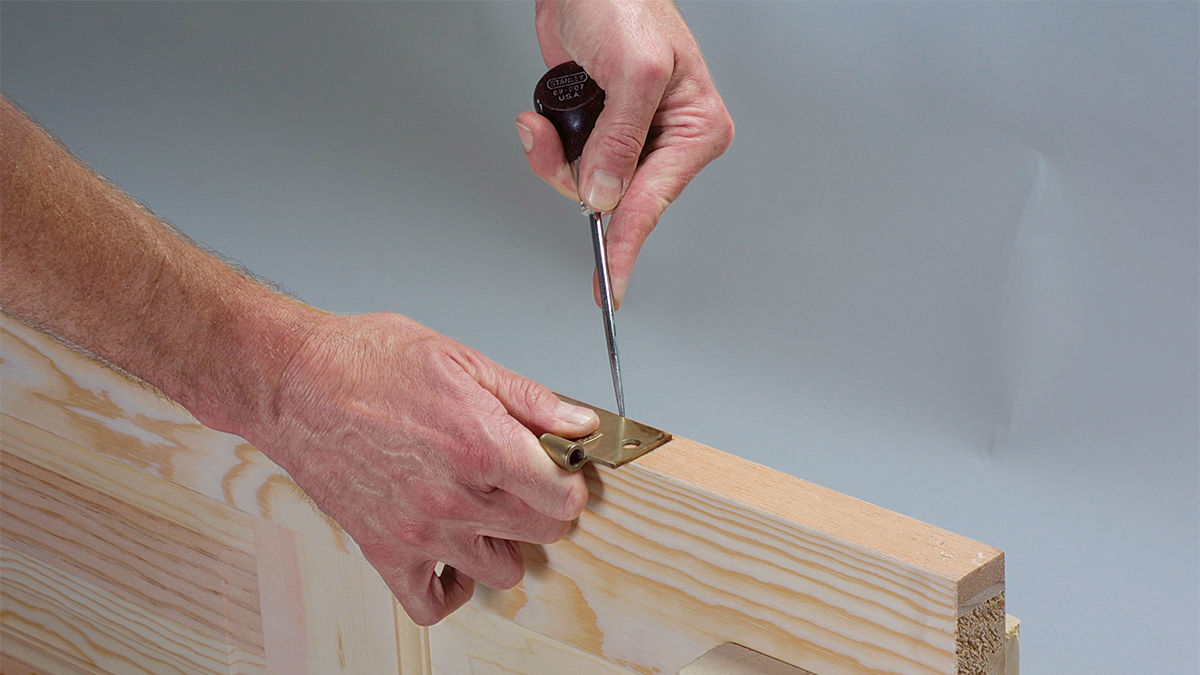
3. Change tools to score along the back of the hinge. Because it’s less likely to follow the grain and go off course than a knife, an awl is a good choice to score the line marking the back of the hinge.
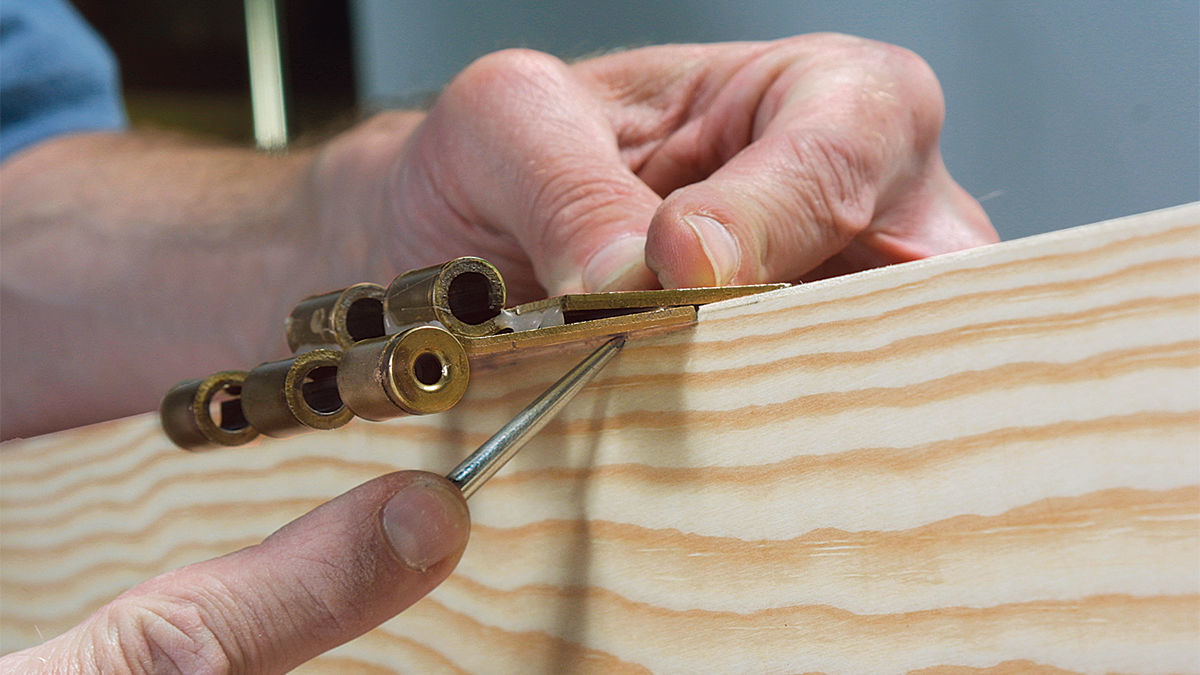
4. Before putting away the awl, use it to score the depth of the mortise. A couple of scrap hinge leaves — stuck together by a dab of hot glue — can serve as a depth gauge.
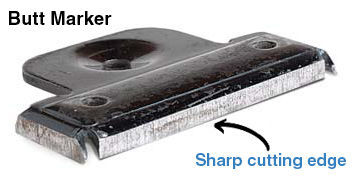
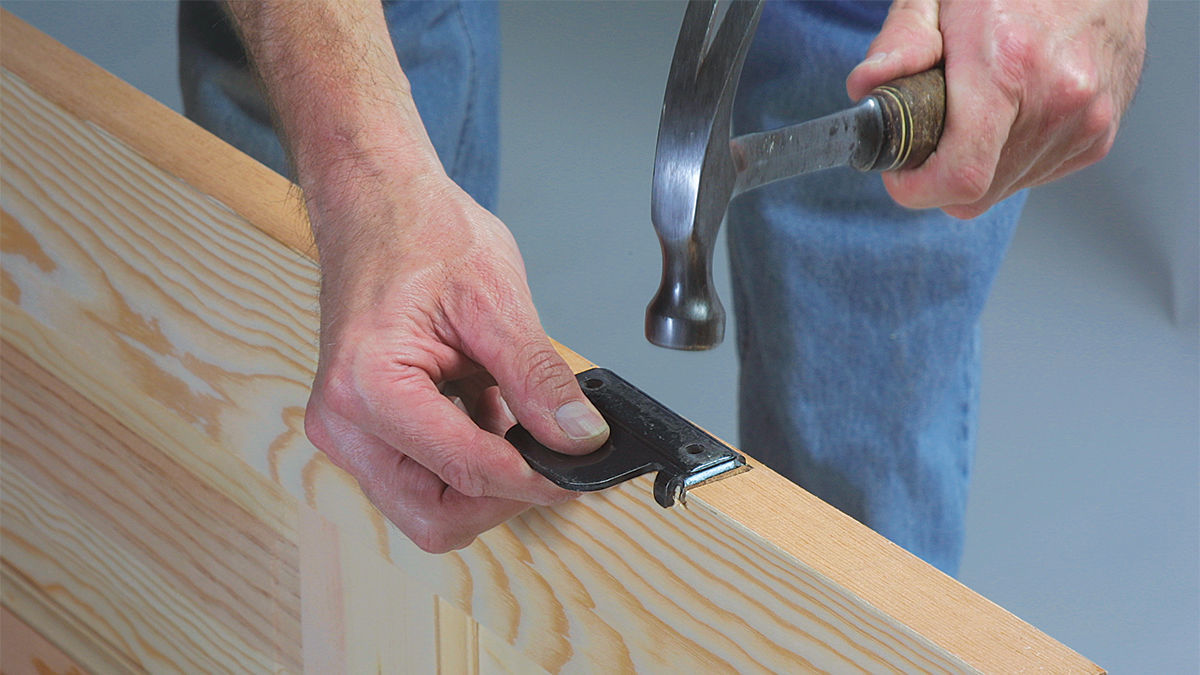
Alternatively, there’s a $10 tool that can eliminate the guesswork. With three sharp edges that match the dimensions of a typical (3-in., 3-1/2-in., or 4-in.) butt hinge, a Butt Marker (The Stanley Works; www.stanleyworks.com; 860-225-5111) establishes and cuts the outlines of the hinge mortise with a few good whacks from a hammer.
 |
 |
Working with a chisel
Follow the sequence below to chisel out the mortise.
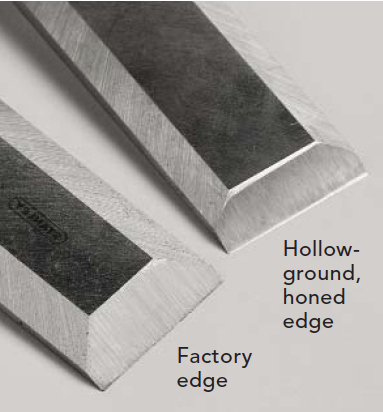
5. Start with a sharp chisel. An out-of-the-box chisel such as the one on the left is acceptable only for framing and other rough jobs. The chisel on the right had been hollow-ground on a bench grinder before it was honed on a series of progressively finer stones.
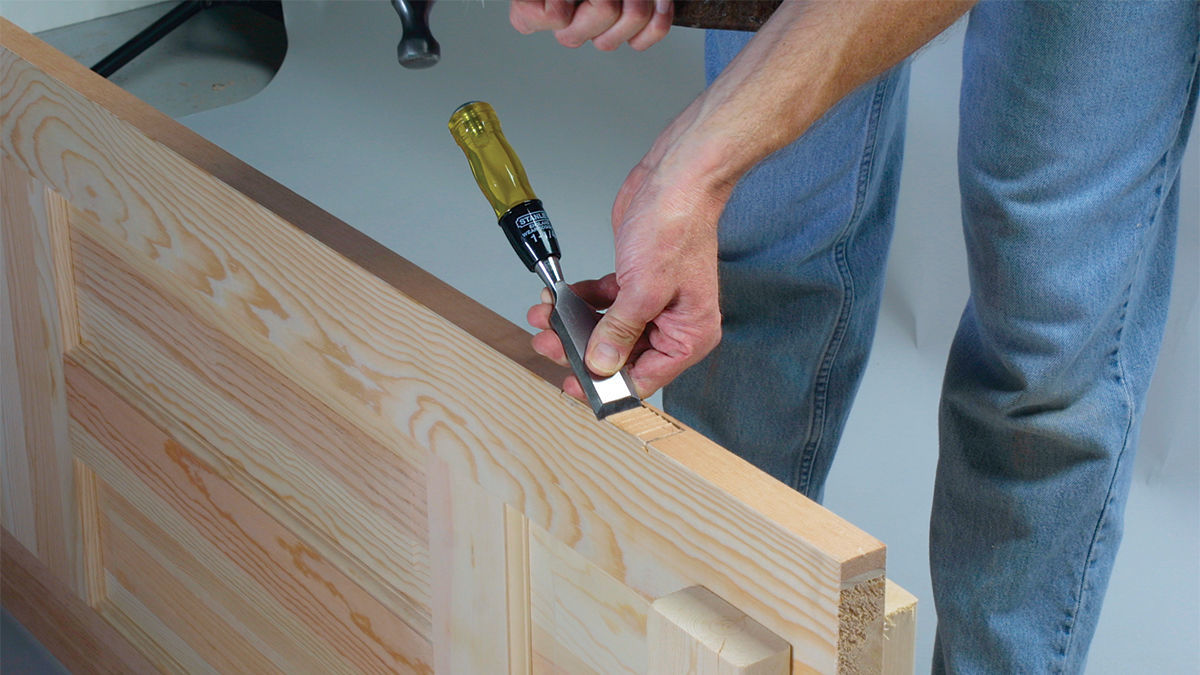
6. A series of shallow cuts is the key to a precise mortise. Holding a 1-1/4-in. (or wider) chisel at about a 45º angle, chop across the grain in increments of about 1/4 in. Gently tap the chisel with a hammer until the edge of the blade reaches the scored depth line. With practice, you’ll develop a rhythm that lets you reach the desired depth without needing to glance at the line.
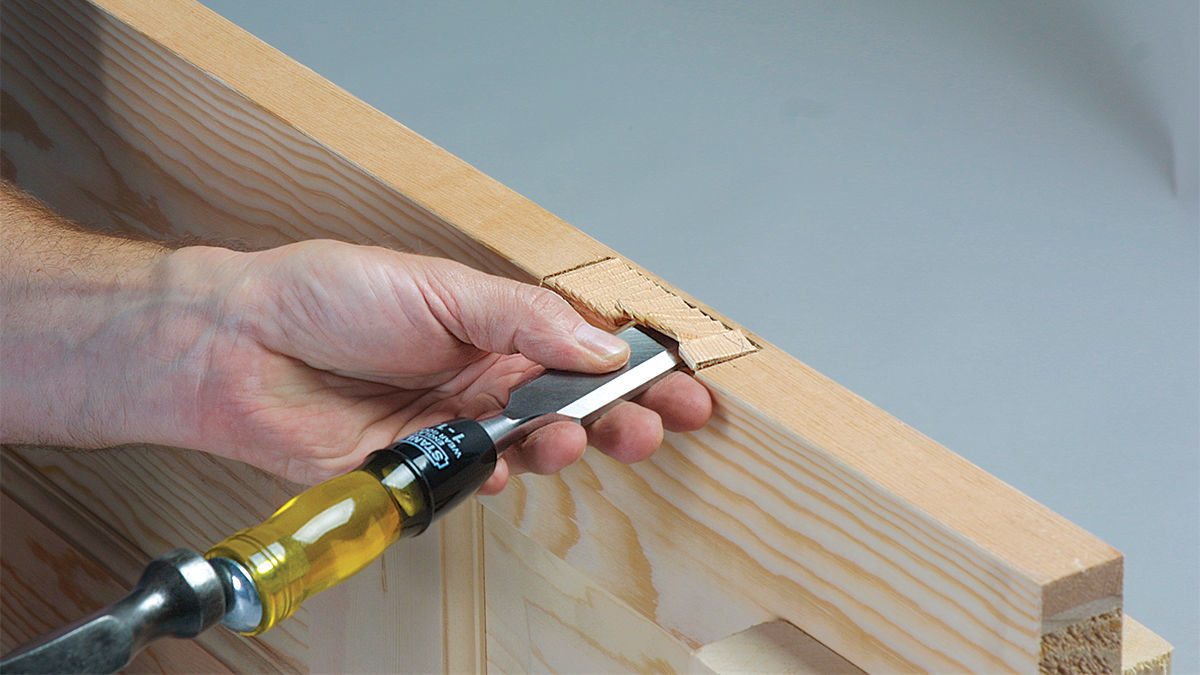
7. Horizontal slices remove the waste. Starting about 1/2 in. from one end of the mortise, place the blade (bevel side up) into the awl score and gently pare off the waste. You may need to start the cut with a soft hammer tap, but finish with hand pressure only. Make sure the first cut is flat and smooth, then use the finished surface as a guide for subsequent cuts.
 |
 |
8. Shim it if it’s too low. Don’t worry if the mortise ends up too deep. One or two cardboard shims (cut from the same box that the hinges came in) easily make up the difference.
Special bit makes hinge mounting a snap
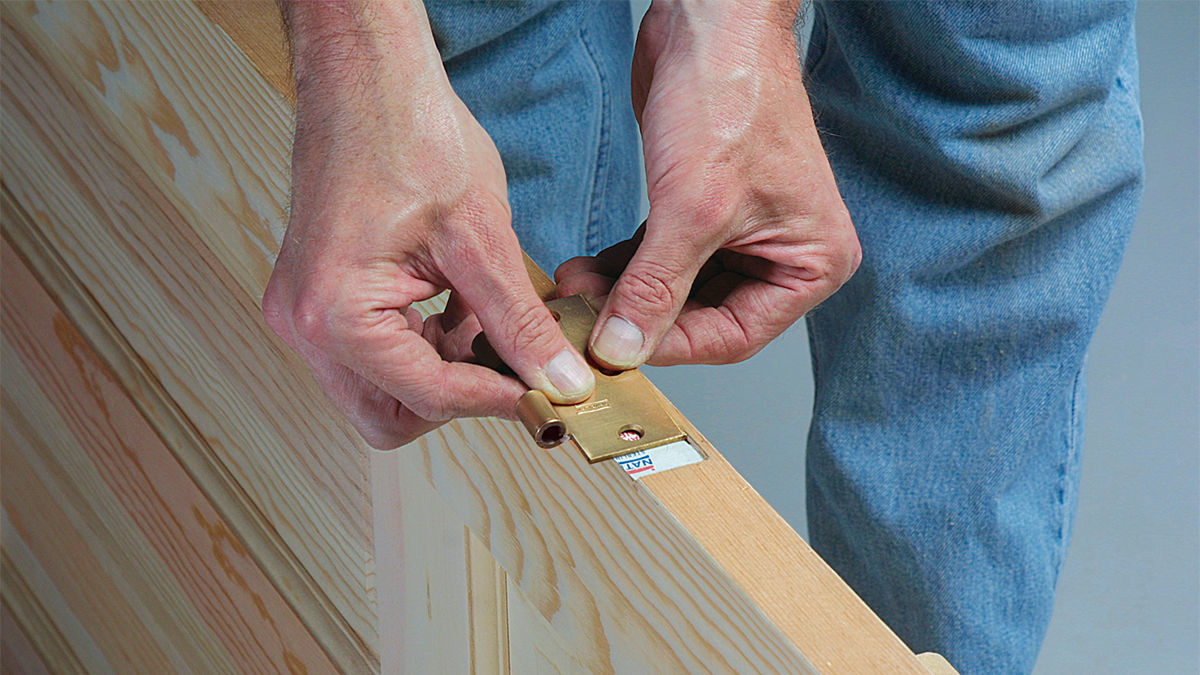
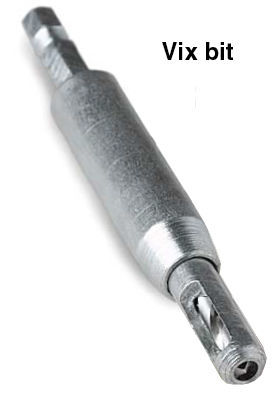
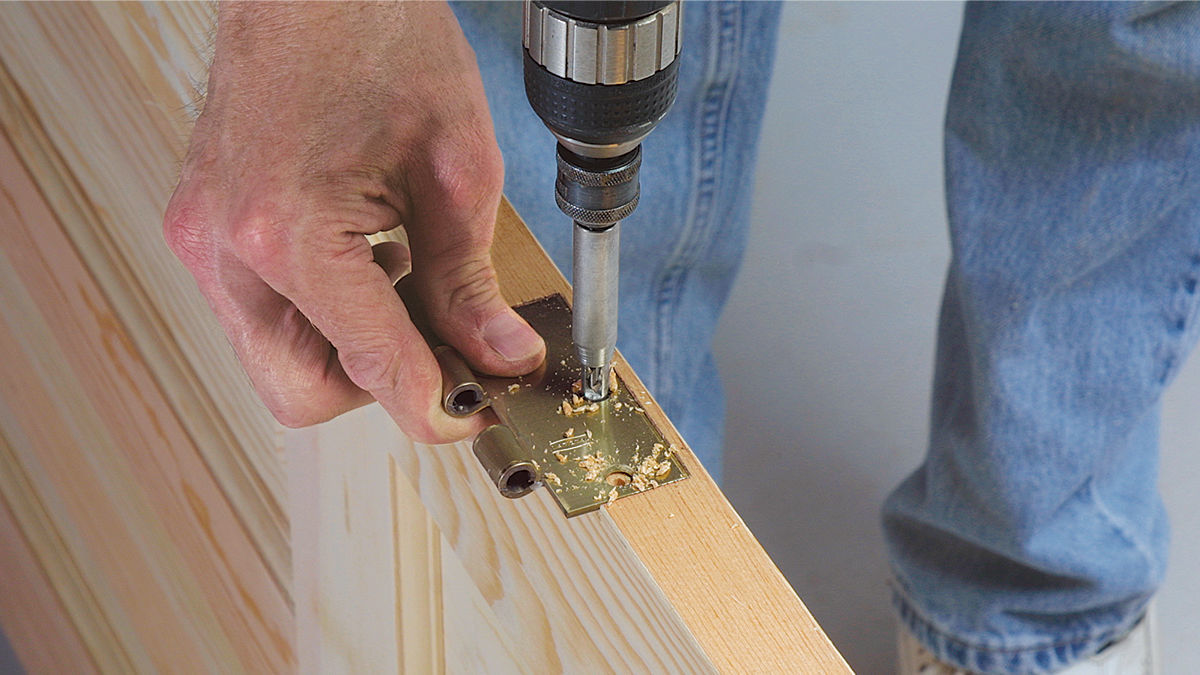
After creating a flawless mortise, you don’t want a bunch of crooked screws sticking out at all angles. A #8 self-centering hinge bit, also called a Vix bit (Eagle America; 800-872-2511; www.eagle-america.com), ensures that all screws are centered and plumb. Using the hinge as a template, place the bit in the screw holes and drill.
 |
 |
Tom O’Brien is a former Fine Homebuilding editor. Photos: Brian Pontolilo
More on door hinges:
Hinge Adjustment for a Door’s Final Fit – Adjusting screws, mortises and hinges on interior doors leads to a perfect fit.
Shop-Made Hinge Mortising Jig – If you have lots of doors to hang, a router and this easily made jig will help you cut mortises accurately and quickly.
How to Transfer Hinge Locations to a Replacement Door – Installing a new door in an existing jamb starts with marking hinge locations on the door slab accurately. Here’s how.

