Small Kitchen for a Small House on a Small Budget
A Chicago couple makes imaginative use of stock cabinets and salvaged materials to rebuild an old kitchen.
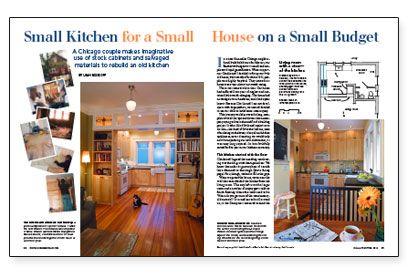
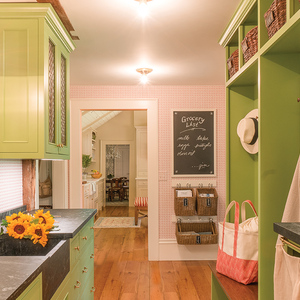
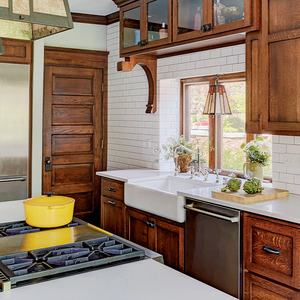
Synopsis: Framed by built-in hutches, this remodeled kitchen has become the focal point of a 1901 bungalow. The design allows daylight from the kitchen to penetrate deeply into the living room. A sidebar by the homeowners offers feedback on using IKEA cabinets.
In a once blue-collar Chicago neighborhood, built by laborers for laborers, our Bucktown bungalow sits small and simple amid rapid gentrification. When my partner Charlie and I decided to fix up our little old house, built mostly of bricks in 1901, people were highly skeptical. They insisted our house was a “tear-down” not worth saving.
There was some truth to that. Our house had suffered from years of neglect and contained little worth salvaging. The house had no vintage trim or hardware, and it had a poor layout. Because Charlie and I are not developers with deep pockets, we instead decided to use our skills to build some sweat equity.
This journey would prove to be long, complete with all the ups and downs that accompany trying to live in the middle of a building project. It takes blind faith and optimism to do this — the kind of faith that led me, soon after closing on the house, to buy all our kitchen appliances, never dreaming we would only now be unpacking our new dishwasher, its warranty long expired. Its box faithfully served for five years as our kitchen countertop.
This kitchen started with the floor
Charlie and I agreed that one thing worth saving was the old-growth heart-pine floor. We knew that under its gummy layer of varnish lay a diamond in the rough. First, though, we had to fill in the gaps.
When we gutted the house, we tore out the wall that once divided the kitchen from the living room. This step left us with a larger room and a number of empty spots with no finish flooring where the walls used to be. Where do you get more of the same century-old material? It turned out to be all around us, in the Dumpsters scattered around the neighborhood from other demolitions taking place. Most of the original houses around here had the same type of tongue-and-groove flooring, thus making a little Dumpster-diving a fruitful adventure. We laced together our old floor with the scrounged boards, and after sanding, the lacing was undetectable.
Sanding the floors was a point of contention between Charlie and me. He wanted to hire professionals to do the sanding, but I insisted on doing it myself to save money. I now can say with great confidence that it’s best to leave the floor-sanding to the pros. It is difficult for a novice to achieve a smooth floor, and it is well worth $1 to $2 per sq. ft. to have someone else do that back-breaking work.
Heart pine’s deep amber color gets better with age. To emphasize this color, I flooded the floor with three coats of boiled linseed oil. After a proper curing and buffing, I applied three coats of oil-based polyurethane in a satin finish. Heart pine is a relatively soft wood that scratches and dents easily. This finish strengthens the surface, helping to prevent such flaws.
For more photos, drawings, and details, click the View PDF button below:
