A Simple Approach to Raised-Panel Wainscot
Stock molding and MDF panels transform a room with paneling.
Synopsis: Raised-panel wainscot speaks of a time when craftsman had an abundance of skill, and the time to display their talents. With the right materials and information, however, the process can be simplified, making the project much less expensive and far less time-consuming. This article explains how to do just that, as builder Gary Striegler shares his tips for crafting great-looking raised-panel wainscot using MDF, a router table, and the most basic carpentry tools. Detailed instructions and pictorials guide you through the entire process, teaching you how to avoid common problems such as splits, and how to keep installation quick and simple.
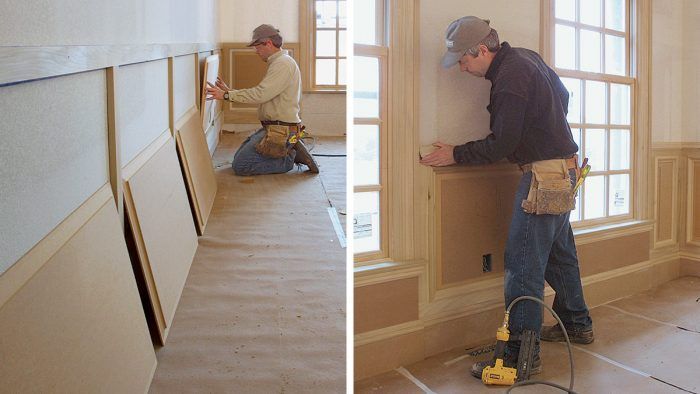
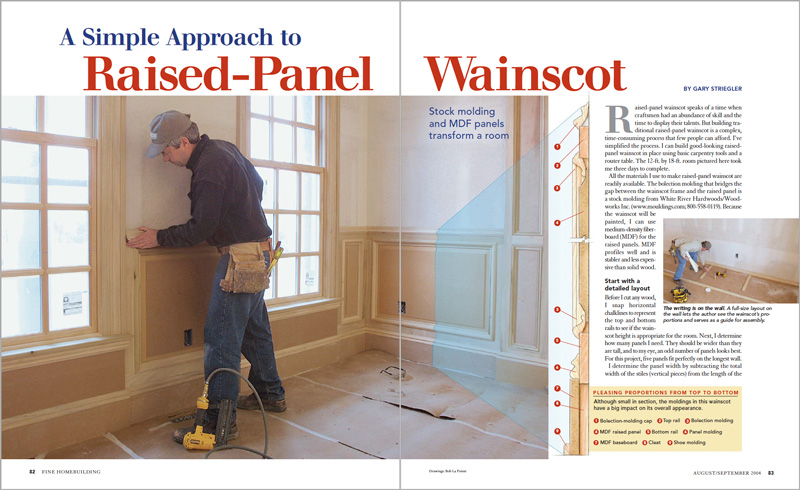
Raised-panel wainscot speaks of a time when craftsmen had an abundance of skill and the time to display their talents. But building traditional raised-panel wainscot is a complex, time-consuming process that few people can afford. I’ve simplified the process. I can build good-looking raised panel wainscot in place using basic carpentry tools and a router table. The 12-ft. by 18-ft. room pictured here took me three days to complete.
All the materials I use to make raised-panel wainscot are readily available. The bolection molding that bridges the gap between the wainscot frame and the raised panel is a stock molding from White River Hardwoods/Woodworks Inc. Because the wainscot will be painted, I can use medium-density fiberboard (MDF) for the raised panels. MDF profiles well and is stabler and less expensive than solid wood.
Start with a detailed layout
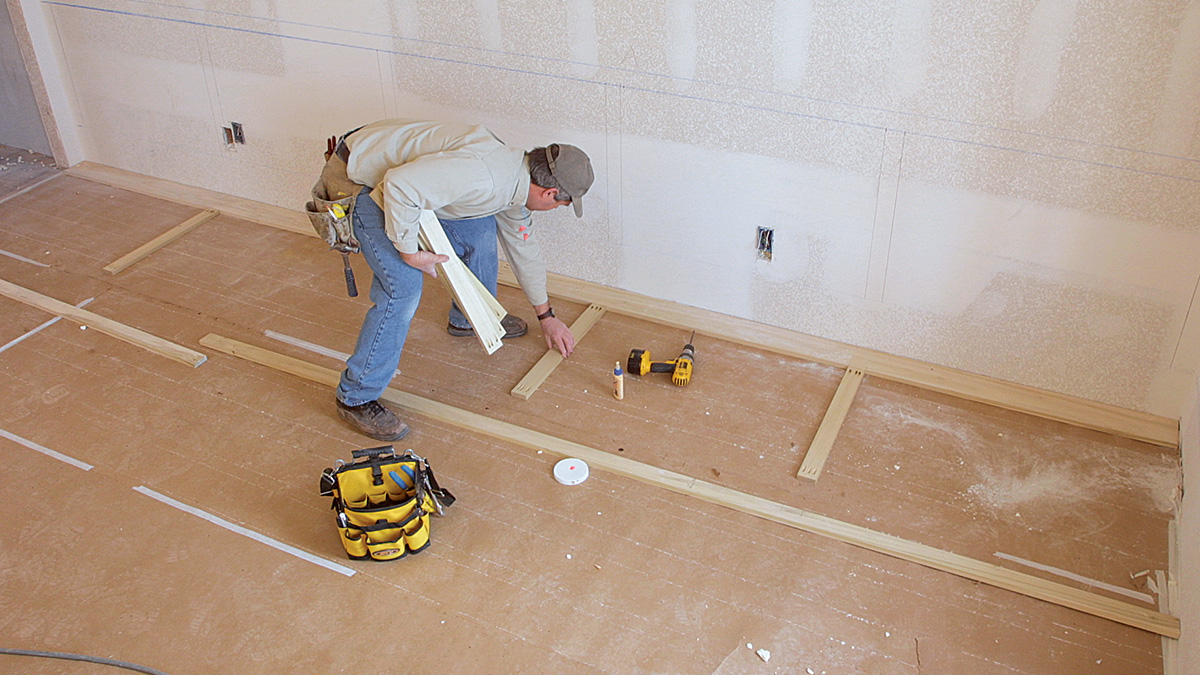
Before I cut any wood, I snap horizontal chalklines to represent the top and bottom rails to see if the wainscot height is appropriate for the room. Next, I determine how many panels I need. They should be wider than they are tall, and to my eye, an odd number of panels looks best. For this project, five panels fit perfectly on the longest wall.
I determine the panel width by subtracting the total width of the stiles (vertical pieces) from the length of the wall. I take into account that one panel will overlap another in corners and that the lapped stile should be 3/4 in. (the thickness of the stile) wider. Then I divide the result by the number of panels. Once I have the panel width figured out, I use a level to lay out the stiles on the wall. If any electrical boxes fall on a stile or panel edge, I have my electrician move them.
Build the longest frame first
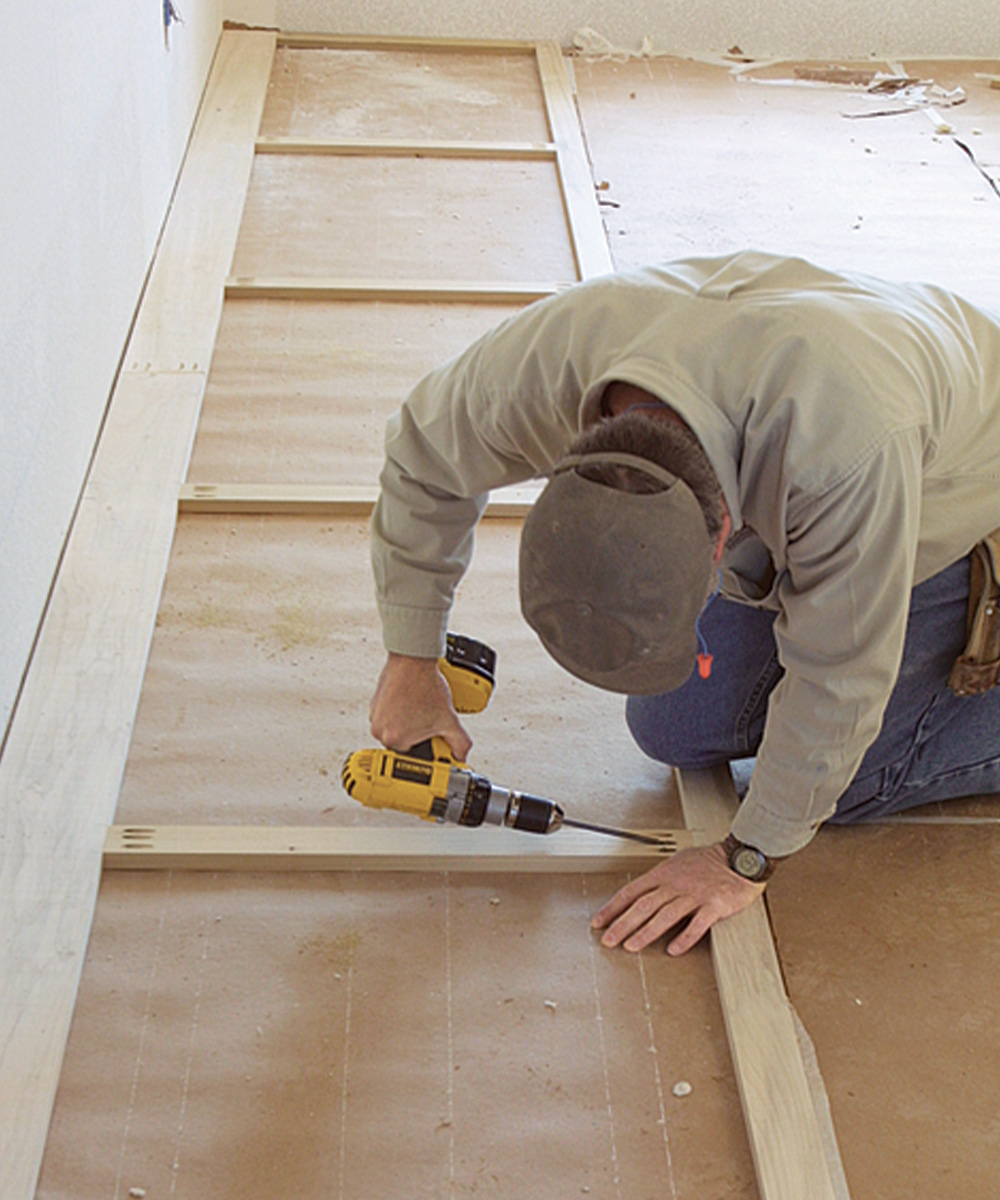
Because it’s easier to make fitting adjustments to the smaller frame of the shorter wall, I assemble and install the longer frame first. The frame stiles and rails must be the same thickness, so my first frame-making step is to run all frame stock through a portable planer. I also use this machine to plane all rails to width by running them through the machine on edge.
Finding clean, straight lumber in 18-ft. lengths is nearly impossible, so I use pocket screws to assemble the top and bottom rails from two shorter pieces. I make certain that the top rail’s butt joint breaks on a stud and is not in the same panel as the bottom rail joint. I make the overall rail lengths 1/8 in. shorter than the wall to ensure that the rails fit easily. Any gap will be covered by the adjoining wall’s overlapping stile…
To read the entire article, please click the View PDF button below.
From FineHomebuilding #165
Fine Homebuilding Recommended Products
Fine Homebuilding receives a commission for items purchased through links on this site, including Amazon Associates and other affiliate advertising programs.
Cadex 18-Gauge Brad Nailer (CB18.50)

Bosch Wall Scanner (GMS 120)
DEWALT Impact Driver (DCF885)

