Handsome Transoms
Learn how to make transom windows using only three router bits and a few basic carpentry tools.
Synopsis: In this article, we give you all the tricks you need to know to make crafting these windows a breeze. Simple formulas will help you ensure that your windows fit the scale of the door below them, and our routing tips make the job quick and foolproof. Highly detailed illustrations and pictorials correspond with the text to create a step-by-step guide which is both comprehensive and easy to follow.
Traditionally, a transom window is made with special matching shaper cutters that mill the parts so that they interlock. Instead, I make transom windows using just three common router bits: a slot cutter, a rabbeting bit, and a round over bit.
The trick to building a transom window successfully is making a strong joint where the muntins (vertical dividers between panes of glass) and the stiles (side members) join the rails (top and bottom members). These pieces usually are too small for biscuits or pocket screws, so I opt for a modified mortise-and-tenon joint instead.
Layout: sizes that make sense
The width of the transom should be the same as the width of the door below it; the width of the stiles on both also should match. On the window, I try to make the glass openings 2 in. to 3 in. taller than they are wide. The muntins should be at least 1 /2 in. wide (without the glass stop), but I think 5 /8-in.-wide muntins look better in most cases and make a stronger joint. Using these various dimensions as a guide, I adjust the exact size and the number of openings to get the rail width. Shorter transoms (for shorter ceilings) may need rails as narrow as 2 in.
Foolproof routing in logical steps
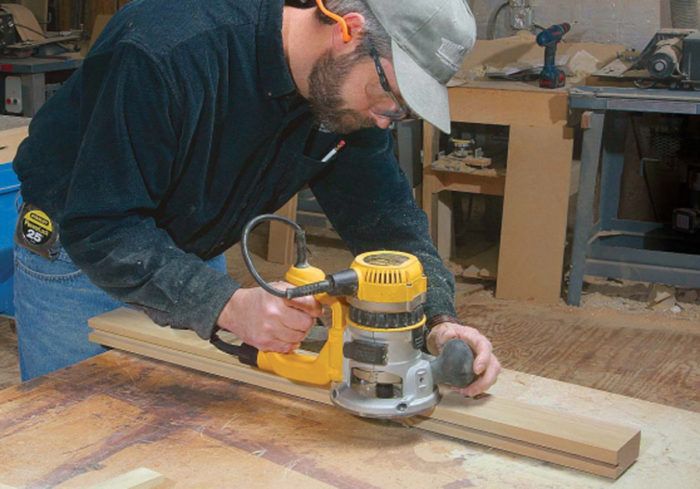
The first big step is planning all material to the same thickness, in this case 11 /2 in. The next step is milling the pieces in a logical progression of router cuts. The first cut I make is a groove in the rails, using a slot cutting bit. Router passes on each face keep the groove centered. A bearing sets the depth of the groove at 3 /8 in.
Next, I make the tenons on the stile and muntin stock. (For the muntins, I rip the narrow widths after tenons are cut in wider stock.) I use a bearing-guided rabbeting bit for these cuts.
A rabbeting bit causes a little tearout on the edges, so I leave the pieces slightly wide and clean them up later with a planer. Again, a series of cuts from each face centers the tenon. Instead of measuring the tenon width, I dial in the final passes until the tenon fits snugly in the groove.
After the tenons are cut, I clean up the stiles and rip the muntins to their finished widths. To space the muntins on the rails, I set the stiles and muntins in the groove of a rail at one end and measure the rail length that remains. Dividing that number by the number of panes gives the muntin spacing between stiles.
For more photos and details on transom windows, click the View PDF button below.
