Raising a 12×16 Timber Frame
A parts list and a close look as timbers come together as a structure
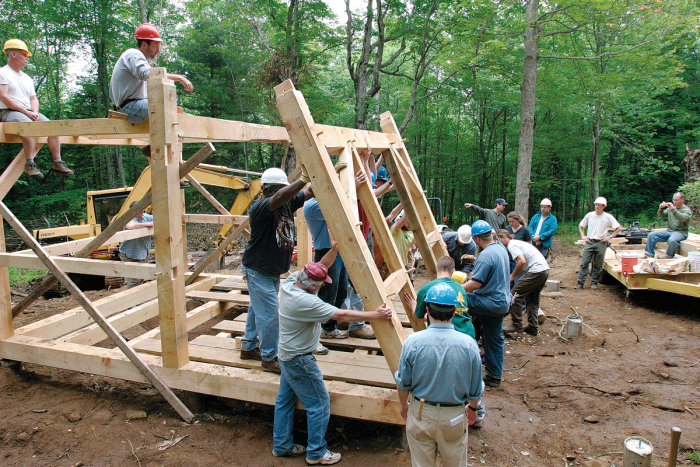
In the October/November 2004 issue of Fine Homebuilding (#166), Will Beemer, director of the Heartwood School in Massachusetts, describes a student exercise that involves all the major elements of timber framing: the construction and raising of a 12×16 structure. Here you’ll find some tips for timber framing, a Parts list, and a photo-essay of a recent raising. For Will’s article, see Fine Homebuilding #166, pp. 94-99.
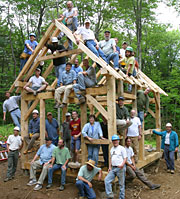 This frame should be placed on a continuous foundation or piers placed under each post location.
- Before assembling any mortise and tenon joints, be sure that the mortises are clear of chips and other debris.
- It’s also a good idea to recheck tenons to make sure they’re not oversized. Before driving any pegs look into the peg hole to make sure it’s clear and the drawbore is not too great; you should be able to see at least half of the peg hole in the tenon.
- Pegs should be tapered to pull the drawbore up tight. Drive all pegs from the layout face, and hit them squarely to avoid splitting them.
- Be safe! Hard hats should be required for anyone working underneath. As few tools as necessary should be taken aloft during roof framing, and they should be well secured to their users. All work stops when a chisel is being used. Never leave a tool laying on a timber where it could fall and hit someone below. Listen carefully to the raising leader, keep unnecessary chatter to a minimum and always be aware of what’s going on around you.
Parts list for 12×16 timber frame
- Posts / 7×7 / 6 at 10 ft.
- Sills / 8×8 / 2 at 12 ft., 2 at 16 ft.
- Joists / 5×7 / 5 at 12 ft.
- Tie beams / 7×8 / 3 at 12 ft.
- Plates / 7×8 / 2 at 18 ft.
- Rafters / 5×5 / 18 at 10 ft.
- Loft joists / 4×6 / 4 at 8 ft.
- Mid-girts / 4×5 / 4 at 8 ft., 2 at 12 ft.
- Door posts / 4×5 / 2 at 10 ft./ 5×5 / 2 at 8 ft.
- Collars / 3×5 / 2 at 10 ft.
- Braces / 3×5 / 5 at 10 ft.
- Pegs (12 in. long) / 12 at 1-in. dia., 75 at 3/4-in. dia.
Note: The frame members specified here were cut from white pine and designed for this specific structure in western Massachussetts and may not be suitable for all locations. Please consult a structural engineer and your local building officials before you build.
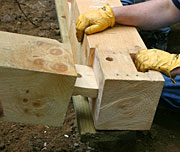 Place one of the long sills on the foundation.
 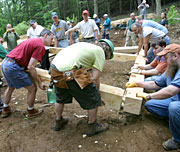 Insert the tenons of the two short sills and soffit tenoned joists and lightly snug up pegs to hold the joints together while working on the opposite long sill.
 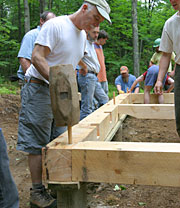 When other long sill is in place and all joints fit well and are secure, drive home pegs making sure to stop driving when the pegs hit the foundation underneath.
 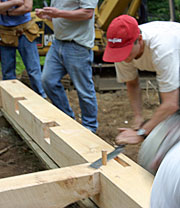 Cut off pegs flush with the floor.
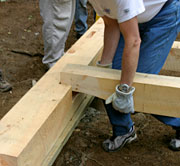 Shim floor frame (if necessary) until level. Square up the floor frame by measuring diagonals and adjust frame until diagonals are equal. Drop in remaining joists. Put temporary planking or plywood on floor for safety.
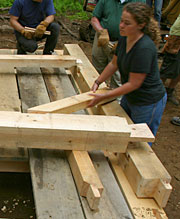 Assemble the first bent on the floor frame with the stub tenons on the bottom of the posts lined up over the mortises.
 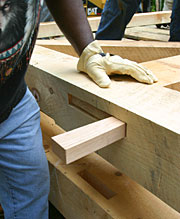 All bents are assembled with layout face up. Work posts onto wedged dovetail tenons on the tie beam while inserting braces and girts.
 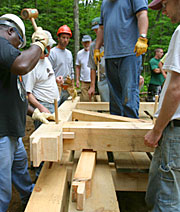 Snug up pegs, driving wedge alternately with 1-in. peg on the dovetail joint. When all joints appear to fit well, drive pegs home always being aware of what the peg could hit underneath.
 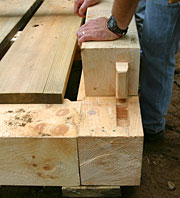 For the first bent, insert a penny with this year’s date into a stub tenon mortise.
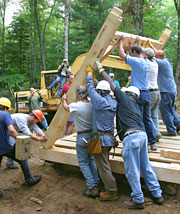 Raise the first bent. Two people should be on the foot of each post to make sure the stub tenons start into their mortise cleanly.
 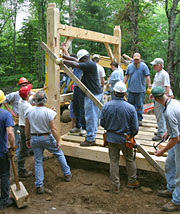 Use the beetle (large mallet) to adjust as needed. Secure plumb with temporary bracing.
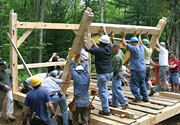 Assemble and raise bents 2 & 3 following the same procedure as bent 1. Insert bay girts as necessary while raising.
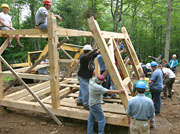
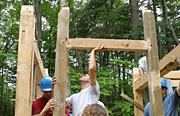
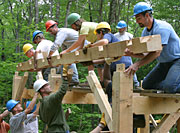 Place planking across tie beams (or erect staging) and lift the plates to that level.
 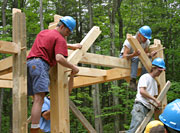 Insert plate braces into posts and snug up pegs in posts to hold the braces in place.
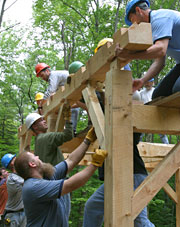 Lift plates onto tenons in posts and braces, with people on each brace to make sure it feeds into its mortise. Use the beetle to adjust as necessary.
 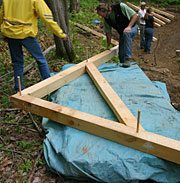 Place planks across plates between rafter seats #1 & 2 in order to reach the rafter peaks.
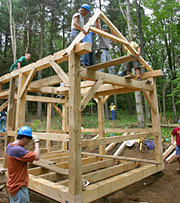
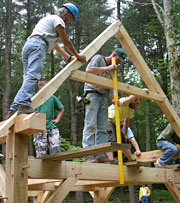
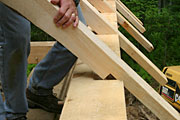
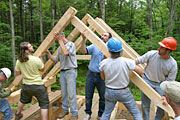
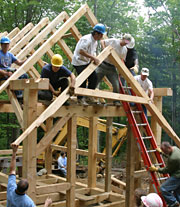 Assemble rafter pair #7 on ground with collar tie, hand up to roof crew and install. Plumb end rafters over tie beam and nail spacer boards diagonally across all rafters to maintain proper spacing (32 in. o.c.).
Will Beemer is co-executive director of the Timber Framers Guild and director of the Heartwood School in Massachusetts (www.heartwoodschool.com) in Washington, Massachusetts. He has been timber-framing for 25 years. Photos: Chuck Bickford


