Make Your Own Laminate Countertops
With inexpensive tools and materials, you can build durable, distinctive work surfaces in just about any size or shape.
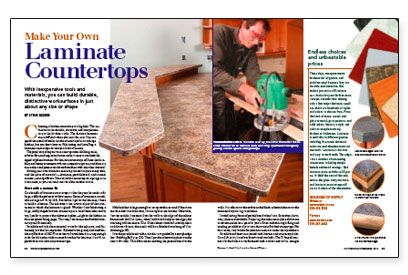
Synopsis: From preparing the particleboard substrate to gluing down the laminate, this article takes you step by step through the process of making your own laminate countertops. You’ll also find tips for working with contact cement and for bending and routing the edges.
Choosing a kitchen countertop is a big deal. The surface has to be durable, attractive, and complementary to the kitchen’s style. The decision becomes more difficult when you consider cost. You can spend thousands of dollars on the countertops for an average kitchen, but you don’t have to. Fabricating and installing a laminate countertop can save you loads of money.
The popularity of expensive countertop materials like granite, solid surface, and engineered stone makes it easy to overlook the appeal of plastic laminate. But laminate countertops still have the durability and beauty to compete with more expensive options, and there are more colors and patterns to choose from than with any other material.
Making your own laminate countertops doesn’t require many tools, and the price of materials — laminate, particleboard, and contact cement — is insignificant. You can make countertops in a garage or in a basement, or you can work outside if the weather is nice.
Start with a custom fit
One benefit of laminate countertops is that they can be made to fit large, oddly shaped areas without seams. Sheets of laminate are available as large as 5 ft. by 12 ft. But before I get to the laminate, I have to build a substrate. The substrate is the structural part of the countertop to which the laminate is glued. Whether I am fabricating a large, oddly shaped kitchen countertop or a small bathroom-vanity top, I prefer to prepare the substrate in place — right in the kitchen, in this case. This way, I can be sure the finished countertop will fit correctly.
Particleboard is the best material to use for the substrate, and fortunately, it is the least expensive. Plywood is too grainy, and medium-density fiberboard (MDF) is too heavy. Particleboard is strong enough to do the job and provides a smooth surface for laminate. I use 11⁄16-in. particleboard to make my countertops.
If the kitchen is large enough to set up sawhorses and if the room can be sealed to contain dust, I work right in the kitchen. Otherwise, I set up outside. I measure from the walls to the edges of the cabinet frames and add 3⁄4 in. Later, when I add wood strips to the edges, the overhang will increase to 1 1⁄2 in. If the cabinets have full-overlay doors and drawer fronts, the result will be a finished overhang of 3⁄4 in.
I cut the particleboard with a circular saw guided by a straightedge. Then I put the substrate in place to make sure it fits well. This often means scribing the particleboard to the walls. It is safer to cut the scribes on the blank substrate than to cut the laminated top during installation.
For more photos, illustrations, and details, click the View PDF button below:


