Running Power Outside
If you're bringing electricity to an outbuilding, digging the trench is probably the toughest part of the job.
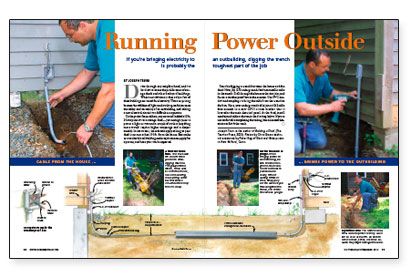
Synopsis: Adding lights and outlets to an outbuilding can greatly improve its usefulness. Here you’ll learn the basic steps, along with the code requirements, of how to run an underground wire from one building to the next.
Drive through any neighborhood, and it’s hard not to notice the proliferation of storage sheds and other backyard buildings. What’s not obvious is that only a few of these buildings are wired for electricity. That’s surprising because the addition of lights and outlets greatly increases the utility and versatility of an outbuilding, and adding a new electrical circuit isn’t difficult or expensive.
On the project featured here, my crew and I added a 120v, 20-amp circuit to a storage shed — just enough juice to power a light or two and a couple of outlets (anything more would require higher amperage and a deeper trench). In most cases, these details apply as long as your shed is no more than 100 ft. from the house. But make sure to check local building-code requirements, apply for a permit, and have your work inspected.
Start by digging a trench between the house and the shed. Next, lay 12/2 underground-feed nonmetallic cable in the trench. Drill through the house at the rim joist, and fasten a weatherproof box to the exterior. Use PVC conduit and couplings to bring the cable from the trench to the box. Here, your underground cable joins a 12/2 cable that extends to a new GFCI circuit breaker that is located at the main electrical panel. At the shed, install conduit and cable. If you’re uncomfortable completing the wiring, hire a licensed electrician to finish the work.
For more photos, drawings, and details, click the View PDF button below:
