The Challenges of Painting Kitchens and Baths
For paint to stand up to these hard-working rooms, the surfaces must be clean, and the finishes must be durable.

Synopsis: A painting contractor walks us through the process of repainting a kitchen, covering how best to clean the surfaces beforehand, how to hide stains, and how to cut and roll the walls, ceilings, and trim. A sidebar treats the process of painting kitchen cabinets.
Repainting can change the look and feel of a room. In kitchens and baths, this change can be dramatic. Bathrooms tend to be small, and even big kitchens can feel cramped for space. Both rooms take plenty of abuse.
Paint can’t make a room bigger, but it can make a room feel more spacious. And it can add new life to dirty walls and tired old cabinets. Before you break out the brushes, remember this: Just as these rooms take the most abuse, they need the most care when being repainted. Everything needs to be cleaned, and you have to use the right products.
Special prep for special rooms

In kitchens and baths, good prep means good cleaning. If you don’t clean the grease and soap scum from the walls, you’ll be hard pressed to produce a paint finish that lasts for any amount of time.
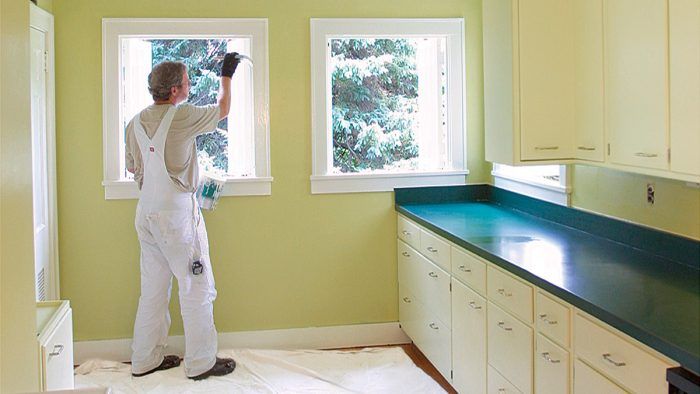
Before I do any work, I put drop cloths on the floors and plastic sheeting over furniture, countertops, fixtures, and appliances. I put tape on the baseboards and backsplashes. Then I scrape loose and flaking paint from any damaged areas.
In the kitchen, especially around the counters, stove, and refrigerator, grease and food splash on the walls. Bathroom walls may be coated with mildew, soap scum, and other residues. In each case, I wash every surface that is going to be painted before I continue with the prep work. If you don’t clean the walls thoroughly, the paint won’t adhere, and debris will show up in the finish.
It is important to clean the kitchen with a product that removes grease. Krud Kutter, a cleaning product available in paint stores, works well. Mildew is a common problem in bathrooms. I’ve always had success removing mildew with a simple 3:1 water-to-bleach solution.
I also have painted bathroom walls, particularly around the shower, where wax from hair-care products has built up. You may not see wax buildup, but if you notice a gummy substance on your sandpaper in the bathroom, it is probably wax. Wax is more difficult to remove. You may have to use a surface-prep product or deglosser like WilBond to remove wax. Be careful; these products sometimes are toxic and flammable.
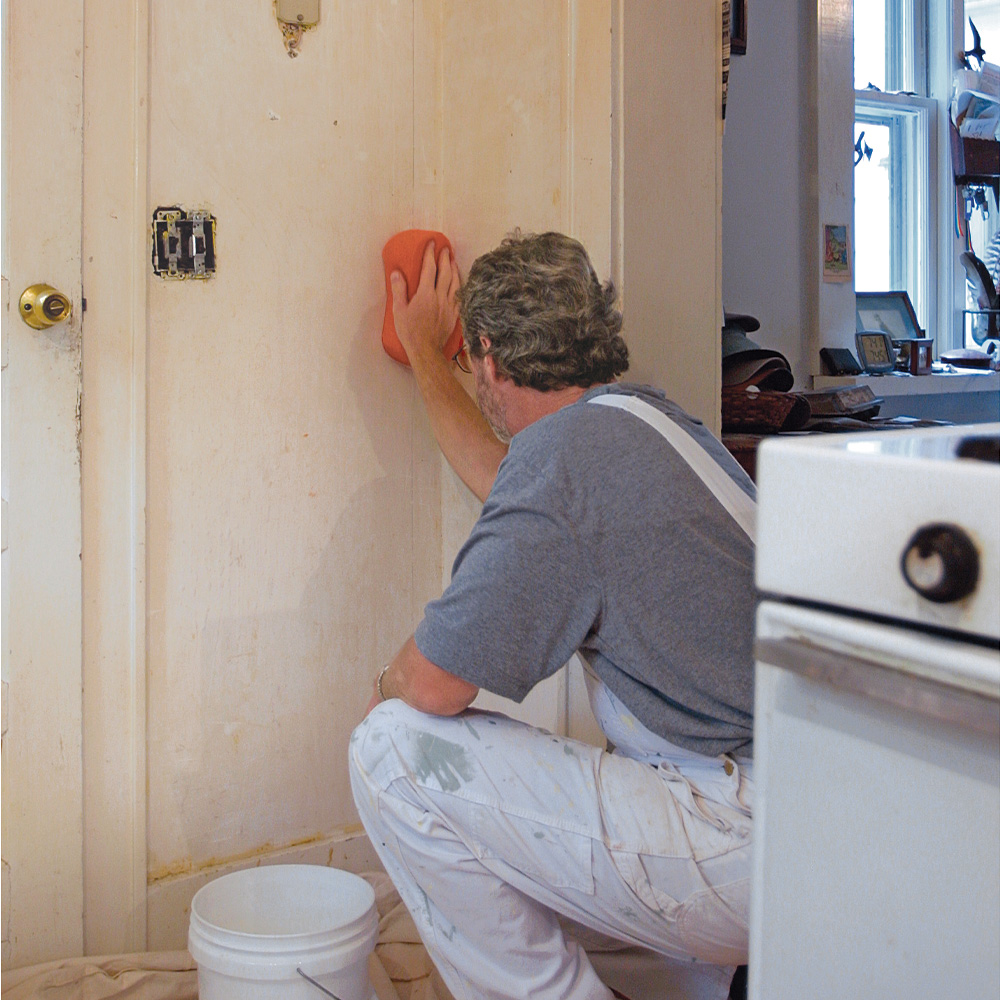
Wear rubber gloves when you wash, and give cleaning products time to work. This way, you’ll do less scrubbing. When I am done washing the walls and trim, I rinse everything with warm water. Once everything has had a chance to dry, I continue with the general prep work: patching, sanding, and caulking.
A light sanding and good primer set the stage for the topcoat.
Kitchens and baths typically are painted with glossy paints. Unfortunately, new paint doesn’t adhere well to glossy surfaces. Therefore, it is a good idea to sand and prime all glossy surfaces. Sanding with 100-grit sandpaper creates a tooth that helps primer and topcoats bond to the surface. When you’re finished sanding, use a damp rag to dust the surface.
For more photos and details on painting bathrooms and kitchens, click the View PDF button below.


