Nine Kitchen Island Ideas
Common-sense strategies for creating kitchen islands that function well and look great.
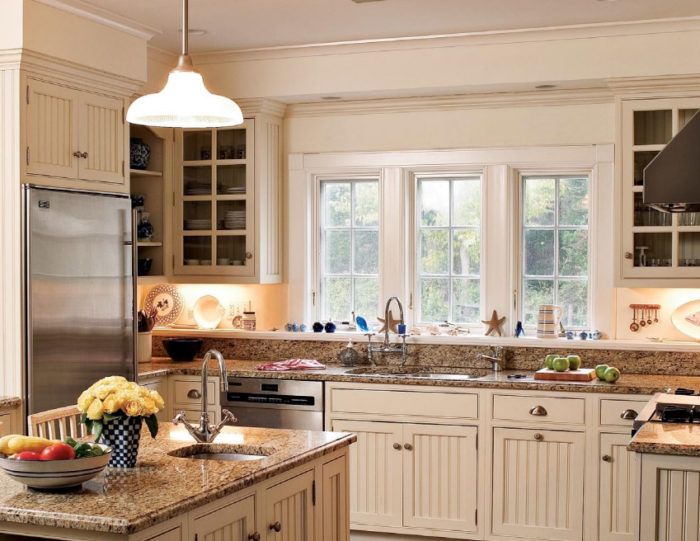
Synopsis: A work island is the most-asked-for kitchen component since the microwave. But what takes an island over the top in looks and practicality? Scott Smith, owner of Smith River Kitchens, lists his top ingredients for a kitchen island that deserves to be the center of attention. He addresses size, shape, storage, function, and special features (including refrigerators and warming drawers). Not ready to replace the whole thing? There’s a sidebar on quick improvements you can make to an existing island.
When homeowners contemplate remodeling a kitchen, they often think of commercial stoves and built-in refrigerators. My company specializes in kitchen design and installation, so I think of the efficiency of the work triangle, which is formed by connecting the three main areas used in cooking: sink, refrigerator, and stovetop. More important, I think of the kitchen island, which I consider to be an essential element of an efficient kitchen.
The kitchen island revolutionized the residential kitchen industry when it was introduced in the 1970s. It was carried over from commercial kitchen design and was thought of primarily as a prep station. Then creative designers started customizing islands to suit their residential clients. They topped islands with smooth marble and granite. They added smart storage features, sinks, undercounter refrigerators, and seating. European cabinetry companies began creating islands that looked more like fine furniture than practical surfaces for slicing and dicing. The island evolution continues at a staggering pace.
In commercial kitchens, the island is a critical way station for the flow of food from prep to patron. At home, it’s an integral part of overall kitchen design. Today, the island is as much a place to eat, gather, and define a room as it is a place to mix and chop.
What makes a kitchen island work well? From surface and size to shape and storage, there are a number of things to consider if you want your island to be a practical and attractive part of your kitchen. Here are the ones I think are most important.
1. Look high and low
The standard height for kitchen countertops is 36 inches, but that doesn’t necessarily apply to kitchen islands. To increase your comfort level, you can customize an island to your height or to its uses. In fact, it’s not uncommon to design a two- or three-tiered island to allow for a bar area, a prep area, and a baking area.
Another advantage to mixing counter heights is the ability to hide cooking messes behind a bar counter. The split-level island at left gives kids and company a place to perch while the cook is afforded more room for prep and cleanup. When friends and family sit down to eat at the table beyond, the dirty dishes disappear from view.
2. Find the right location
An island can be much more than a workspace. It can physically or visually separate a kitchen from an adjoining space—a family room or dining room, for example—while allowing the cook to be part of the conversation. It can be situated anywhere from 3 to 6 feet away from running counters, depending on the size of the kitchen, and can be centered or not, depending on traffic patterns.
An island can separate cooking from socializing while simultaneously allowing for controlled circulation. A strategically placed island with a wide circulation path around it lets traffic pass by without interfering with the cook. A narrower path can allow for efficient cooking while limiting the number of visitors in the way.
This island seamlessly eases the transition between activities—cooking and dining—while visually blending the two sides of the room.
For more photos and details on how to choose the right work kitchen, click the View PDF button below.


