Glue Wood Flooring to a Concrete Slab
A plywood core makes engineered flooring the most stable choice, provided the slab is flat and dry
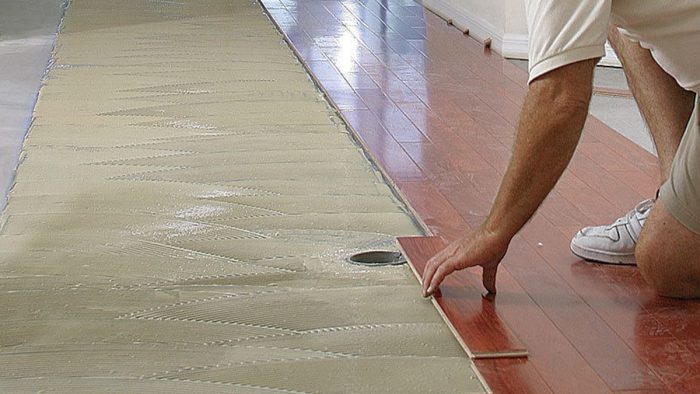
If you want to install flooring on a concrete slab, your floor-covering choices are limited. You can’t nail solid-wood flooring to concrete without first installing a plywood subfloor. Floating floors are an option, but some people don’t like their hollow sound. Carpet is a good alternative if the slab’s moisture is taken care of (see “The Stay-Dry, No-Mold Finished Basement”). But to get the look and feel of real wood, the best thing to do is to install engineered hardwood flooring.
Unlike solid-wood flooring, engineered flooring is made of plywood with a wear layer of durable, factory-finished hardwood. This type of flooring is far more stable than solid wood, even when installed over radiant tubing. In this article, I’ll show you how to prepare for the glue-down installation of engineered flooring and how to get the job done with top-notch results.
A moisture meter is an installer’s best friend
Excessive atmospheric humidity (anything above 75%) and a high dew point can adversely affect installations, so it’s a good idea to postpone an installation if the air is too humid. If I’m dealing with new construction, I prefer to let the slab cure for 60 to 90 days. (Conditions vary from region to region.) When the slab has cured, I test its moisture content; I use a meter manufactured by Tramex (www.tramexltd.com), which gives an instant reading. The floor is sufficiently dry if I get a moisture reading of 4% or less. Other test methods work, but this one is an industry standard.
Dirt, paint, dust, and debris also get in the way of good adhesion. To remove paint overspray, dried joint compound, and other job-site messes, I’ve relied on flooring scrapers to get rid of the big stuff. After scraping, I sweep, vacuum, and wipe up, using a damp towel wrapped around a push broom as a tack cloth. Then I allow the slab to dry.
No lumps, no bumps
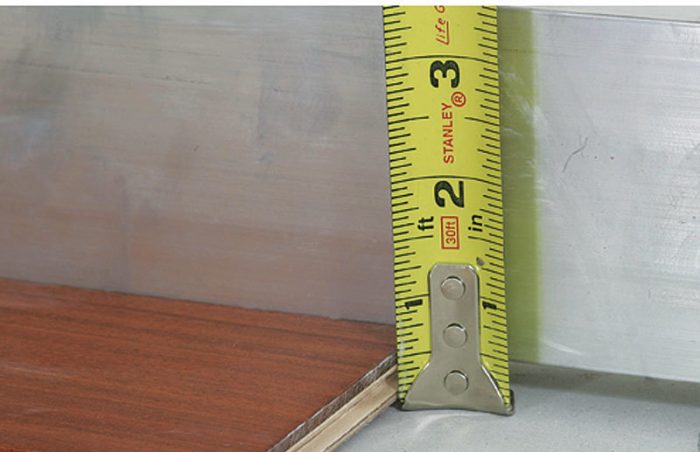
All flooring manufacturers require a flat floor for proper installation. In practical terms, that means plus or minus 3⁄16 in. over 10 ft. I use a 10-ft. aluminum straightedge, marking high and low spots as I go.
Small high spots can be taken down with an angle grinder; larger areas should be reduced with a rotary hammer, which doesn’t raise as much dust. If possible, I try to make adjustments to the slab during rough construction, when it’s a lot easier to clean up after myself.
I fill the low areas with floor-patching compounds that set and cure quickly. Make sure the compound has a compressive strength greater than 3000 psi (pounds per square inch). After mixing it to the proper consistency, I pour the patch into the depression and screed it as smooth as possible with a straightedge. It may take a couple of coats to fill deep depressions. I wait 24 to 48 hours to begin the installation in these areas, just to be safe.
START WITH A FLAT SLAB
Flooring manufacturers specify that the slab not exceed 3⁄16 in. in flatness over a 10-ft. span. I always check the entire slab with a 10-ft.-long straightedge and mark any spots that are lower or higher. For the lower areas, I mix a batch of floor leveler and use the straightedge as a screed. It usually takes a couple of coats to level out a large area. Small high spots can be ground down with an angle grinder.
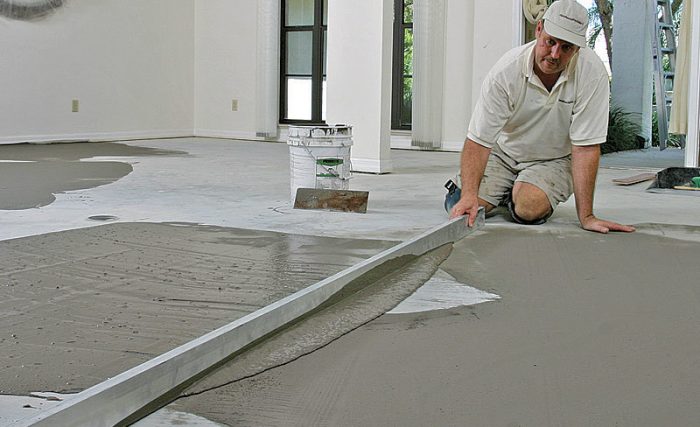
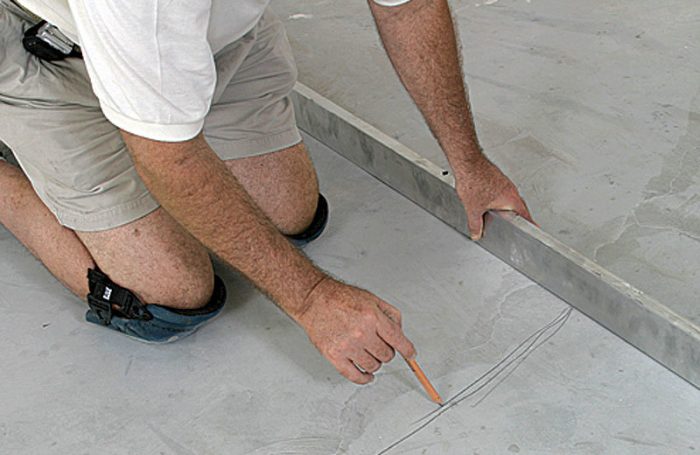 Check the slab with a straightedge and mark any spots that are lower or higher.
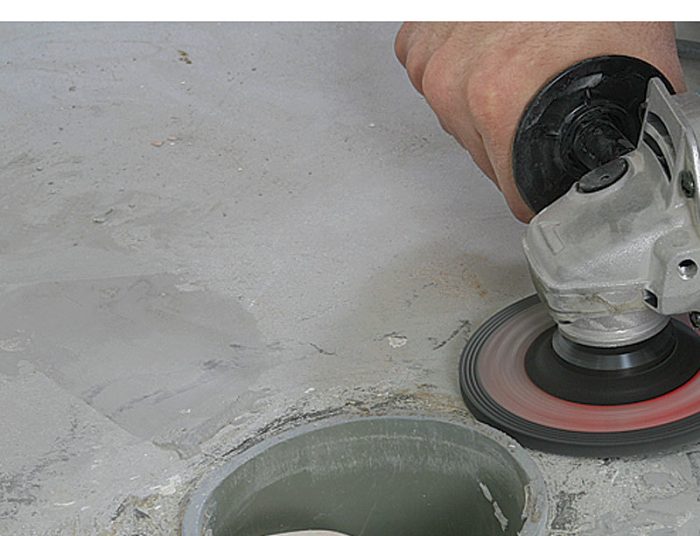 Grind down small high spots with an angle grinder.
 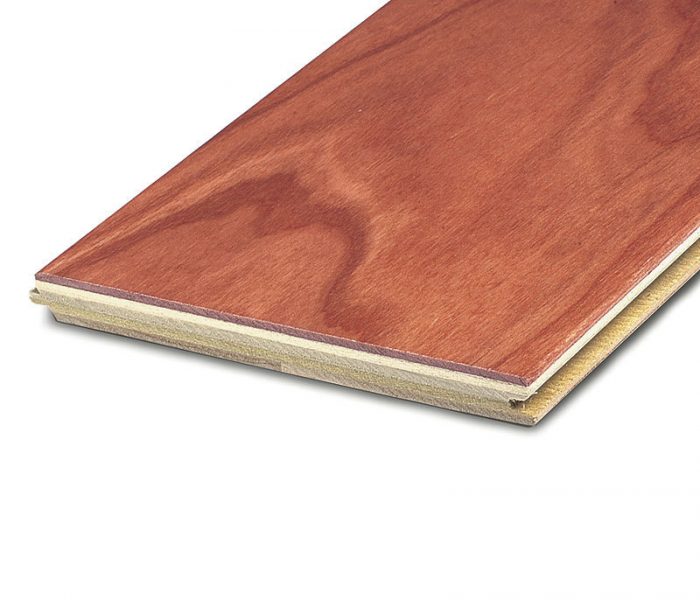 A plywood core makes engineered flooring the most stable choice, provided the slab is flat and dry.
Layout depends on the room
Once the floor is flat and clean, I measure and snap the chalklines that will guide the installation. Generally, hardwood flooring should be installed along the longest dimension of the room. Adjacent rooms and hallways also factor into the layout; if they are continuous, then the main room’s layout must take that into consideration. If they are perpendicular to the main room or if the new flooring will meet an existing floor, use a threshold or a T-molding (available from the flooring distributor) to make an easy transition. Whatever the situation, don’t rush layout.
ON THIS JOB, THE LAYOUT STARTS IN THE CENTER
Glue-down installations usually start along the longest, straightest wall. However, a dominant central hallway meant that I had to start the layout in the middle so that the flooring would run straight through from front to back. First, I established a centerline. Then I dry-fit eight planks, measured their combined width, and snapped a second line that same distance from the first. This marked the starting courses.
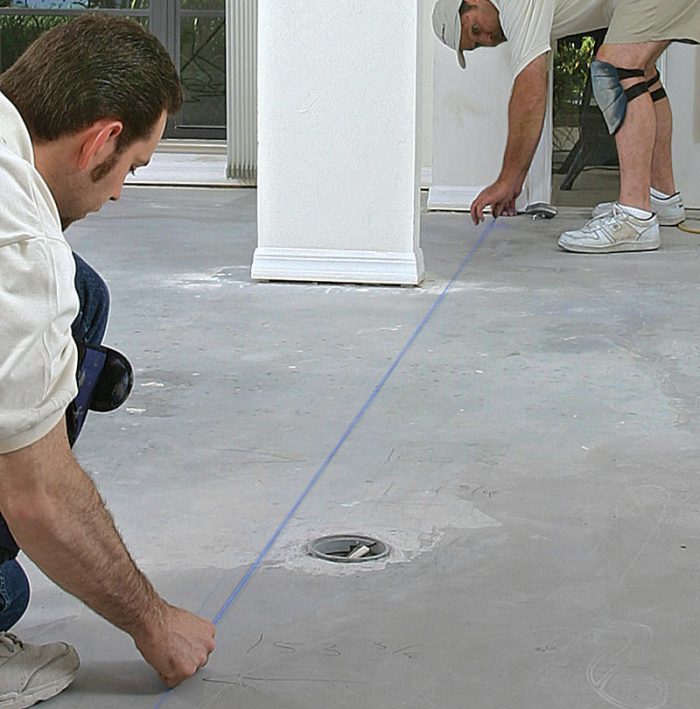
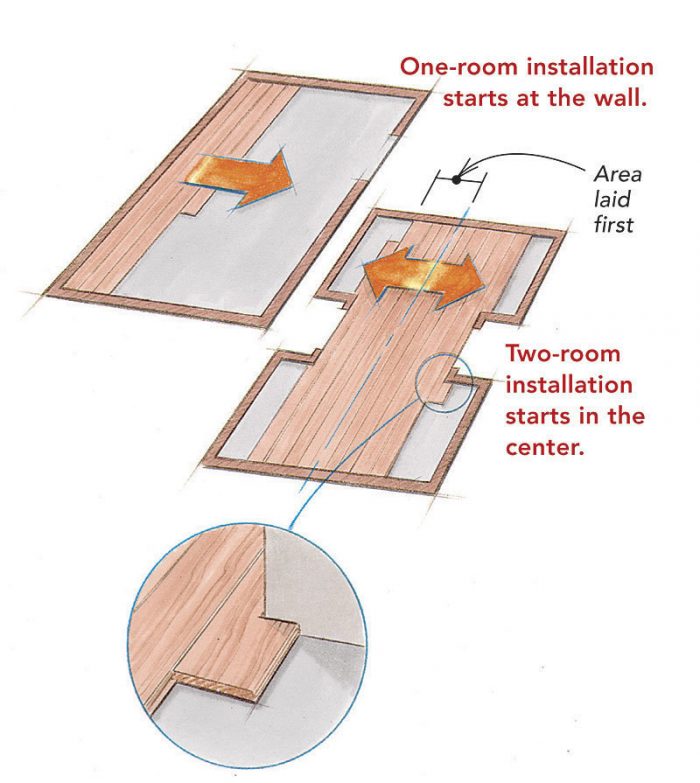
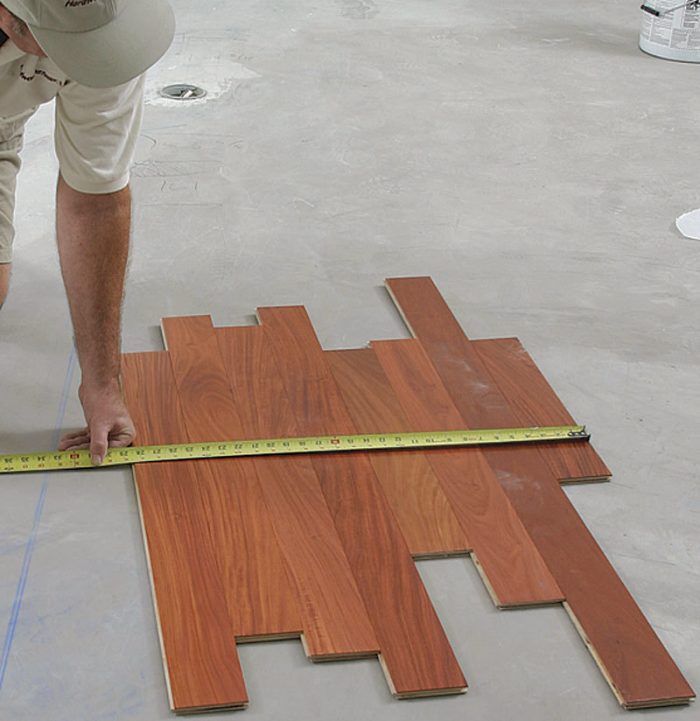
 …and snap a second line that same distance from the first.
Flooring adhesive can fail if the slab is too wet
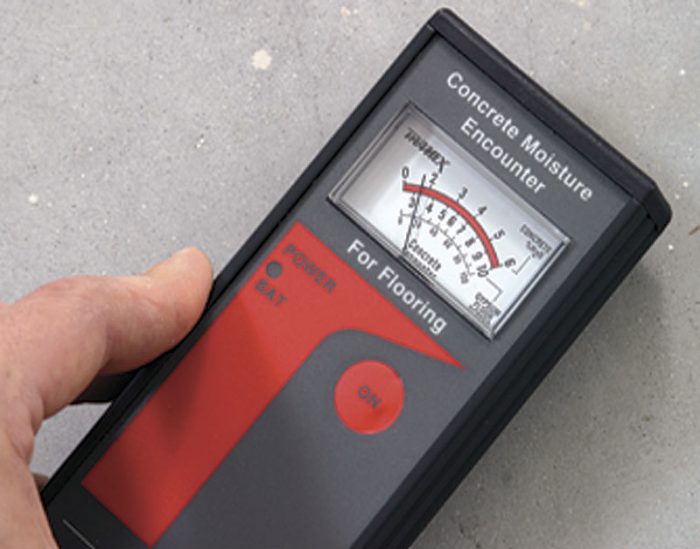
LOW MOISTURE CONTENT IS A MUST For anyone who installs flooring over concrete on a full-time basis, a moisture meter is an expensive (about $350) but necessary investment. Anyone else probably can get by with a less expensive test consisting of a 24-in.-sq. piece of 6-mil plastic taped to the floor on all four sides. After the plastic has been in place for 24 to 48 hours, the slab is checked for discoloration or condensation under the plastic. If condensation is present, it’s a good idea to get a calcium-chloride test. These one-time tests can be bought online from the Moisture Test Kit Co. (www.moisturetestkit.com; 888-216-8378), and they are accurate. Consisting of a flat plastic container filled with calcium-chloride crystals, they’re weighed, exposed to the test slab for a predetermined amount of time, then weighed again to measure the amount of water that the calcium chloride has absorbed. The tests should be evaluated by someone in the business.
AND IF THE SLAB IS TOO WET? In the past, if a concrete slab exceeded the wood-flooring manufacturer’s moisture requirements, there wasn’t much to do except wait for it to dry. Recent developments in subfloor moisture-retarding products have changed that. Manufacturers such as Bostik, DriTac, and Franklin produce silicate-, epoxy-, or urethane-based concrete sealers and membranes that reduce the rate of moisture migration from the slab. Once these membranes are installed properly, the manufacturers claim that a wood-flooring installation can go forward as planned. The combination of a sealer and the flooring adhesive serves to retard moisture migration even more; Bostik even guarantees any floor installation when its sealer and adhesives are used together.
Glue is messy, so plan to clean up as you go
Adhesives for engineered flooring are either acrylic- or urethane-based. Flooring manufacturers often specify the latter because its lack of water means a stabler floor. It also forms a vapor retarder that helps to block moisture migration from the slab. On the flip side, urethanes are messy; once the adhesive has cured, it’s difficult to remove.
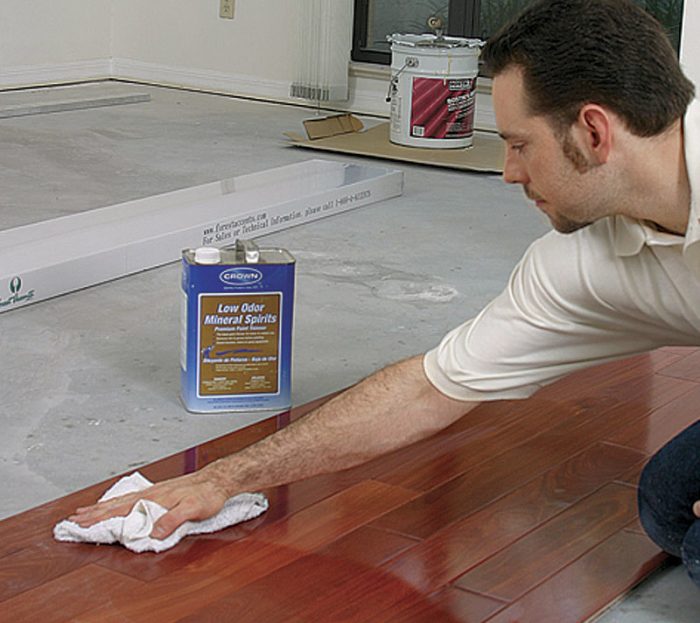
If you’re working with urethane, any spills or drips should be cleaned immediately with mineral spirits; manufacturers also offer proprietary removers. (You should test any remover on an inconspicuous spot first to ensure it won’t dissolve the finish.)
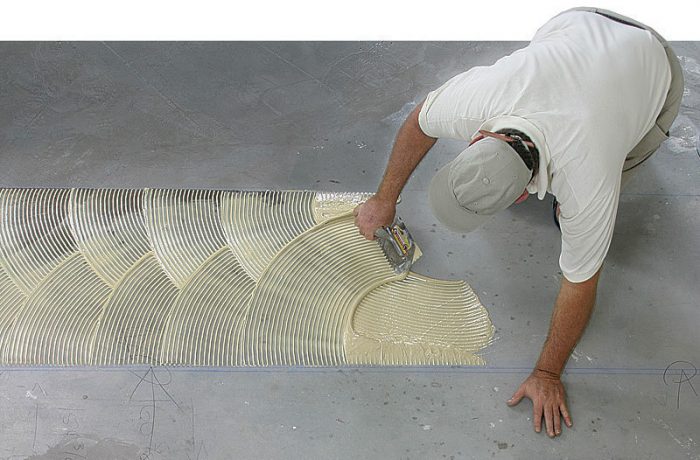
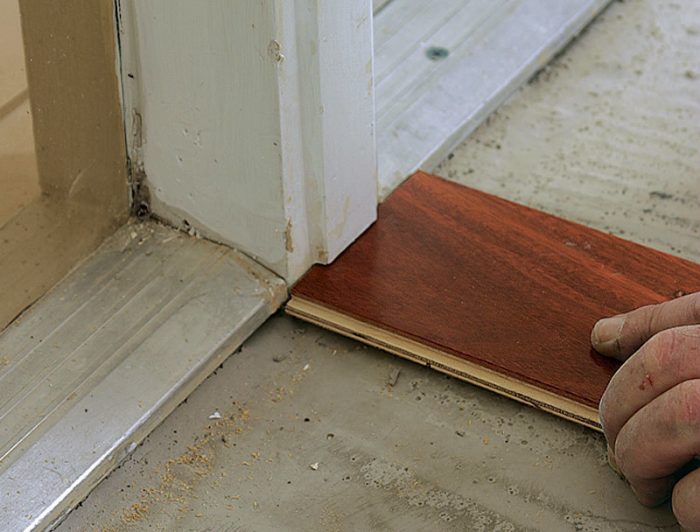
EASY-DOES-IT INSTALLATION
It seems easiest and cleanest to lay the flooring tongue first and groove out. Each piece is seated by hand; gaps can be tightened with a gentle hammer tap on a piece of scrap. End joints should be staggered by at least 6 in. from row to row.
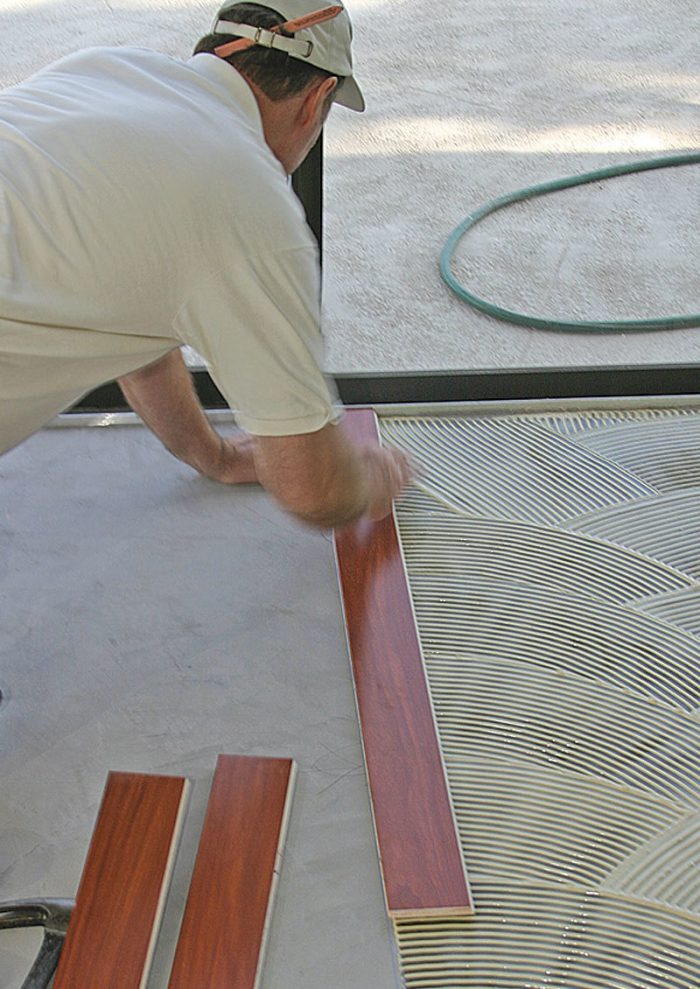
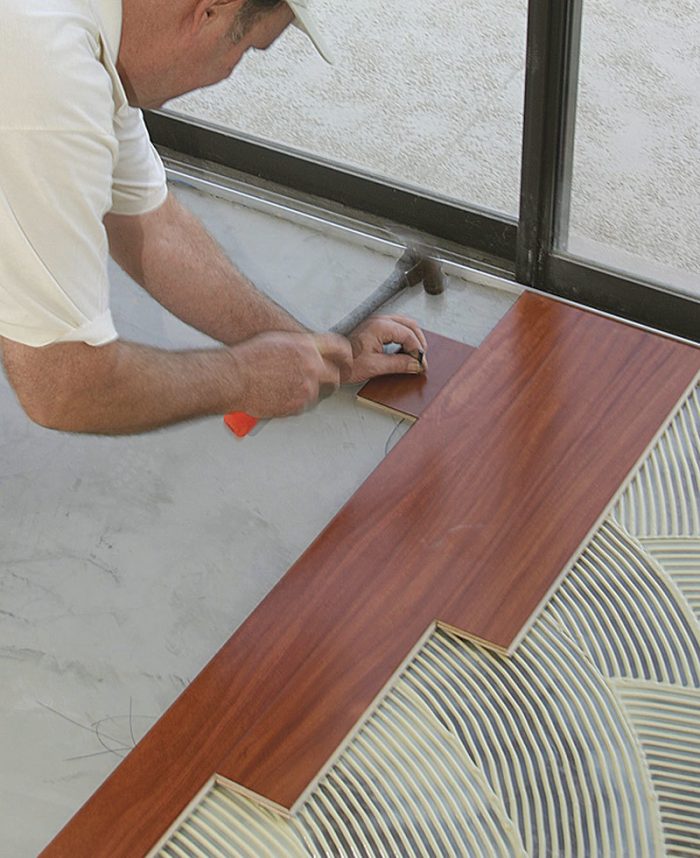
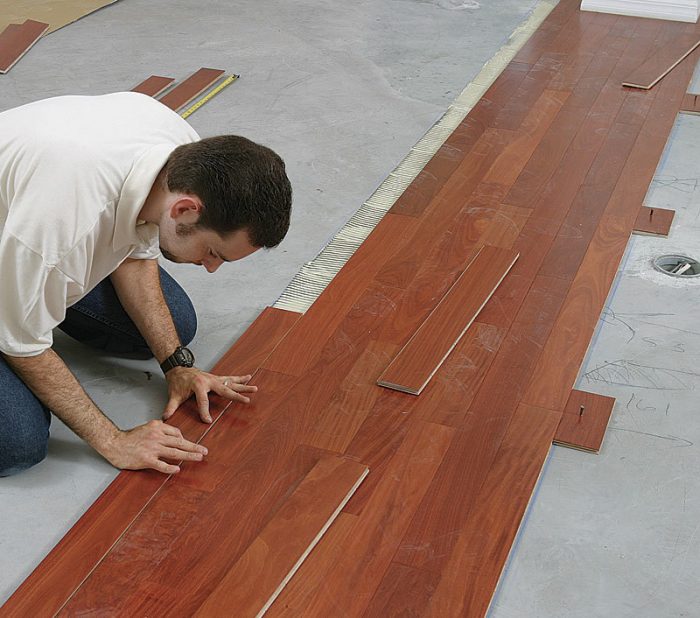
Keep the joints tight when laying the floor
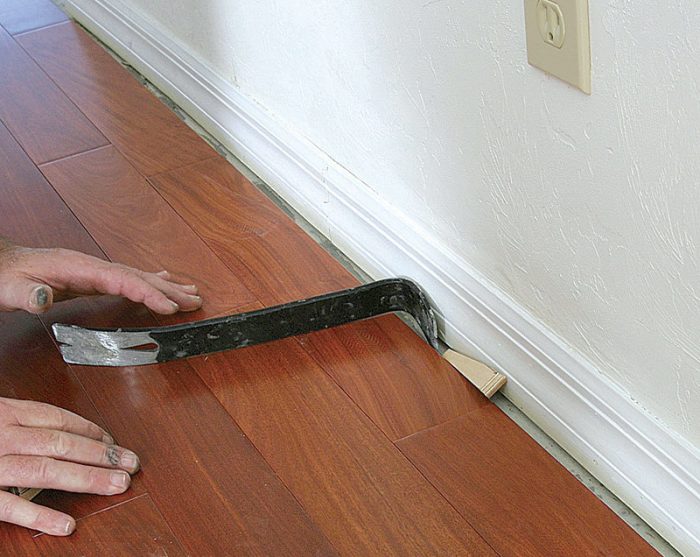
Once you’ve nailed down a floor, it’s not going anywhere, but with a glued floor, you have to wait a few hours to get the same results. After a section has been glued down, walk carefully until the adhesive sets up, if you walk on it at all. I always check that all the joints are tight and that there’s no glue squeeze-out. Blue painter’s tape can be used to keep joints from spreading.
I continue laying the floor in sections 24 in. to 30 in. wide, depending on the location. I try to plan as I go; any scribed or ripped cuts must be measured and fit before the glue in that area goes down. I like to bring the flooring to within a couple of courses of the area that needs to be scribed, lay out the pieces, make the necessary cuts, then number each piece as I disassemble the area and spread the glue.
Six great installation tips
- Knee pads definitely will improve your comfort level. Make sure to use pads covered with a soft, nonabrasive material; hard plastic can scratch the flooring’s finish.
- No matter what brand of flooring you buy, always read the manufacturer’s recommendations before you install it.
- An installation can be stopped at the end of the day and continued the next, but no glue can be left in the grooves or on the adjacent floor.
- When starting, open several boxes of flooring at once to ensure a good choice of color and length.
- Spread only enough glue for an hour’s work, at least until you’re more comfortable with the process.
- Clean up as you go; once the glue dries, it’s much harder to remove.
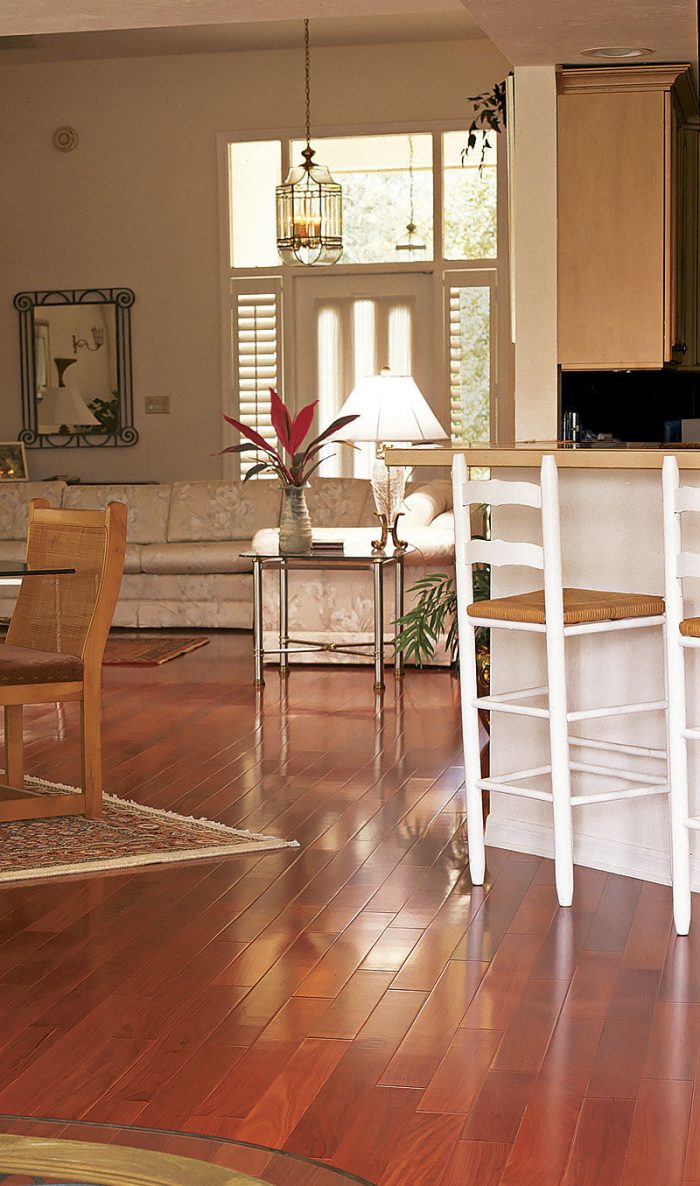
The finished floor.
Ken Fisher is a flooring contractor in Bonita Springs, Fla. Photos by Charles Bickford, except where noted. Drawing: Dan Thornton


