Adding an Outdoor Faucet
Installing a frostproof faucet is easier than dragging a hose around the house.
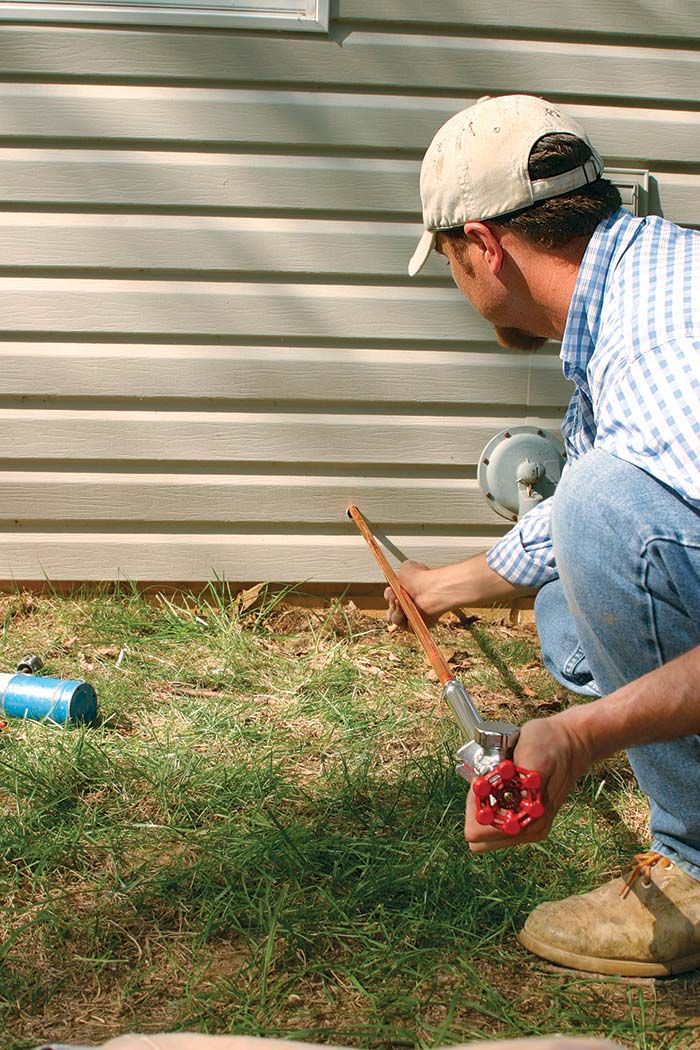
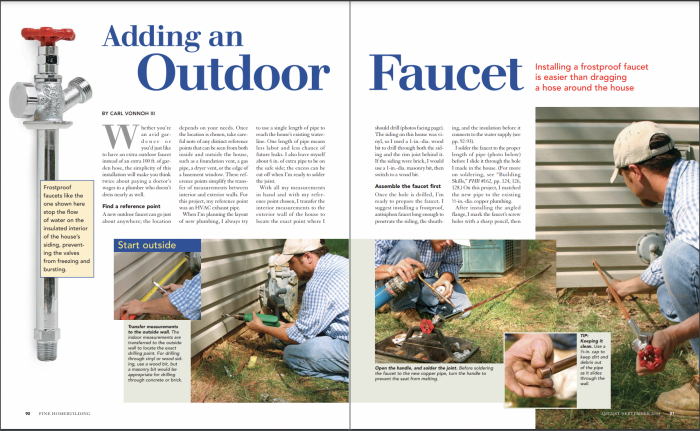
Synopsis: As you haul your garden hose around from the backyard for the hundredth time this year, you may wonder what it would be like to have a garden faucet in front of the house, where you actually need it. Luckily, help is at hand. Using common tools and a basic layout, professional plumber Carl Vonnoh walks us through the installation of a brand-new frostproof exterior faucet. This article also highlights the anatomy of a frostproof faucet (also known as freezeless or frost-free faucet), including the inner workings of each plumbing component and how it helps eliminate the frozen and burst pipes that plague outdoor faucets in cold regions.
Whether you’re an avid gardener or you’d just like to have an extra outdoor faucet instead of an extra 100 ft. of garden hose, the simplicity of this installation will make you think twice about paying a doctor’s wages to a plumber who doesn’t dress nearly as well.
Find a reference point
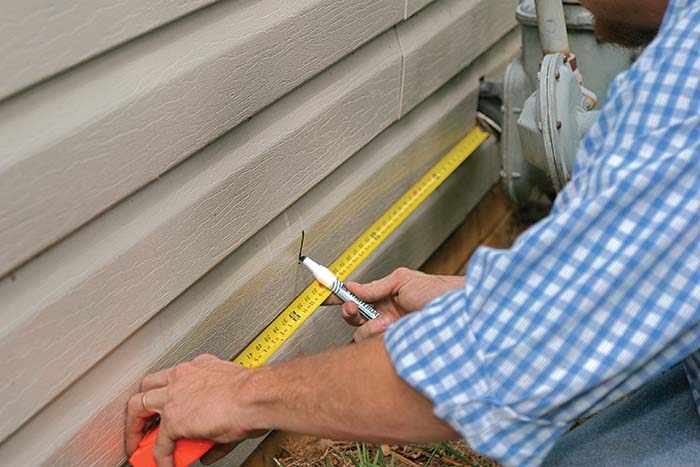
A new outdoor faucet can go just about anywhere; the location depends on your needs. Once the location is chosen, take careful note of any distinct reference points that can be seen from both inside and outside the house, such as a foundation vent, a gas pipe, a dryer vent, or the edge of a basement window. These reference points simplify the transfer of measurements between interior and exterior walls. For this project, my reference point was an HVAC exhaust pipe.
When I’m planning the layout of new plumbing, I always try to use a single length of pipe to reach the house’s existing waterline. One length of pipe means less labor and less chance of future leaks. I also leave myself about 6 in. of extra pipe to be on the safe side; the excess can be cut off when I’m ready to solder the joint.
With all my measurements in hand and with my reference point chosen, I transfer the interior measurements to the exterior wall of the house to locate the exact point where I should drill (photos facing page). The siding on this house was vinyl, so I used a 1-in.-dia. wood bit to drill through both the siding and the rim joist behind it. If the siding were brick, I would use a 1-in.-dia. masonry bit, then switch to a wood bit.
Assemble the faucet first
Once the hole is drilled, I’m ready to prepare the faucet. I suggest installing a frostproof, antisiphon faucet long enough to penetrate the siding, the sheathing, and the insulation before it connects to the water supply (see pp. 92-93).
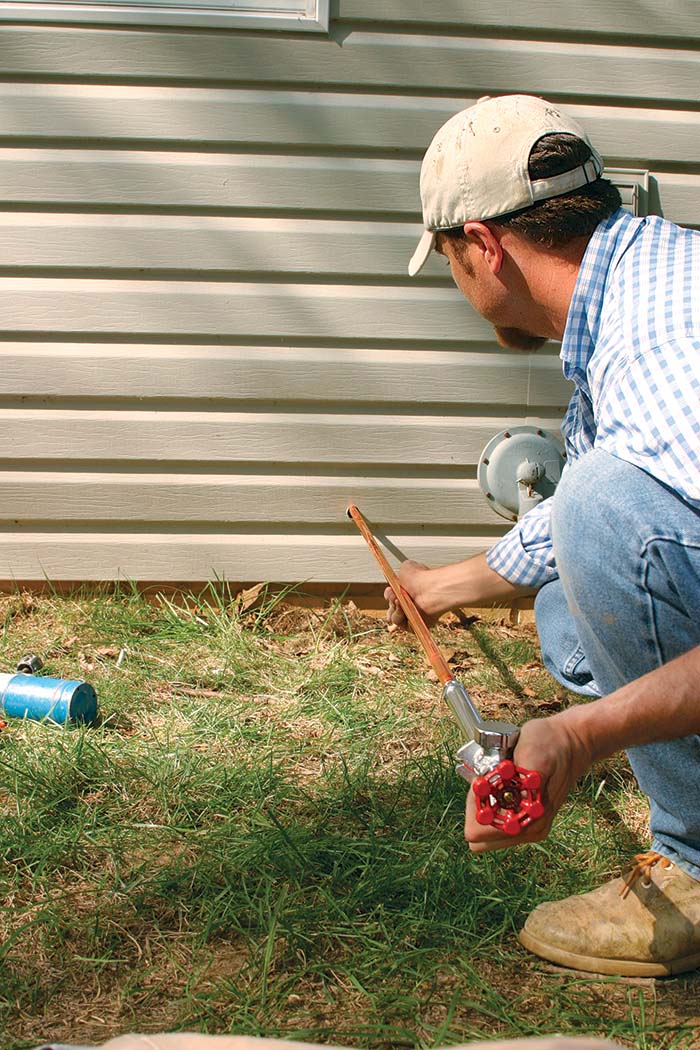
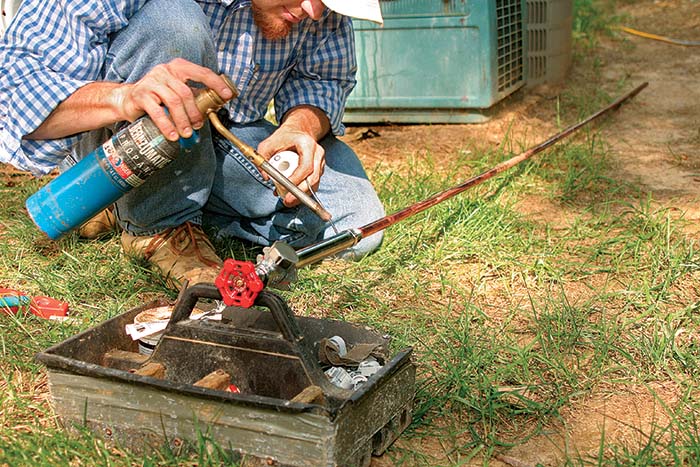
I solder the faucet to the proper length of pipe (photo below) before I slide it through the hole I made in the house. (For more on soldering, see “Building Skills,” FHB #162, pp. 124, 126, 128.) On this project, I matched the new pipe to the existing 1⁄2-in.-dia. copper plumbing.
After installing the angled flange, I mark the faucet’s screw holes with a sharp pencil, then remove the faucet for easier access when drilling.
Shut off the water, and head inside
Once the new faucet has been slid into place, turn off the water at the nearest valve upstream from where the new faucet connector is going to be installed.
If I’ve shut off the main water supply to the house, I open any existing outside faucets as well as an interior faucet to drain the water out of the pipe. Without that drainage, soldering would be impossible.
Longer pipes, fewer joints
Because I used a single long length of copper attached to the faucet, the pipe already should be close to the existing waterline. If the new pipe falls short of the existing waterline, I need to bring it as close as possible by soldering any necessary extensions and connections before cutting the existing pipe.
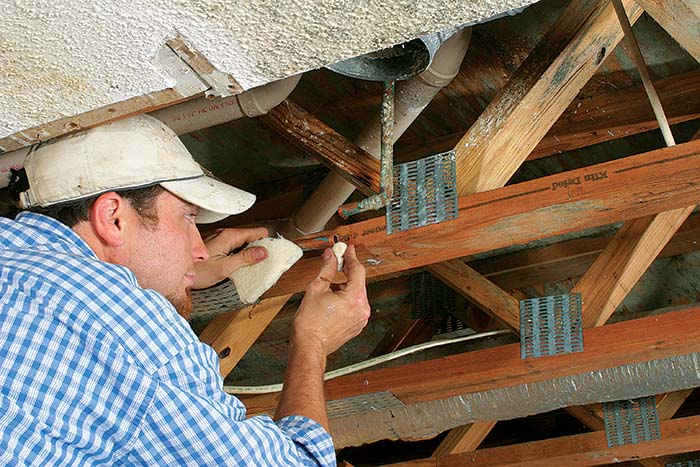
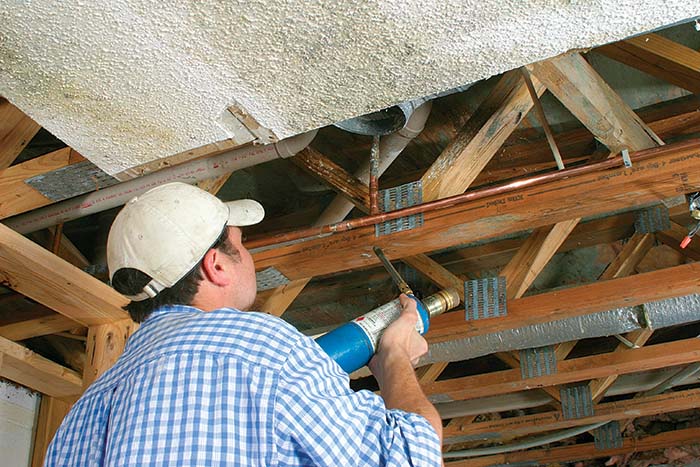
Any time that you’re soldering near flammable materials like floor joists, it’s a good idea to keep handy a flame-resistant fabric panel or a spray bottle filled with water to protect the flammable materials from the intense heat of the torch.
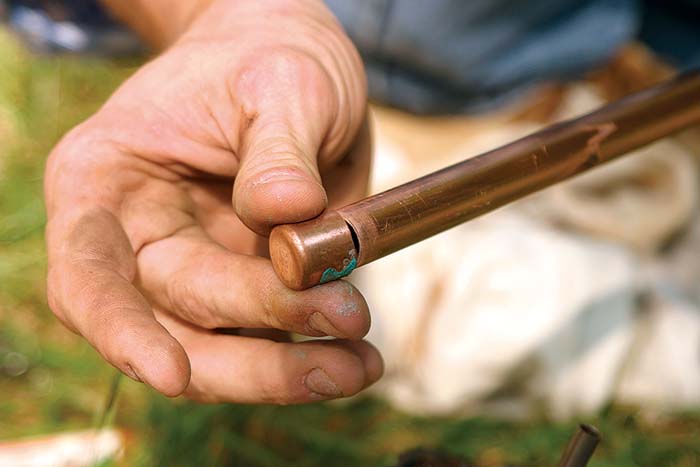
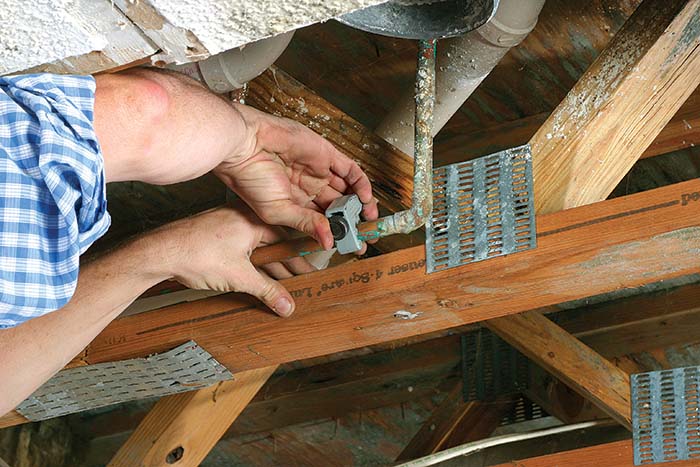
When the new pipe is braced against the joists and is close enough to the existing cold-waterline to accept a 1⁄2-in. T-fitting cut the existing waterline with a pipe cutter. The pipes should have drained by this time; if they have not, pull them down slightly to allow them to finish draining (center photo, facing page).
The most common way to tie a new length of pipe to the existing plumbing is to use a 1⁄2-in. T-fitting, but for this project, I had to extend the existing water pipe to meet the new faucet pipe. Whether you extend the old pipe or not, the best way to find the exact location that the new pipe should connect with the old is simply to overlap them and make a mark.
Check for leaks
After soldering the new piece of pipe to the existing waterline, wait a few moments for the solder to appear dull, which means that it has finished cooling. Once the connection between the pipes has solidified, turn on the water and inspect your work. Next, make sure to shut off any faucets that had been opened prior to soldering, including the new faucet. When the water has refilled the pipes, check to make sure that no joints have leaks. If I find leaks in any of the joints, I shut off the water, drain the system, and then replace the leaky section rather than resolder the joints.
Start outside
 |
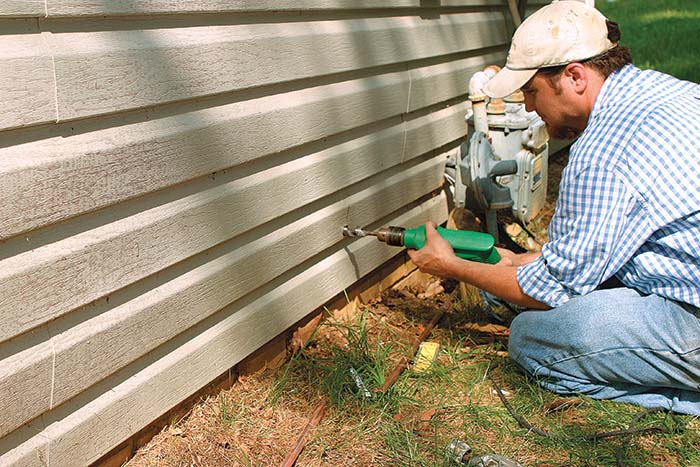 |
Transfer measurements to the outside wall. The indoor measurements are transferred to the outside wall to locate the exact drilling point. For drilling through vinyl or wood siding, use a wood bit, but a masonry bit would be appropriate for drilling through concrete or brick.
Finish inside
 |
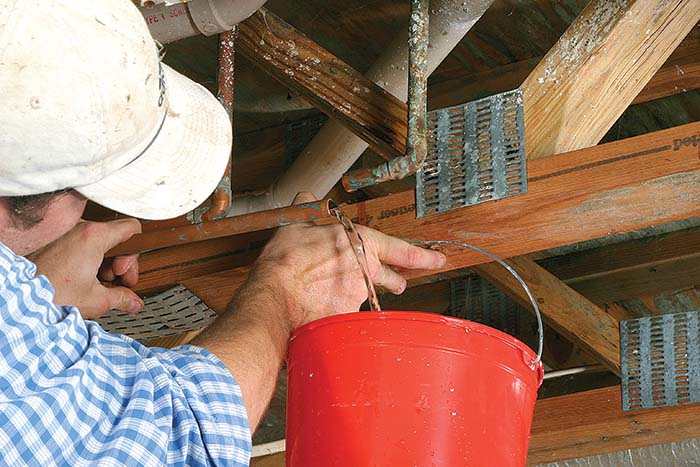 |
Cut the existing waterline. Use a small pipe cutter to open the old pipe to prepare for the new joint. After opening the downstream faucet, pull the existing pipes down slightly to drain the remaining water.
 |
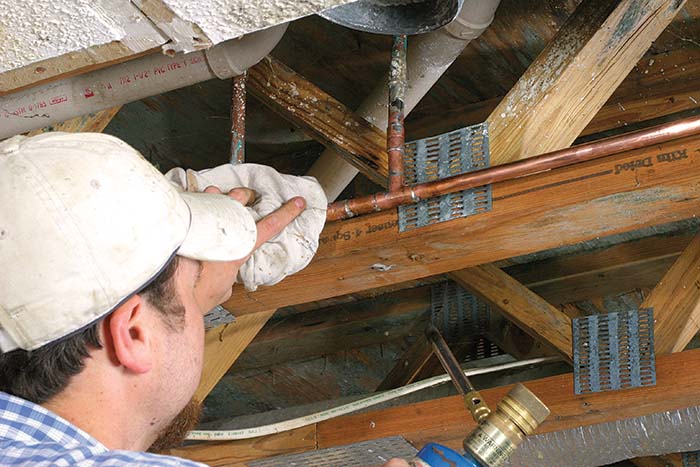 |
Tie into the existing waterline. A soldered T-fitting connects the new pipes with the old. Be careful when using a torch near flammable materials.
To view the entire article, please click the View PDF button below.
