Installing iron-on edging
A step-by-step guide to adding wood or plastic edgebanding to plywood shelves or cabinets
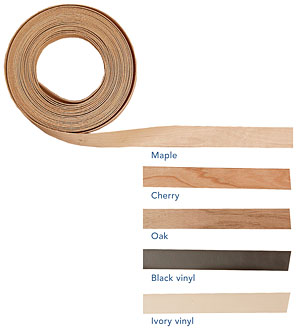
Iron-on edging (also known as edgebanding) offers a quick, inexpensive way to cover the exposed edges of plywood and other sheet goods. It’s a great way to finish off frameless cabinets and shelf edges. Thanks to the heat-activated glue that coats the back of the edging, no clamping is required, and the mess is minimal. You can install the edging with a household iron, an edge-trimming tool, and a sharp 1-in. chisel. A couple of shopmade jigs make the job even easier.
Start by choosing the type of edgebanding you need. Plastic edging comes in several colors, and wood edging is available in different species. It’s all sold by the lineal foot. For 25 ft. of wood edging, you’ll pay around $3, and plastic edging sells for around $5. You can expect lower prices when ordering larger quantities. Edging in a 13/16-in. width
is good for 3/4-in.-thick material; 1-in.-wide edging also is available.
Installing iron-on edging involves a few basic steps. First, you have to make sure that the edges you want to cover are smooth and flush. Then you cut the material slightly longer than necessary and iron it down. Finish by trimming the edges and ends, then sanding all the corners smooth.
Plastic edgebanding goes well with laminate or melamine-covered shelves. Black, white, and several other colors are available. Wood edging is made from real wood veneer and is available in different species.
Get edges and edging set, then iron it on
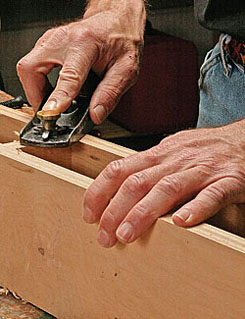
Step 1: Make sure corners are flush. Where two pieces of plywood join, edges need to be flush. If necessary, use a block plane to take down high edges. Then smooth the joint with 120-grit sandpaper wrapped around a block of wood.
Step 2: Cut a little more than you need. Because ends as well as edges will be trimmed, cut each piece an inch or two longer than it needs to be. A sharp chisel makes a quick, clean cut.
Avoid finger joints
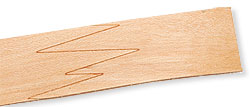
Tip: Avoid using a length of edging that includes a finger joint. This joint doesn’t look good in a stain-grade project, and it’s a weak spot that could come apart.
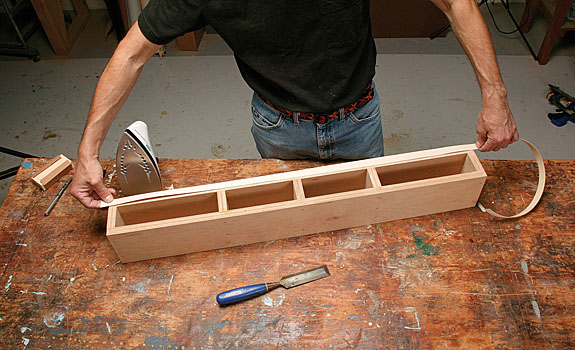
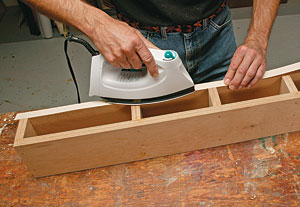
Step 3: “Tack” down one end, then iron it out. Empty any water from the iron, and set the temperature to high, or “cotton.” Hold one end of the edging in place, and press the iron down on it to activate the glue. Sometimes the edging can be centered over the plywood edge. In other situations, it’s better to keep the edging flush along one side. Move the iron slowly along the edging to make sure the adhesive melts and bonds. If the edging slips out of alignment, hold the iron over the misaligned area to remelt the glue and realign the edging.
Trim and sand to get ready for finish
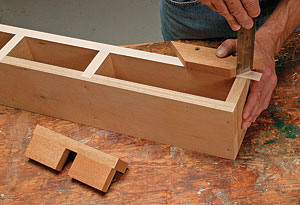
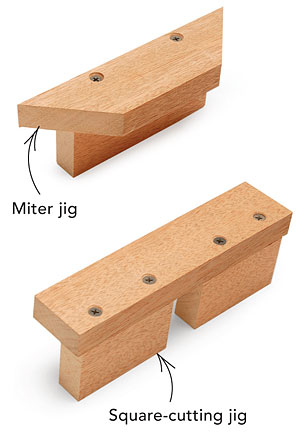
Step 4: Use simple jigs to make miter and square cuts. Screw together a few pieces of wood, and you have easy ways to make precise miter and square cuts in edging before or after it’s applied. The jigs guide a 1-in. chisel.
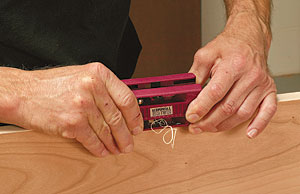
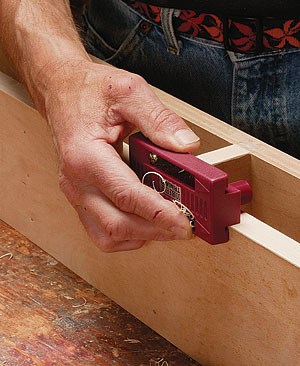
Step 5: The edge trimmer can do one edge or two. Squeezing both sides of the trimmer and pushing it along the edge will trim excess edging along both sides. You also can separate the sides and trim just one edge at a time.
Edge trimming made easy
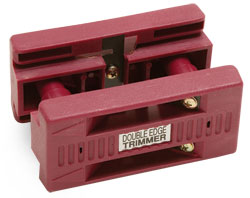
You can use a block plane to trim away excess edging, but it’s easier to get smooth, flush edges with an edge-trimming tool. The one shown here costs around $20 (www.rockler.com) and comes with replaceable cutters.
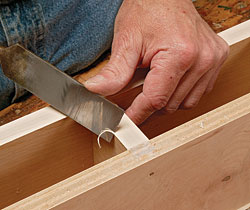
Step 6: Trim inside edges with a chisel. When the edge-trimming tool can’t be used (along an inside edge, for example), use a chisel to pare away excess edging. Work with the bevel facing down for maximum control.
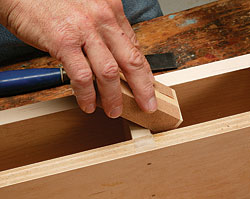
Step 7: Sand to remove glue and to ease the corners. Wrap 120-grit sandpaper around a block of wood, and do final smoothing with the block held at a 45° angle.
Photos by: Charles Bickford
