Making Raised-Panel Doors on a Tablesaw
With a stacked dado set, you can build Shaker-style cabinet doors in six easy steps.
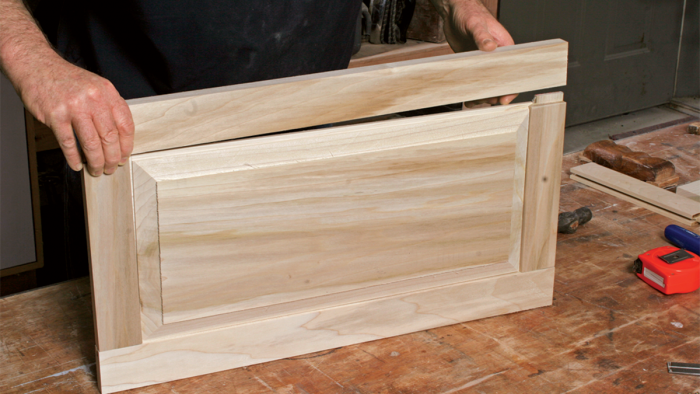
There are lots of good reasons to build your own cabinetry for kitchens, bathrooms, mudrooms, or the many possible built-ins that make a house look and work well. For one thing, building cabinetry is a rewarding project. But more importantly, when you build custom cabinets, you can squeeze every bit of function out of the space you have and you can get exactly the cabinet style you want. And today there are tools, like track saws, that make the work easier than ever.
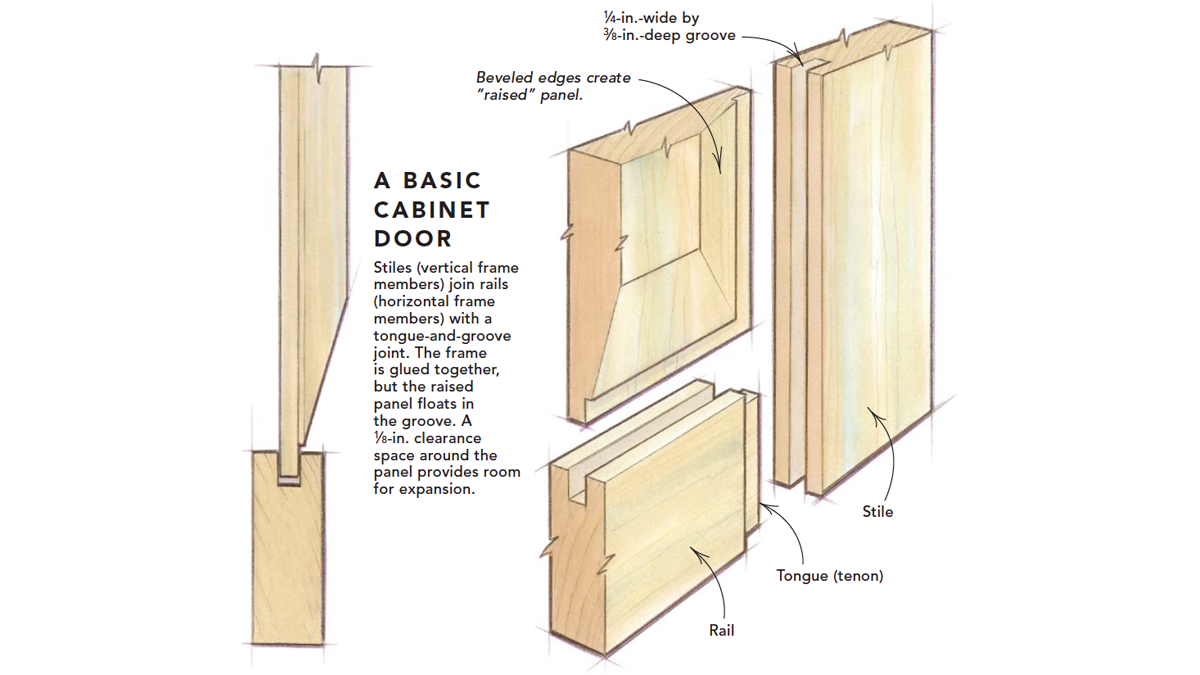
Doors are one of the trickier aspects of making cabinets. And there’s more than one way to make cabinet doors. One classic style of door and door construction is to make a raised panel and join the frame with a tongue-and-groove joint. Cabinet shops that turn out raised-panel doors rely on heavy-duty shapers and cutters or, at the very least, a router-table setup that includes a range of expensive bits. You also can make raised-panel doors with a portable tablesaw. The doors I build this way often are referred to as Shaker style. The vertical stiles and horizontal rails that make up the frame have square rather than contoured edges. The center panel, which floats in the frame, is a raised piece of solid wood (a flat piece of plywood also works).
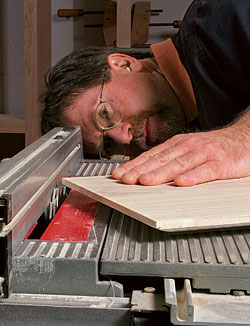
Whether you make a single door or many using this technique, you’ll need a stacked dado set in addition to a finish-cutting combination blade for your table saw. For best results, the wood you use to build doors should be free of knots, warps, twists, and checks. I frequently use Poplar (shown here) for doors that will be painted. Here’s a drawing of the overall assembly followed by a step-by-step look at the process:
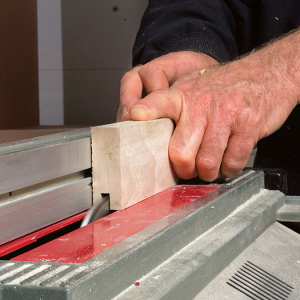
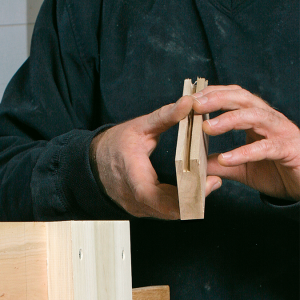
Step 1: Use a dado head to groove the stiles and rails. Replace the tablesaw blade with a stacked dado set. The cutting width should be 1/4 in. Adjust the cutting height to 3/8 in. Position the saw’s rip fence so that the groove will be centered in the frame members. Cutting test grooves in scrap stock (the same thickness as the stiles and rails) is a smart idea to assure you that the setup is right.
 |
 |
Step 2: Split the dado head to cut tongues in the rails.
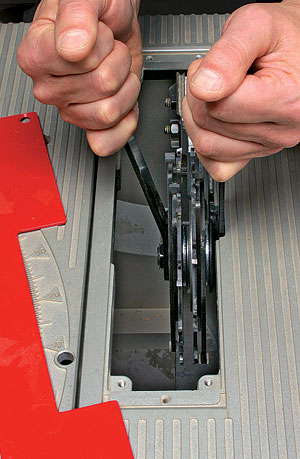
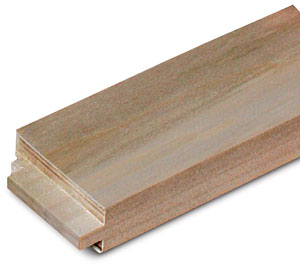
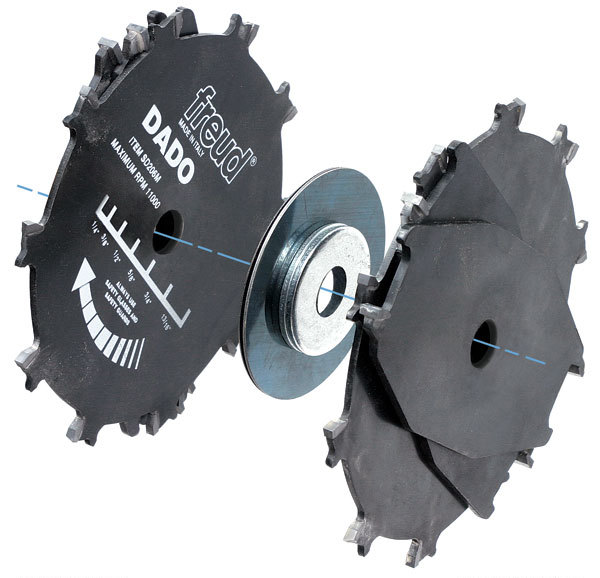
Each rail end needs a tongue or short tenon that fits snugly in the grooved stile. You can cut away the waste on each side of the tongue by inserting steel washers between the dado cutters. The space you create needs to match the planned thickness of the tongue. Cut test pieces, adding or subtracting washers as necessary until the tongue fits snugly. The thin washers that come with most stacked dado sets help to fine-tune the fit.
 |
 |
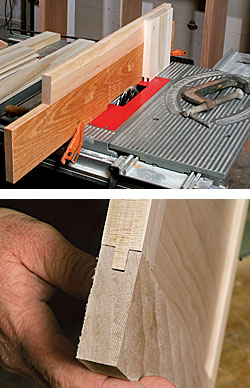
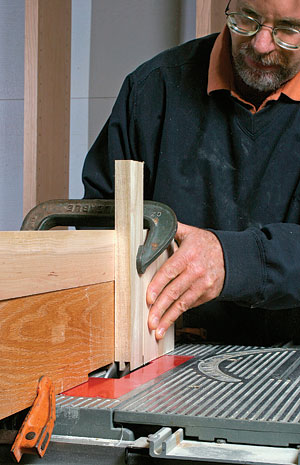
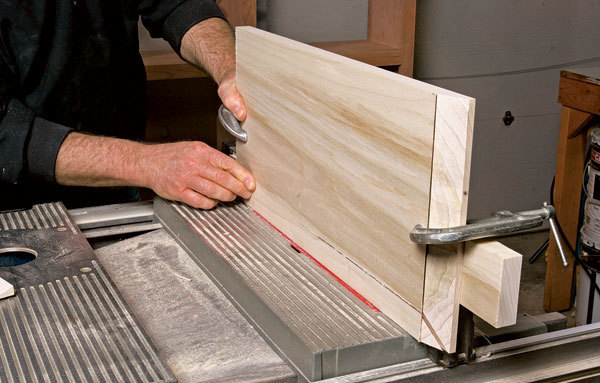
Step 3: To cut tongues safely and accurately, clamp the rails to a sliding cradle.
As shown in the photos, my cradle consists of a vertical guide block fastened to a horizontal runner. The runner slides on the top edge of an auxiliary rip fence.
 |
 |
Step 4: Raise the panel edges.
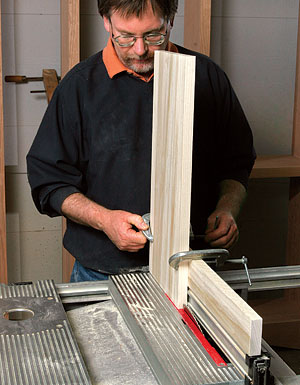
Size the panel as shown in the drawing so that there will be 1/8 in. of clearance space around the panel edges after the door is assembled.
Adjust the tablesaw’s bevel angle to 15°. Adjust the rip fence so that it’s 1/4 in. from the blade, the same distance as the thickness of the panel groove. Raise the blade so that the teeth just penetrate the opposite side of the panel.
Now you’re ready to make the bevel cuts that will create the raised edges. To hold the panel upright, clamp a runner block to the panel so that the block will be guided by the top edge of the rip fence, as shown.
Step 5: Flatten the outer edges.
To fit properly in the grooved frame, the panel edges should have a uniform thickness instead of being beveled. Replace the sawblade with a 1/4-in.-wide dado head. Then place the panel upside down on the saw table, and raise the dado head so that it will remove the beveled edge, leaving a flat edge of the correct thickness. Position the rip fence 1/16 in. away from the dado head; spin the blade by hand to make sure it doesn’t contact the fence. Then turn on the saw and guide the panel against the rip fence to flatten its edges.
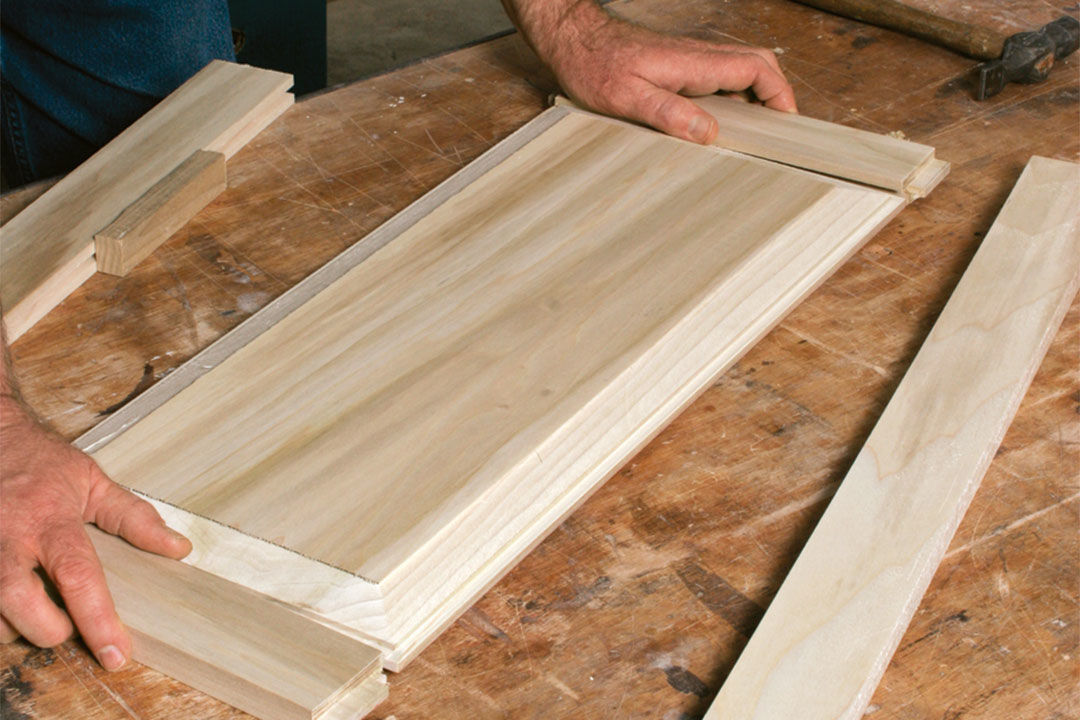
Step 6: Test-fit, sand, and assemble.
Do a dry run through the assembly process to make sure the panel fits into the stile-and-rail frame without being forced. If necessary, you can narrow the panel edge with some 100-grit sandpaper wrapped around a sanding block. When the fit is right, give the panel a final sanding. Use 120-grit sandpaper if the door will be painted, and 220 grit if you plan to use stain or clear finish. When you glue up the door, take care to spread glue only on the tongue-and-groove joints between frame members. Use bar or pipe clamps to keep the joints tight until the glue dries.
A stacked dado set is a useful accessory
Replacing the tablesaw’s blade with a dado head gives you the ability to cut a wider swath. You can make grooves and rabbets, or (by inserting spacers as explained in step 2) even cut a tongue, or short tenon. Most portable and job-site tablesaws accept a 6-in-dia., stacked dado set like this Freud model ($85; www.freudtools.com), which can cut widths from 1/4 in. to 13/16 in. The dado set includes a pair of sawblade-like cutters, chippers (cutters with just two teeth) in different widths, and large washers in varied thicknesses that serve as spacers between cutters. Arranging the cutters and washers in the orientation shown above enables you to cut a tenon, as shown here.
Photos by Roe A. Osborn, except where noted; drawings by: Dan Thornton










View Comments
I have to say this is by far the best example of a "HOW TO" I have seen.
Thank you for sharing!
Great tips. I really like the sliding cradle jig idea--thanks for sharing, Rex.
If you want to build it yourself just google for woodprix. I know you will find good solutions for all your ideas.
Where would one get the spacer washers?
My dado set doesn't have any.