Build a Tablesaw Crosscut Sled
Trimming cabinet doors and drawers, mitering small pieces, and making wide crosscuts for shelving is safer and easier with this simple sled
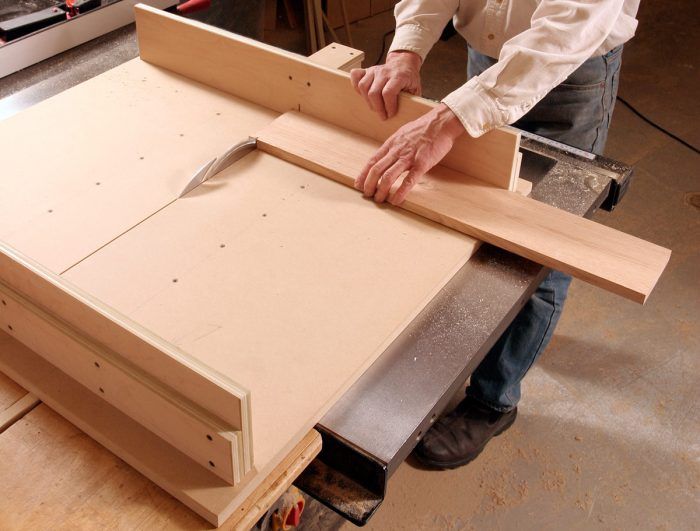
A crosscut sled seriously increases a tablesaw’s versatility. Trimming cabinet doors and drawers, mitering small pieces, and making wide crosscuts for items like shelving are all made safer and easier with a crosscut sled.
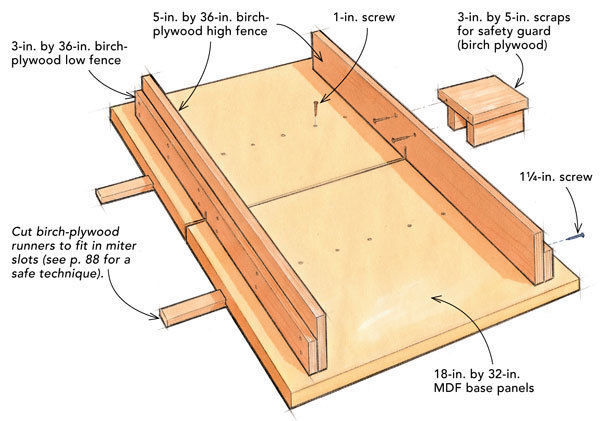
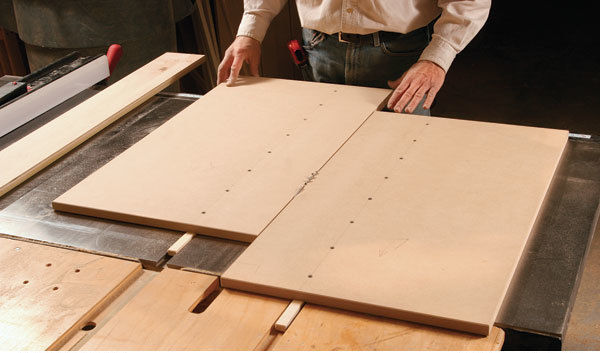
The sled I describe here was made to fit a cabinet-style tablesaw, but it can be duplicated in different sizes. The secret to making an accurate, smooth-sliding sled is to build both halves of the base separately, then use the front and back fences to join them together.
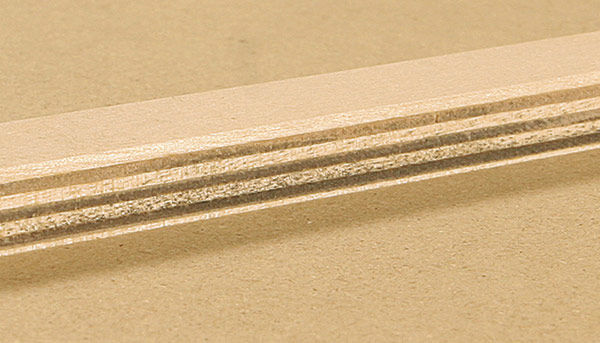
I used birch plywood for the runners and fence components because it’s inexpensive and readily available, but any 3/4-in.-thick hardwood plywood will work. I made the base out of regular medium-density fiberboard (MDF), but if you’re going to use the sled on a job site, you might want to use water-resistant MDF.
THE FENCES JOIN THE TWO HALVES
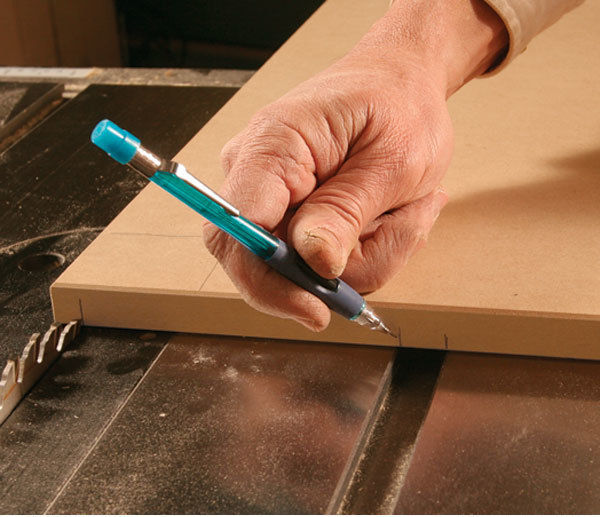
STEP 1: Mark the runner location on each base.
The MDF base should extend about 1/2 in. beyond the blade so that the base can be cut to fit.
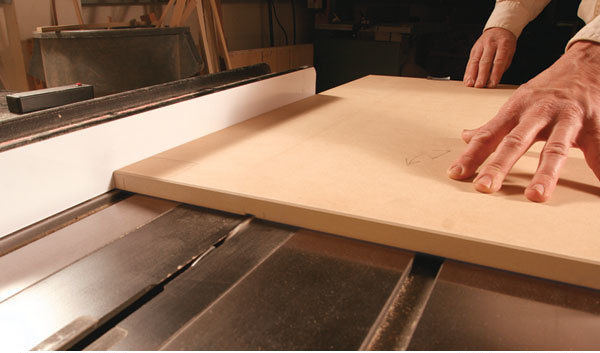
STEP 2: Cut a dado for the runner.
Raise the blade about 1/8 in. above the table, and with progressive passes, cut a dado for the runner to fit snugly.
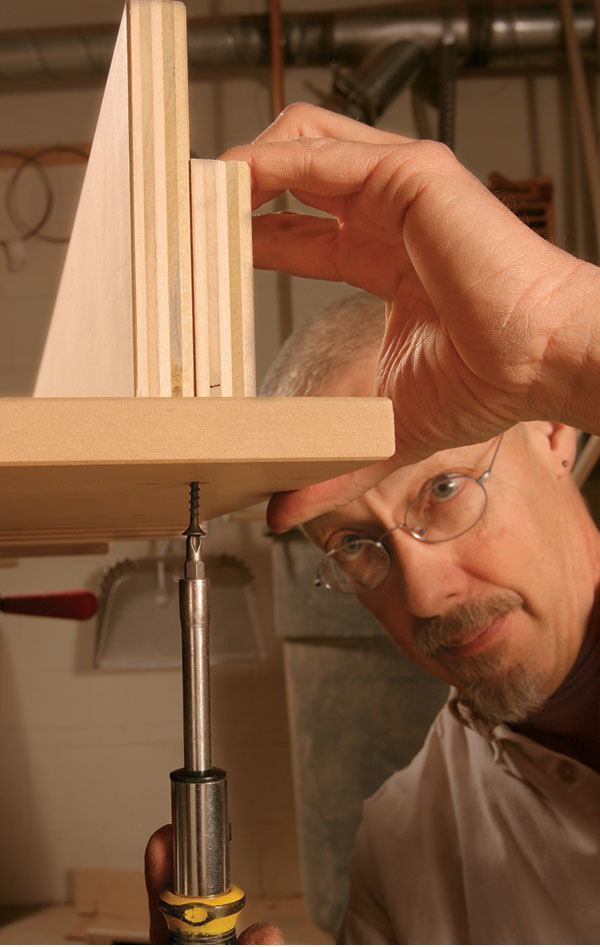
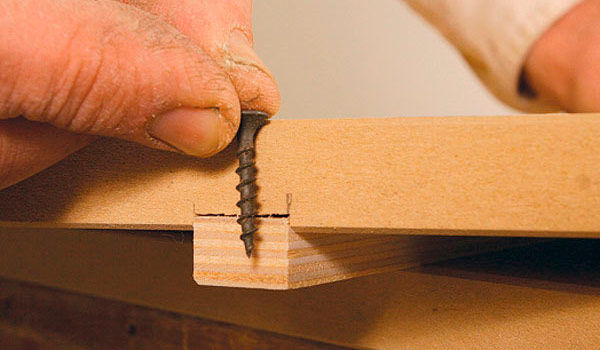
STEP 3: Screw the runner to the base.
Countersink first, then use a screwdriver for better control to attach the runners.
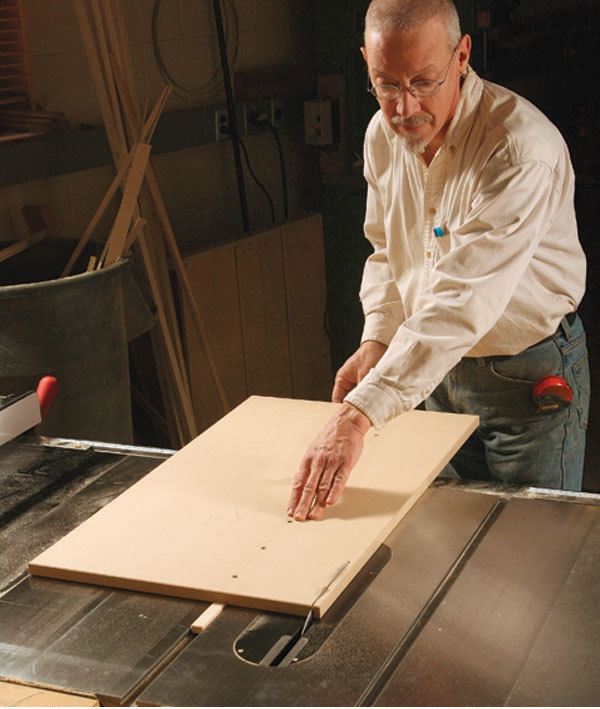
CUT THE WASTE FROM EACH BASE
STEP 4: Raise the blade, and trim the excess off each panel for a perfectly straight side that is parallel to the runner.
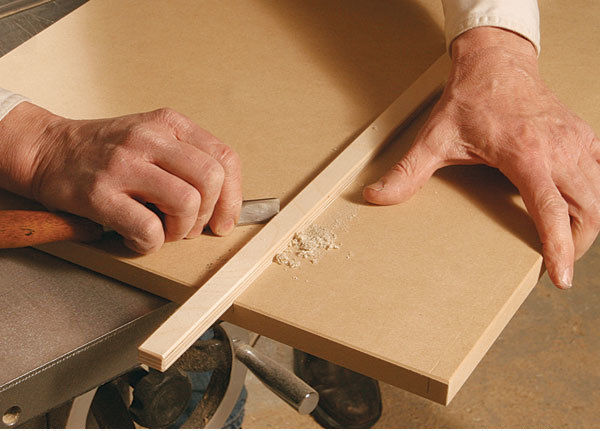
STEP 5: If the runner sticks, rub some pencil lead in the miter slot.
Pass the sled back and forth a few times, and the lead will have darkened the spot where the sled is hanging up.
With a sharp chisel, scrape the sides of the runner. Repeat this process until each side slides smoothly.
TAKE YOUR TIME ASSEMBLING AND SQUARING THE FENCES
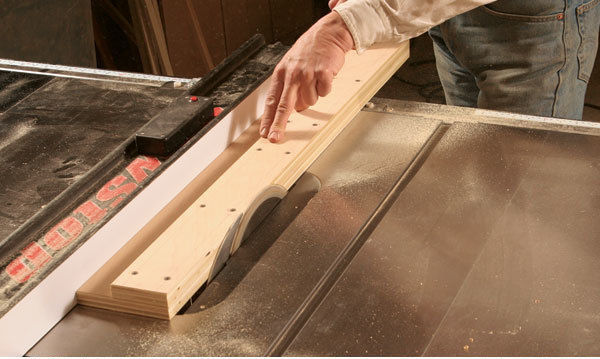
STEP 6: Screw two lengths of plywood together to make each fence.
Make sure not to locate screws where the blade will pass through.
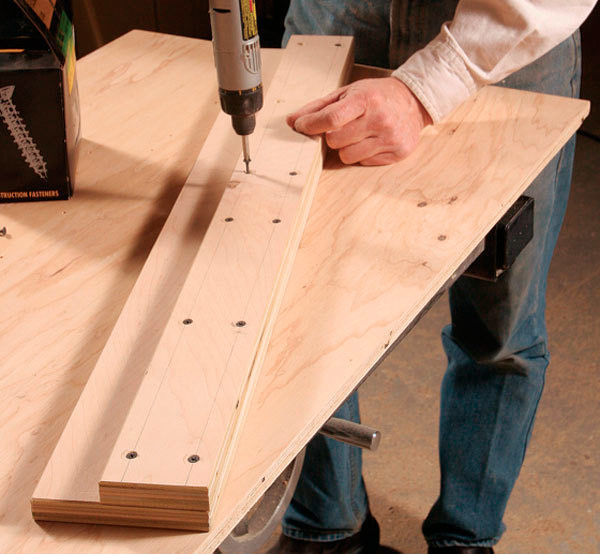
Once assembled, take a narrow slice off the bottom edge of the fence to square and flush the edges.
Step 7: Attach the fences square to the cutline.
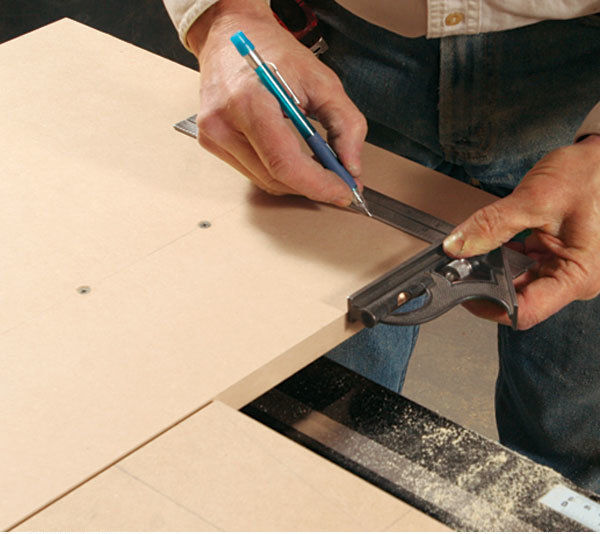
Mark a square line about 3 in. from the back of the sled, and extend the line with a straightedge. Mark the screw holes.
Drill through from the top, but countersink from the bottom. Sink just a few screws, and check for square before you attach the fence fully. Follow the same process for both fences.
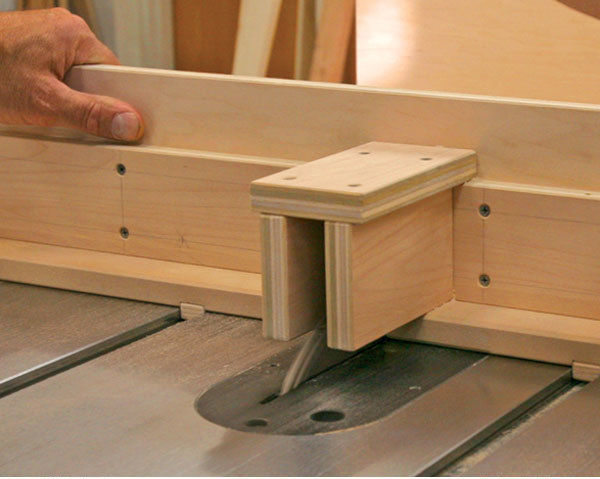
Step 8: Be sure to make a guard.
Attached to the outfeed side of the sled, this U-shaped box covers the sawblade.
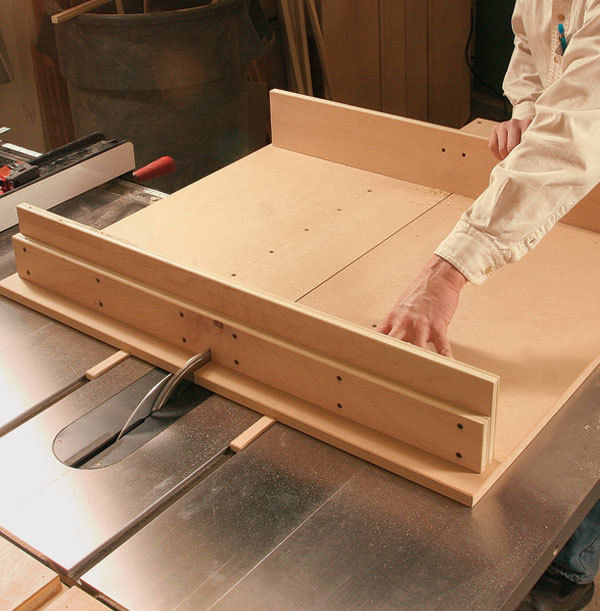
STEP 9: With the sled assembled, slide it on the saw to check the fit.
If you need to, repeat step 5. Now the sawblade can be raised to cut through the front and back fences. For strength, cut only 1 1/2 in. up from the base.
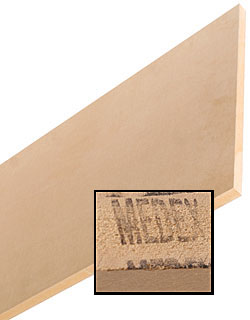
Water-resistant MDF for a job-site sled |
Photos by: John Ross; drawing by: Dan Thornton
