Tubular Skylights
There's no view of the sky and no direct sunlight, but they promise an easy installation and natural light for less than $200.

Synopsis: Tubular skylights are a quick and economical way to get natural light into your home. Natural light is free, and getting a good dose of natural light has been shown to improve mood, work performance, and attention spans; it even can counteract the affects of seasonal affective disorder (SAD). Fine Homebuilding assistant editor John Ross takes a look at tubular skylights, their installation process, and some of the accessories that can enhance one of these devices.
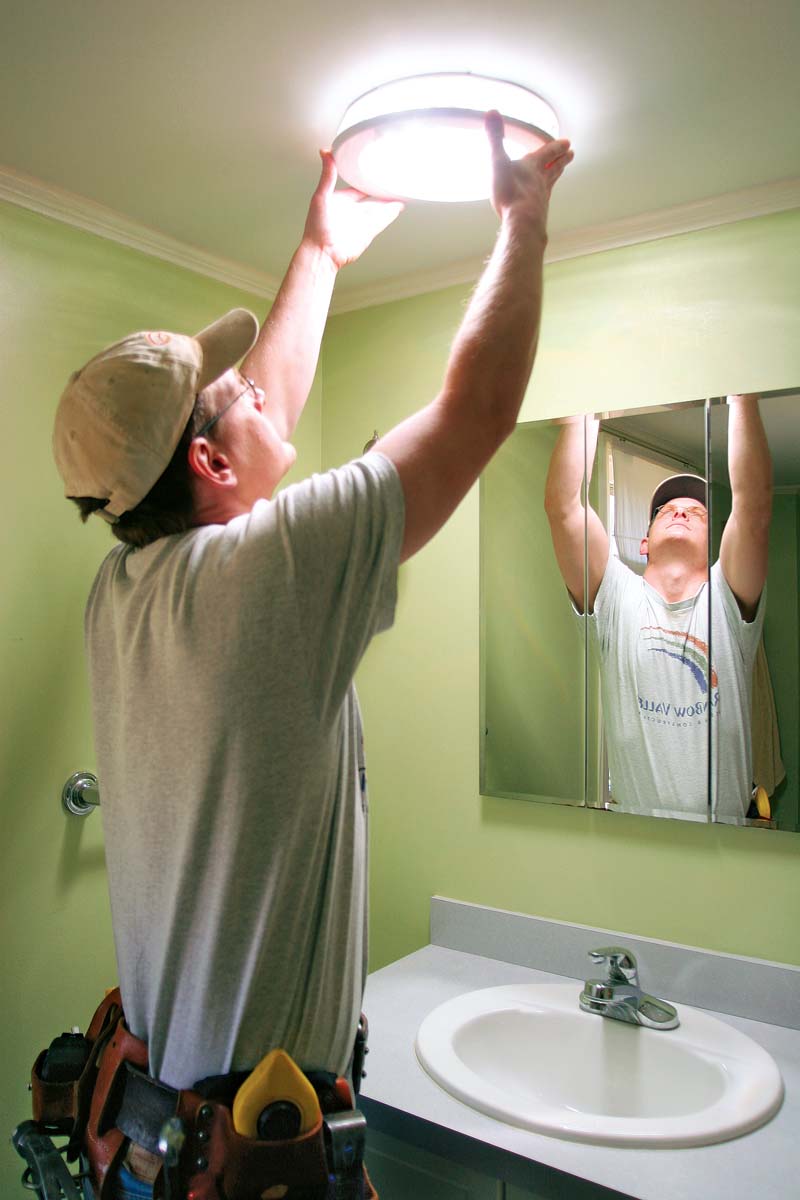
They may cost a lot less than a traditional skylight, but if the product doesn’t deliver, I’m going to pay for it with a hole in my roof. That was my first reaction when I started looking into tubular skylights. To get a good understanding of how these skylights work, I knew I’d have to install one. So I poked my head into associate editor Brian Pontolilo’s office and asked him, “Ever thought of putting a skylight in your bathroom?”
As luck would have it, he had. But Brian’s also been around for a while and knows some tricks of his own.
“You do all the research,” he said, “then we’ll talk.”
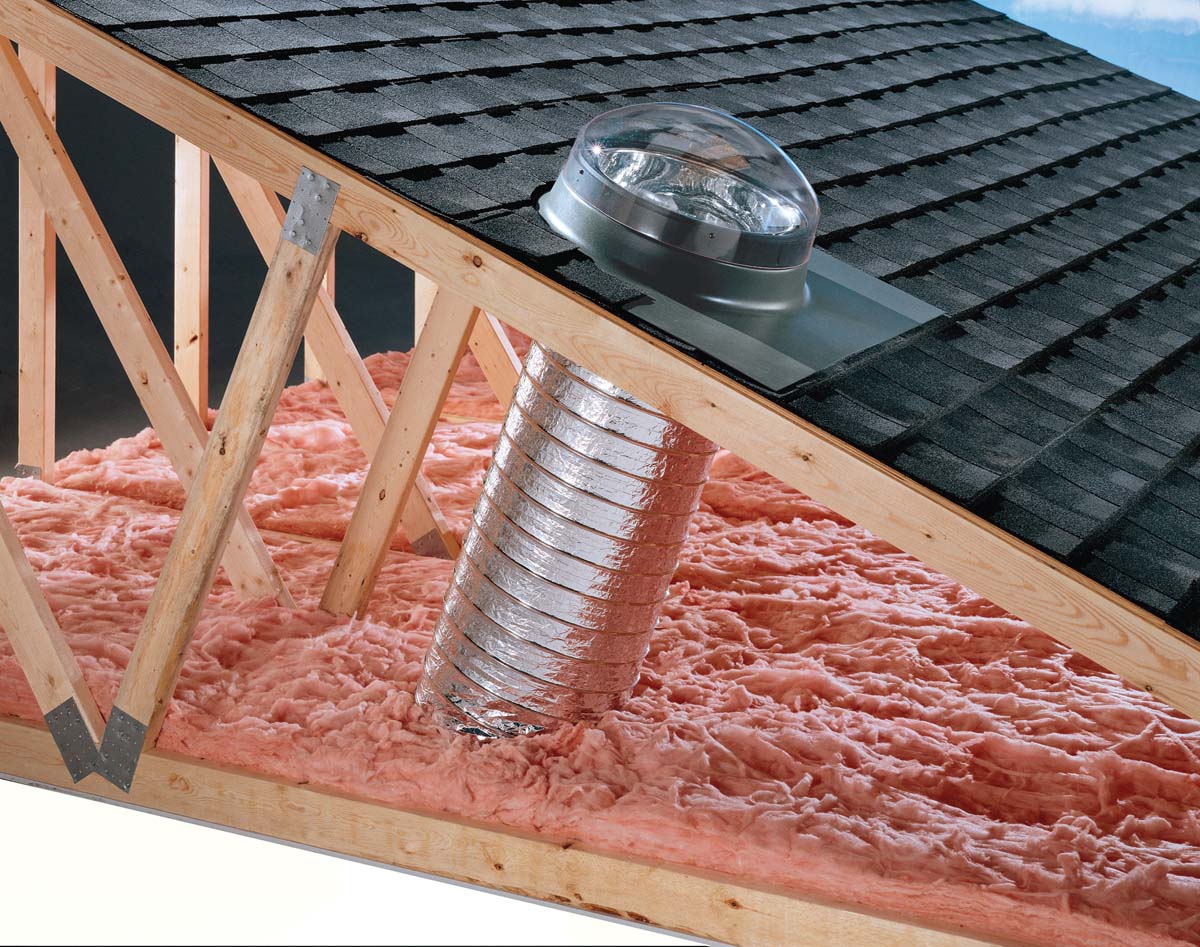
Tubular-skylight manufacturers like to think of their products as lighting systems rather than just skylights. A dome on the roof gathers sunlight. An ultra-reflective tube transports it inside the house. Then a diffuser spreads the light into a room. In the room, the skylight looks like a big recessed-can light fixture, which begs the question: If it looks just like a can light, then why not hire an electrician and skip putting a hole in the roof?
Health Benefits And Aesthetics Outweigh Energy Savings
Energy savings might be the most obvious reason for installing a tubular skylight, but what you save won’t justify the cost. If a room can be lit without electricity, then you’re saving energy, right? Sure, but in a residential setting, that savings is marginal if no one is at home during the day. Say you work at home, though, and put a 10-in. tube in your home office. In that situation, you could expect to replace two 100w lightbulbs. If you use your office for six hours a day, including weekends, you probably won’t save more than $25 for an entire year. That’s eight years just to pay for the unit.
Health benefits might be a better reason to install a tubular skylight. The dome blocks harmful UV-rays, but the reflective tube doesn’t make a significant change to the light we see. There’s solid evidence to suggest that exposure to natural light can improve mood, short-term memory, and mental performance. And according to Dr. Joan Roberts, a photobiologist at Fordham University, natural light’s long blue wavelength helps to regulate the body’s internal clock and can counteract the effects of seasonal affective disorder (SAD).
But the most important benefit may be purely aesthetic. You might just like natural light. As it turned out, that was where Brian landed on the issue. His main reason for wanting a skylight was to provide natural light for the mirror above his bathroom sink. He also thought that natural light in the morning would help him to get going. Finally, his 5-year-old son kept leaving the bathroom light on, which irked him.
The One You Choose Depends On Your Needs
Brian’s situation has some details that are problematic when locating a traditional skylight but are just the kinds of challenges that tubular skylights are designed to overcome. His bathroom is small with limited ceiling space, and it’s on the north side of his house with a tall attic above it.
My research involved taking a look at how tubular skylights work as a system and how different components fit together. There are more than 20 brands of these skylights, but I focused on manufacturers that are widely available and have a rating with the National Fenestration Rating Council (NFRC; see “Sources,” p. 54). A 10-year warranty and complete installation kits are standard, but manufacturers have some differences that are good to keep in mind: tubing reflectivity, dome material, availability of extension tubes, and flashing style (shiny galvanized or brown tone). Prices range from $150 to $500 or more, depending on the accessories (sidebar left).
I chose a Solatube model for two reasons. First, Solatube’s acrylic coating (photos above) has the highest reflectivity: 99.7%. The industry standard is a silver coating inside the tube that reflects 97% to 98% of the light. Less expensive models use anodized aluminum, which is 95% reflective. The difference between 95% and 99% may not seem like much, but that’s 4% for each time the light is reflected. Even if it bounces only four times before it exits the tube, that’s close to a 15% difference in the amount of light coming into a room.
The second reason was purely subjective. Solatube’s system seemed to be the most thought out, and the parts seemed like they would fit together with the least hassle. That’s important because a big appeal of this type of skylight as advertised is that you can complete an installation in just two hours.
The Instructions In The Box Didn’t Tell The Whole Story
Two hours, really? I’m sure if I had installed 100 already I could hit that mark; but I planned on the afternoon, and that was about right. Add extra time if any reframing needs to be done. I read the
instructions thoroughly, and while they were valuable, they seemed to gloss over the importance of taking your time when locating the holes you are going to cut through a perfectly good roof.
In general, the skylight installed just the way it was supposed to. There was no nail-biting or head-scratching while trying to make sense of parts and pieces. When I finished, no pieces were left over, and no daylight was showing except through the tube.
The unit I chose cost about $300 with extension tubes, and although the 10-in. unit didn’t put out enough light in the morning or evening to replace an electric light, it certainly did have a pleasant blue cast to it during the day. When Brian’s son came home from school, he exclaimed, “That’s cool!” And he didn’t reach for the light switch.
It’s A Skylighting System, And Each Component Has A Job To Do
Pipe In Natural Light
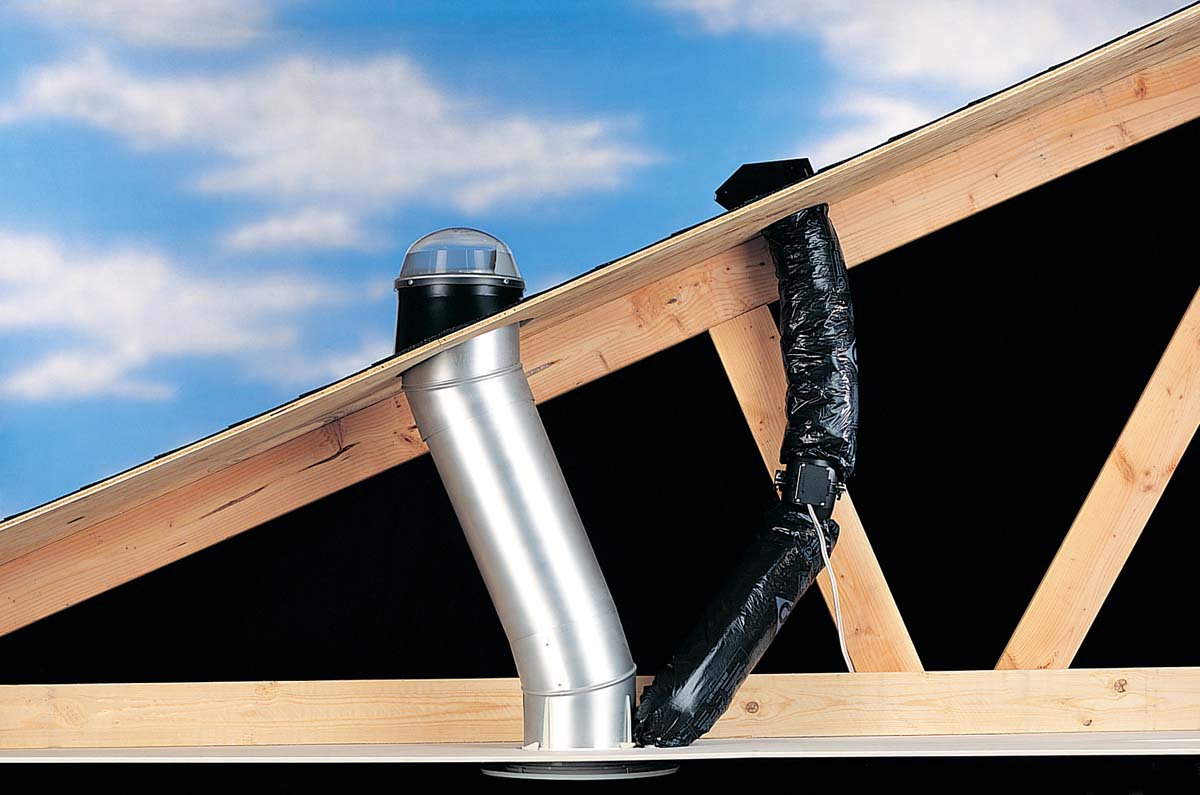
Locating a tubular skylight properly is key to getting the most light into your house. For best results, locate the dome on a south-facing roof slope away from hips, valleys, chimneys, or other roof penetrations. Keep the tube as vertical as possible. Because the roof penetration and the hole in the ceiling are the same size, it is much easier to keep the tube vertical and still direct it past obstructions like framing elements and electrical, plumbing, or HVAC lines.
For the most dramatic results, choose a small space like a bathroom or hallway. Interior and north-facing rooms also are good candidates for the “piped-in” sunlight that tubular skylights can provide. These rooms typically don’t have good lighting to begin with and are hard to retrofit with traditional skylights.

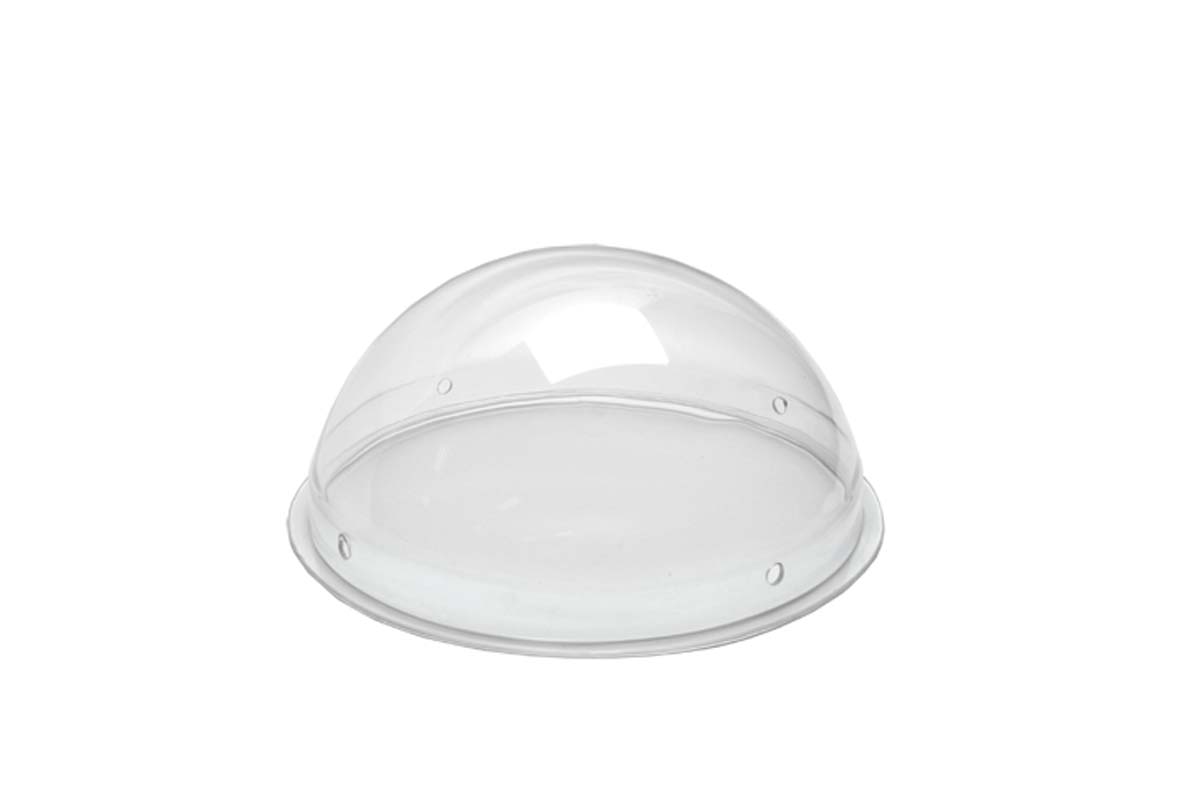
The dome takes the brunt of the weather and is made of one of two materials. Acrylic won’t yellow or haze over time, but it’s brittle and prone to cracking under impact. Polycarbonate can take a hit and is required by codes in many hurricane-prone areas. It’s not UV-stable, though, so prolonged exposure to the sun can cause yellowing.
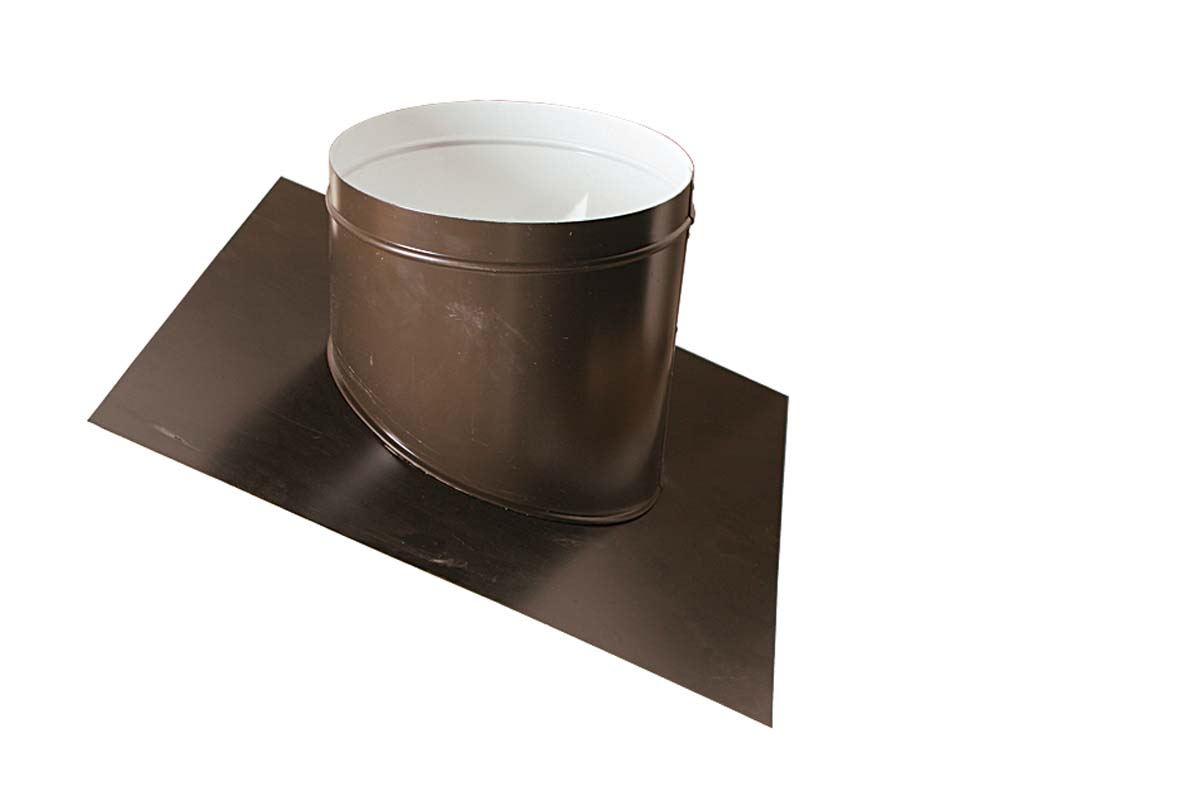
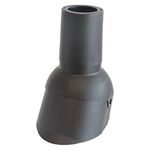
Metal flashing connects the dome to the tube. Manufacturers have flashing to handle a wide range of roof pitches. Some companies use a shiny galvanized finish, and others have a brown powder coat on steel, which is less noticeable.
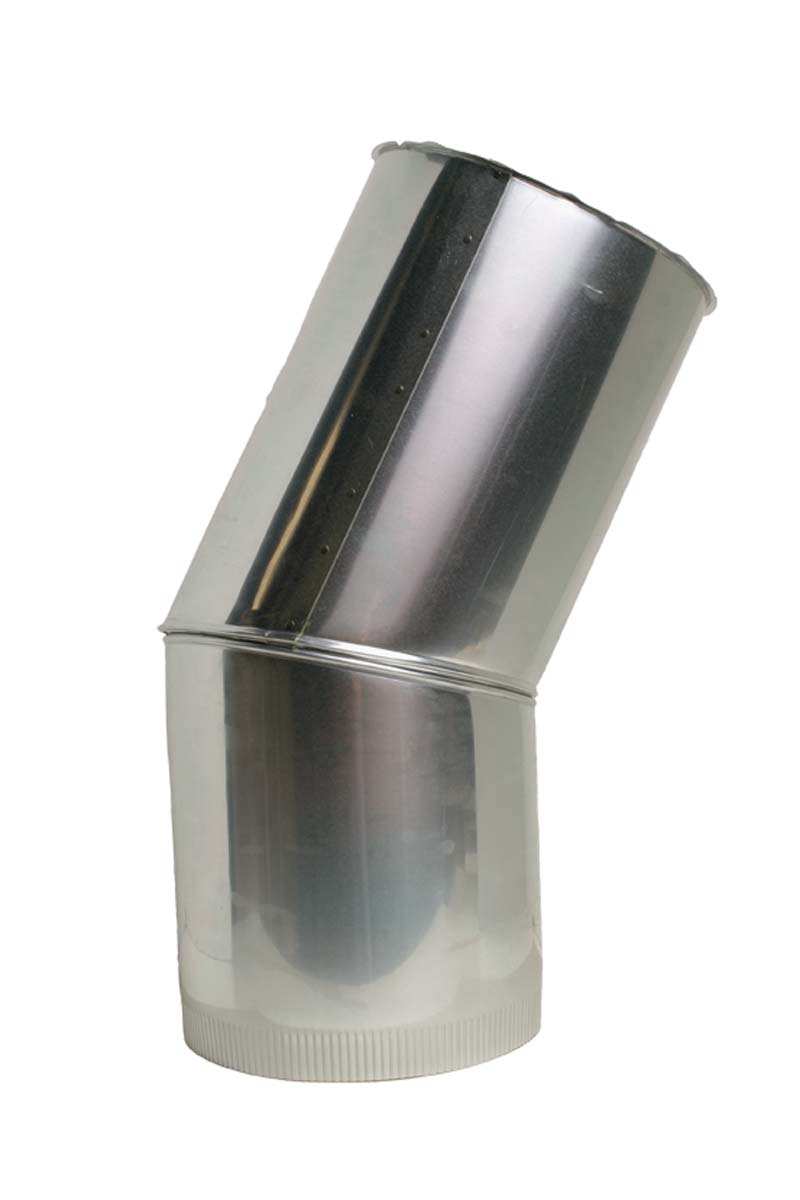
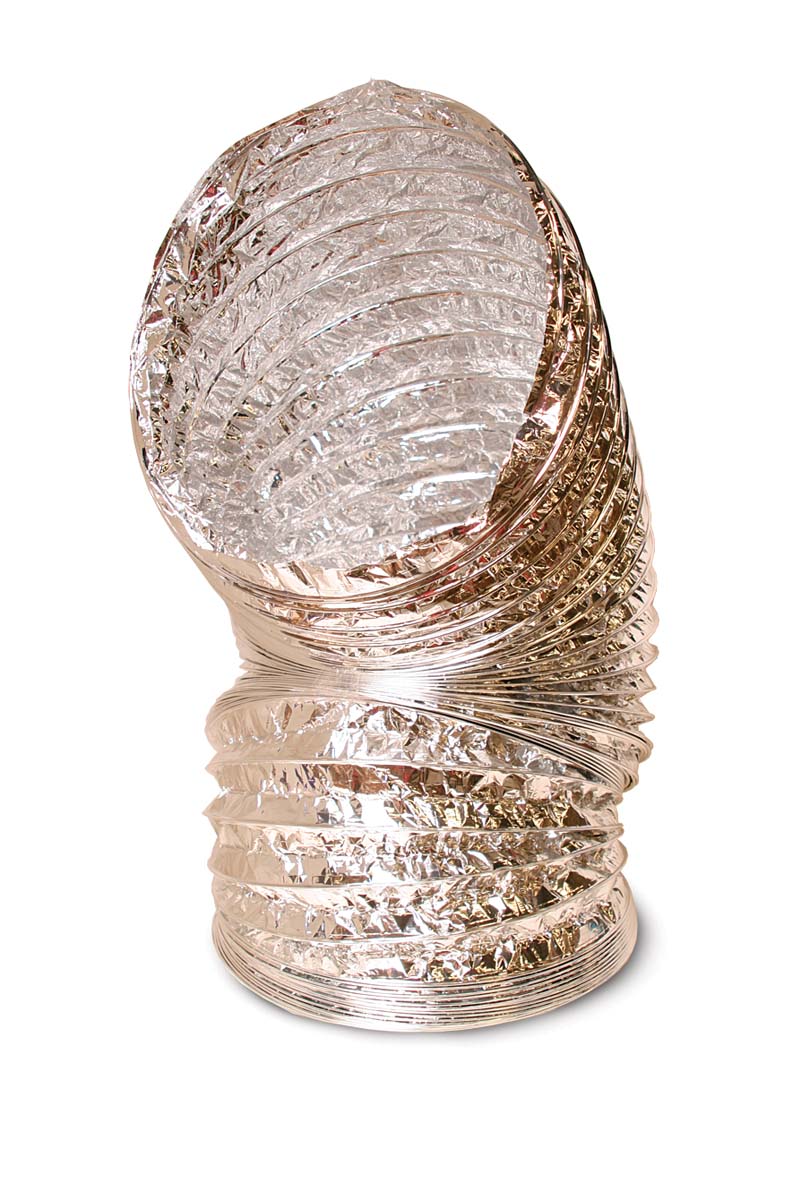
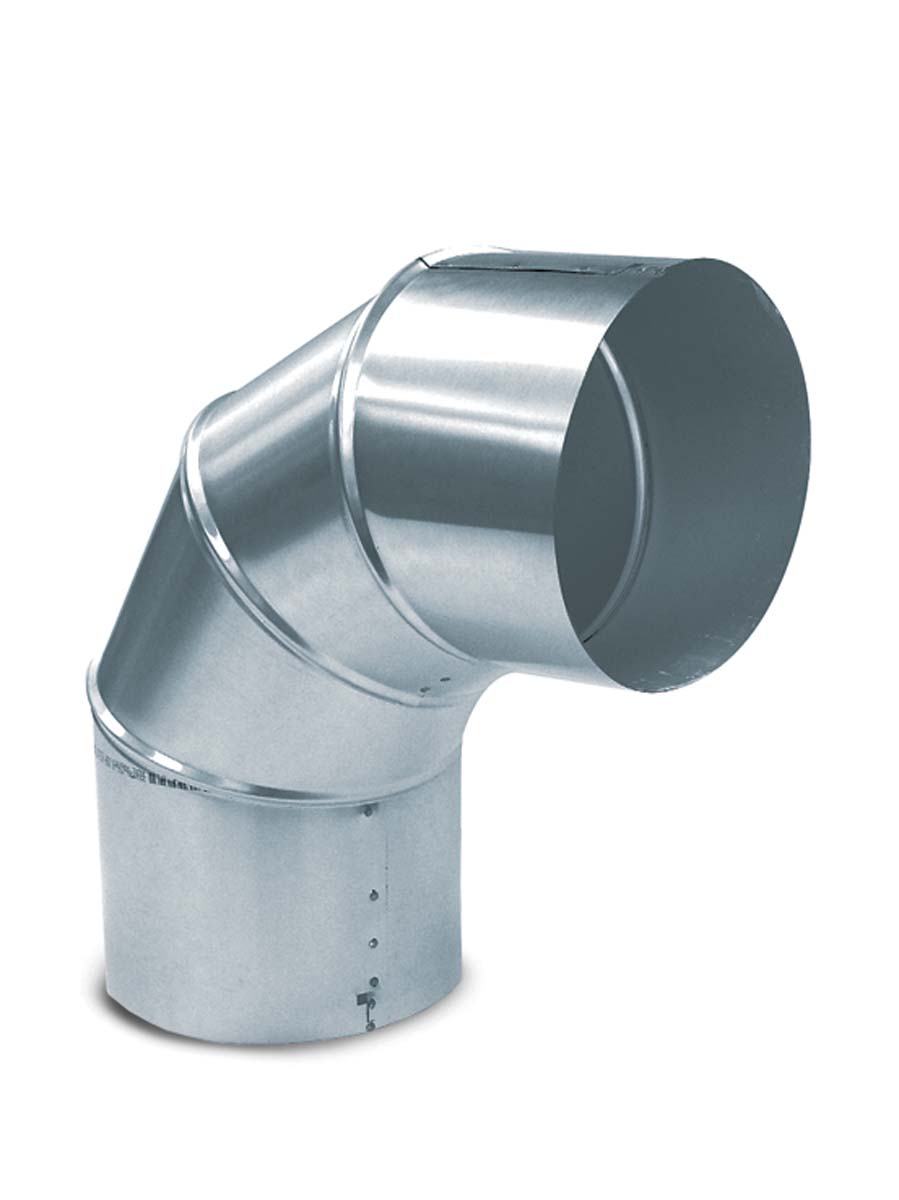
Tubing transmits light from the dome to the diffuser. Three different reflective coatings are used. A silver coating is industry standard. Solatube uses a patented acrylic material that is more reflective, while some less expensive models use anodized aluminum. Most units come with a couple of elbows to turn the tube up to 30°.
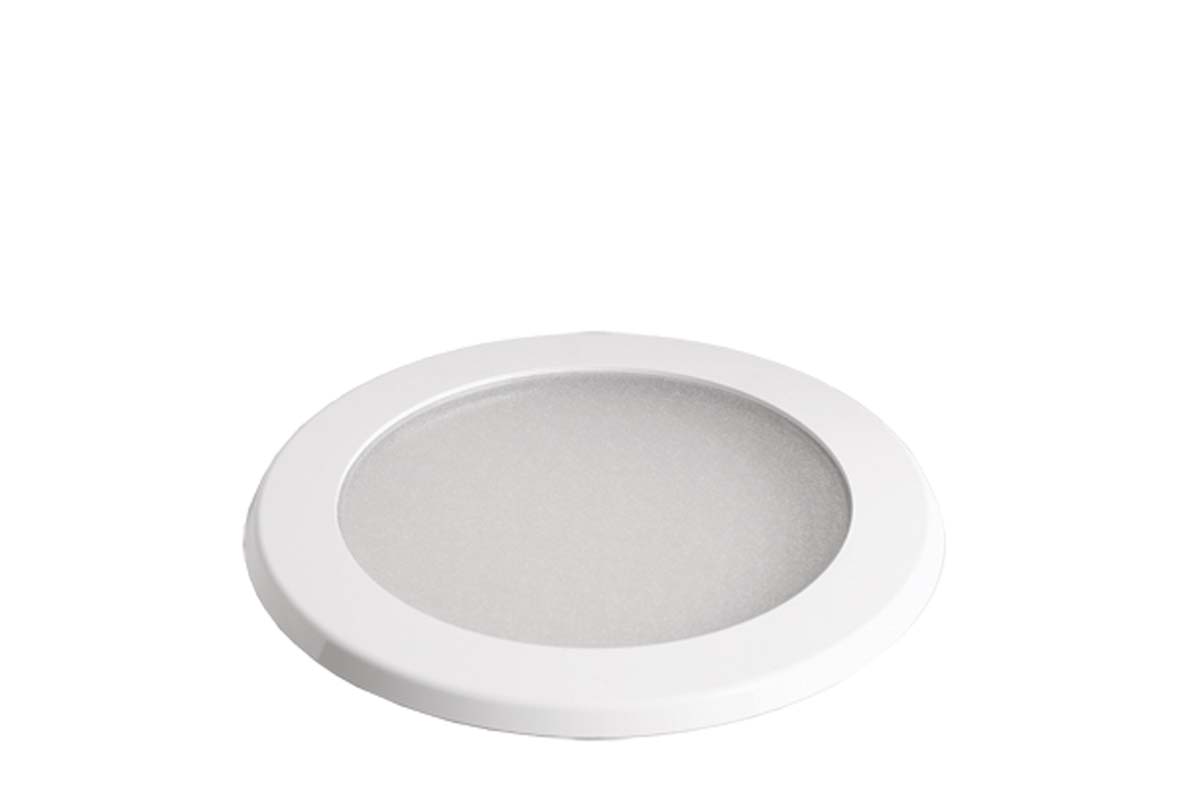
The diffuser is a plastic lens that spreads light inside the room.
 |
 |
 |
 |
With Tools On Hand, Installation Should Take Only A Few Hours
|
|
 |
|
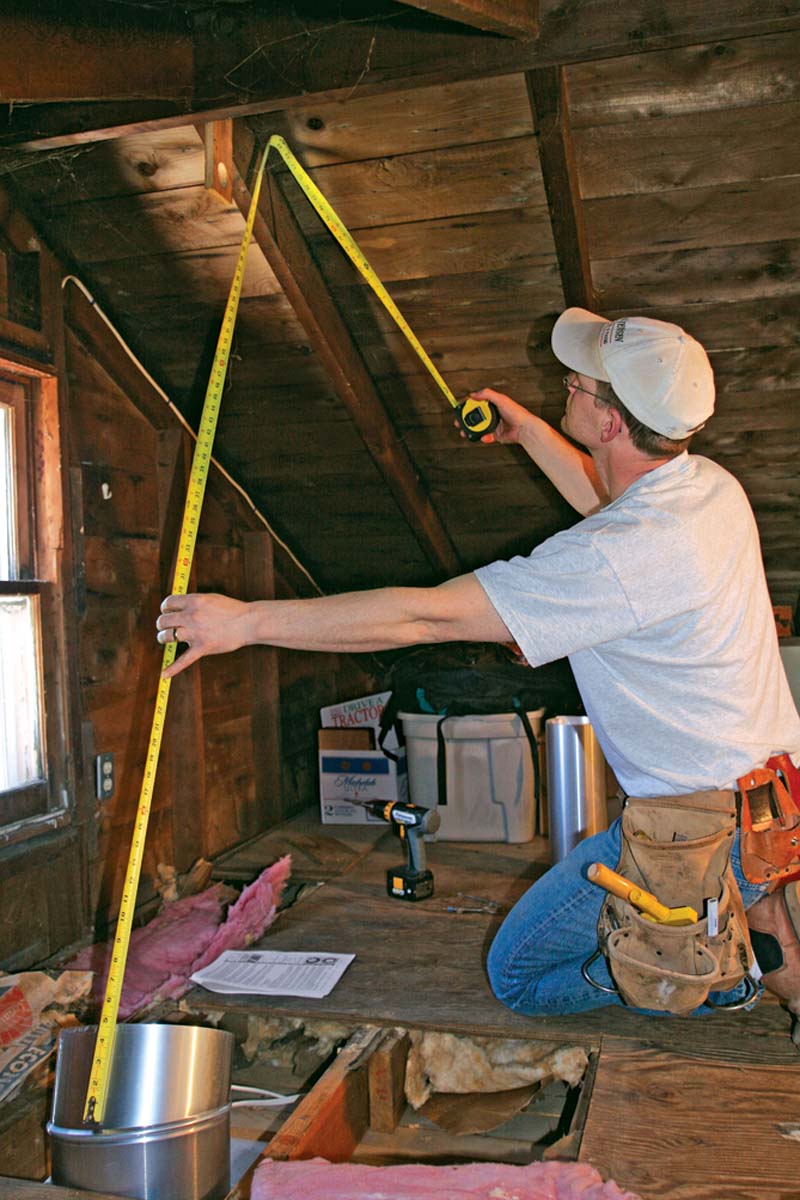
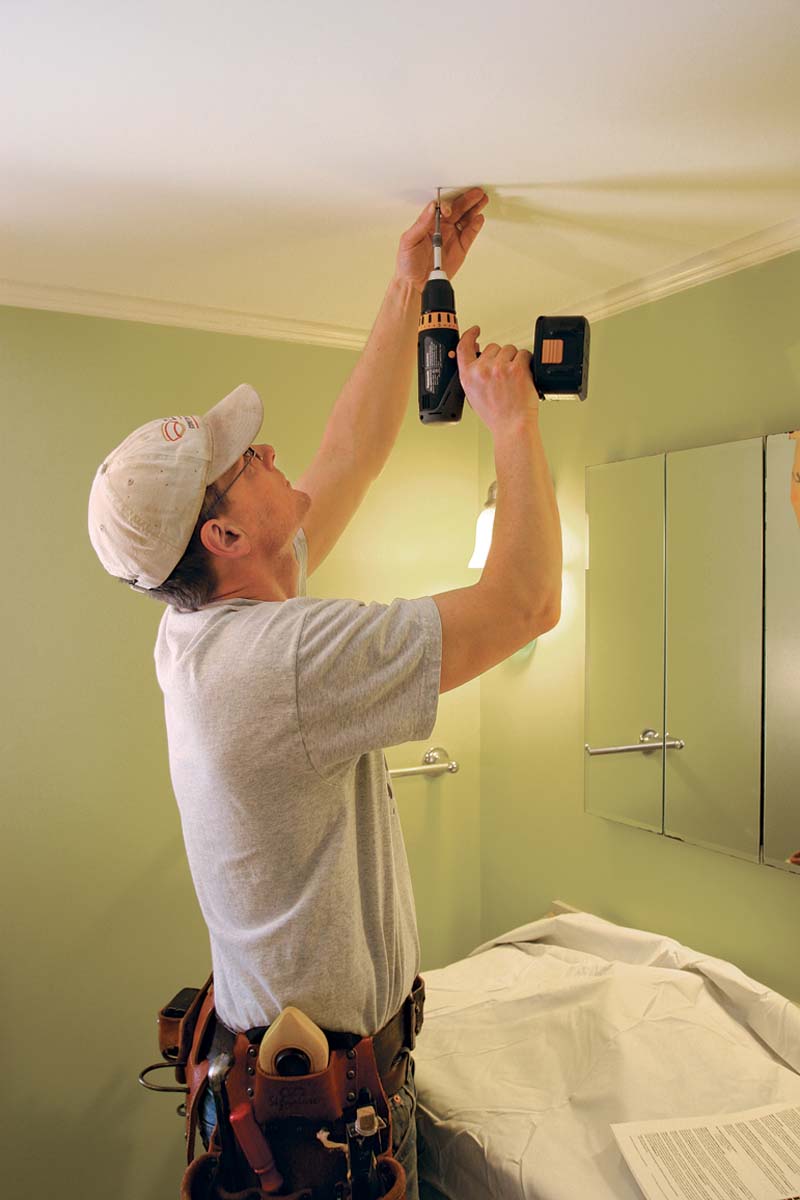
Locate the center of the light, and drive a screw through the ceiling. Get some reference points by measuring from an outside wall or ceiling light so that you can find the screw easily when you are in the attic. |
Clear away the insulation and deal with any obstructions like wiring or ductwork. Use a tape to check angle and length. Before putting a hole in the roof, make sure you have enough tubing. Send a screw through the roof, and again, remember to get some |
On The Roof
|
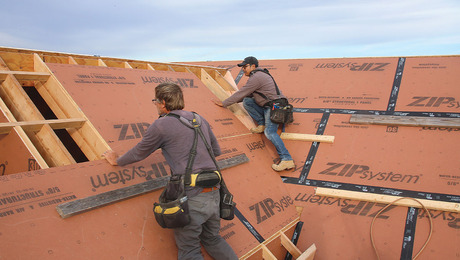
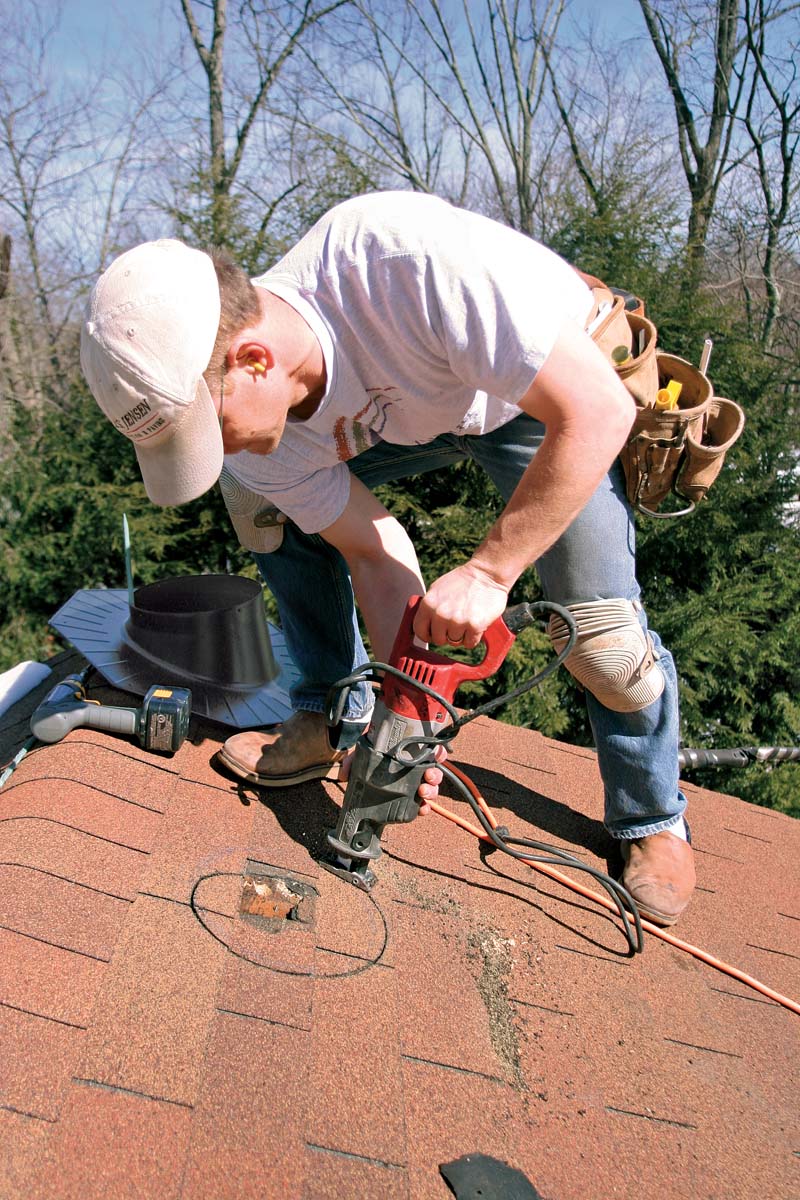
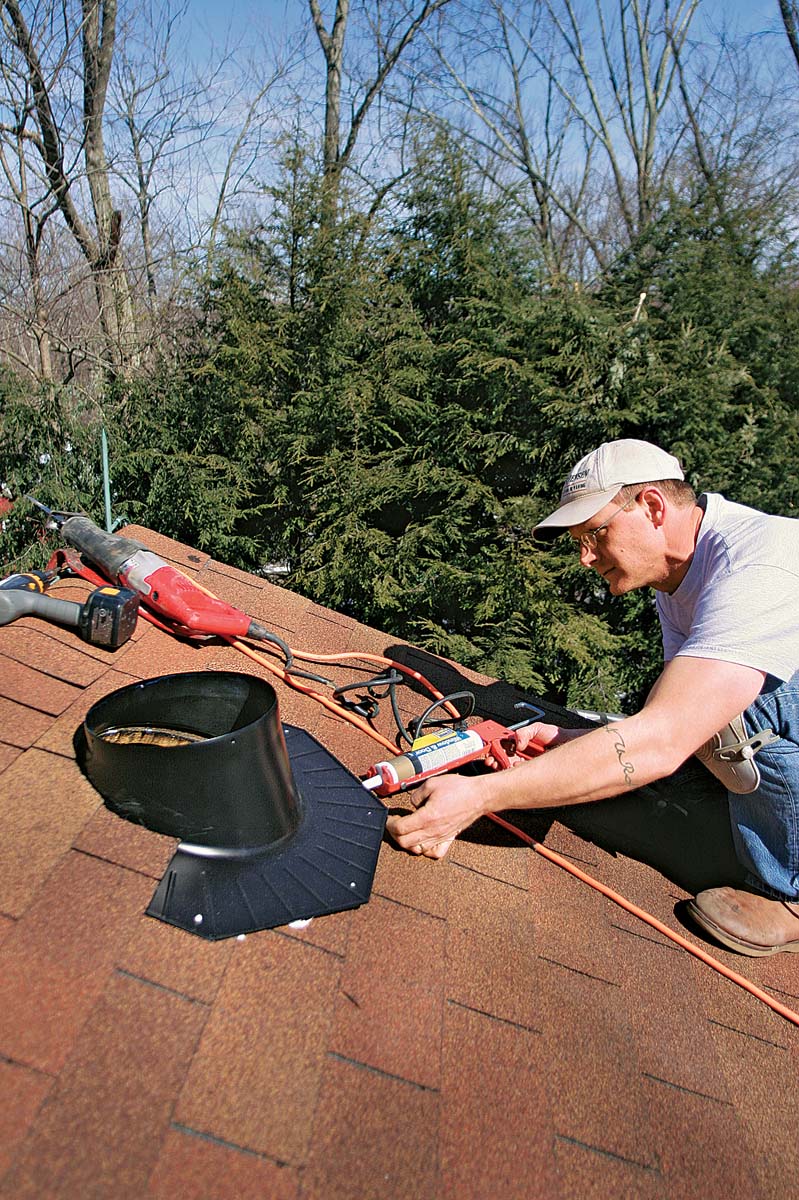
1. Start by using the flashing as a template, and trace around the inside with chalk. Cut the hole to the outside of the line. A rough cut is fine because the flashing has a big footprint. |
 |
|
2. After the hole is cut, carefully loosen the shingles, and remove any nails that are in the way. A cool, clear morning is the best time for this task because hot shingles are easy to damage. |
 |
|
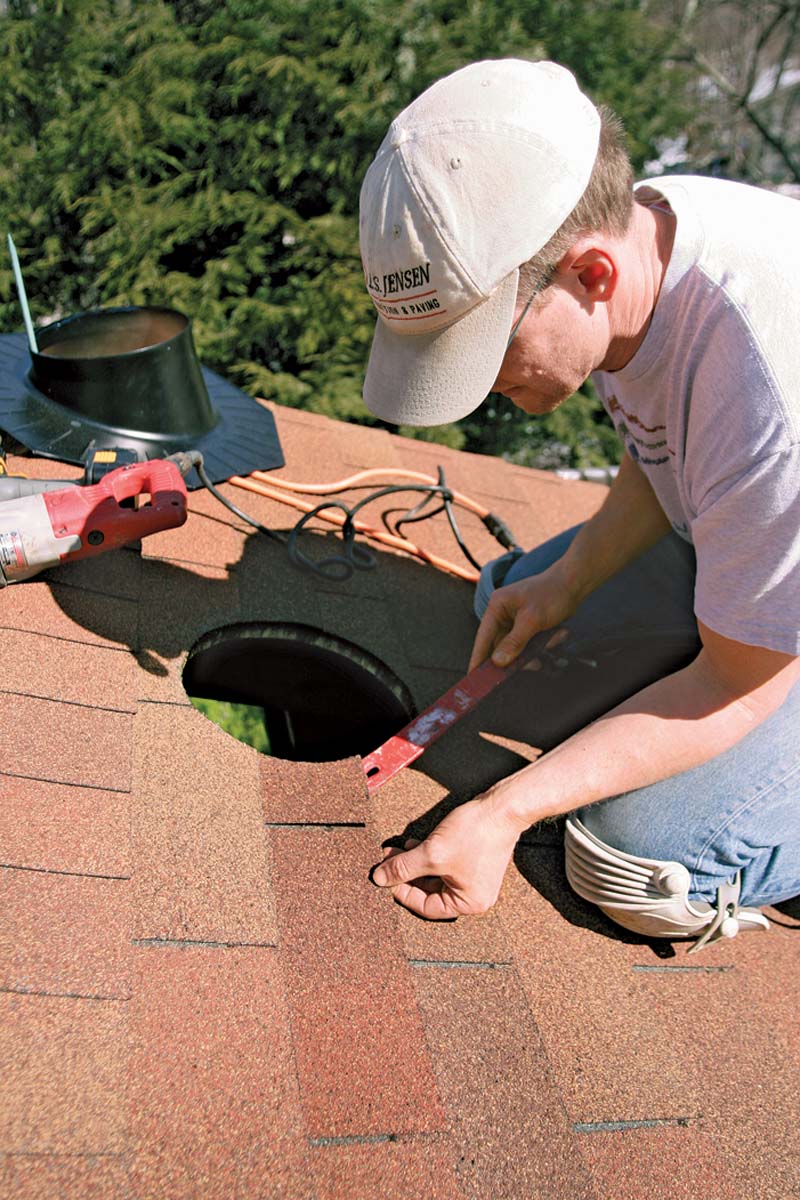
3. Once all the obstructions are out of the way, slip the flashing up under the shingles. Caulk under the top edge as a precaution against leakage, but don’t caulk the bottom. Any water that does get under the flashing needs a place to drain out. I put just a daub of caulk to seal the spots where an exposed fastener would penetrate the shingles. |
 |
|
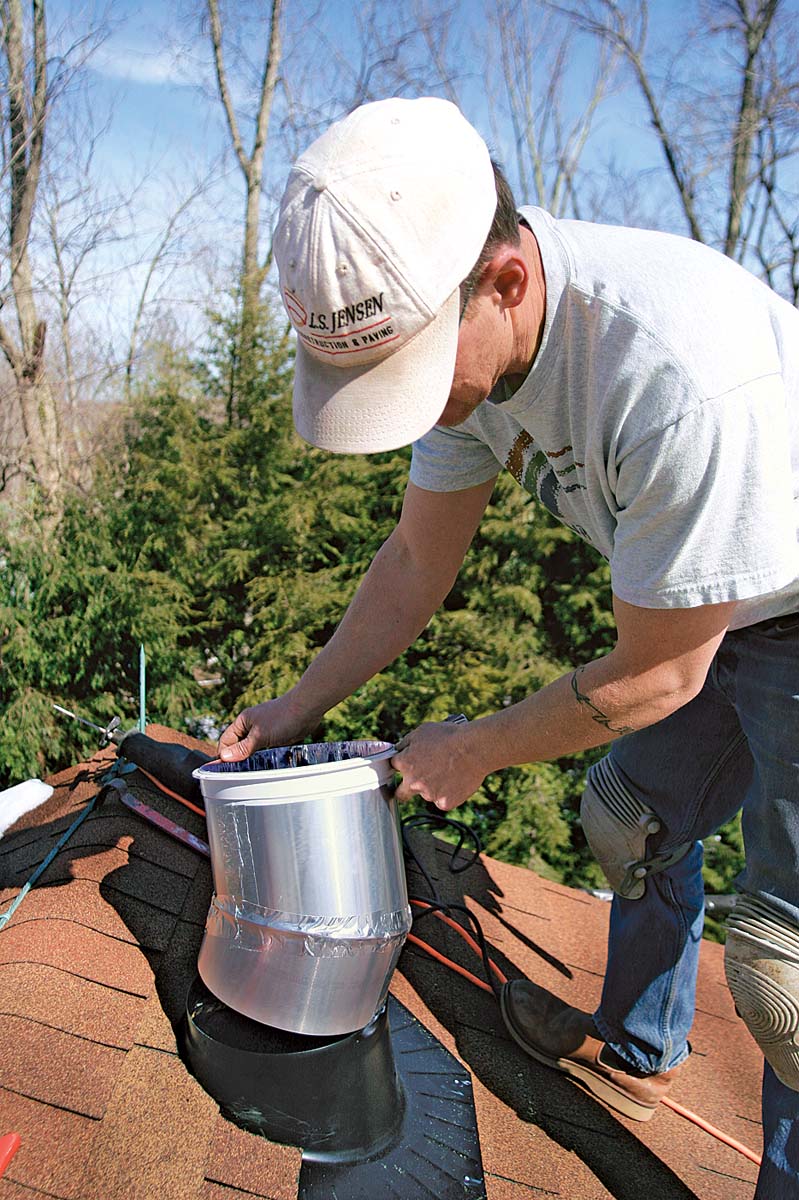
4. The top section of tubing slides in before the dome goes on. Tape this section now because you won’t be able to get to the joint from down below. |
 |
|
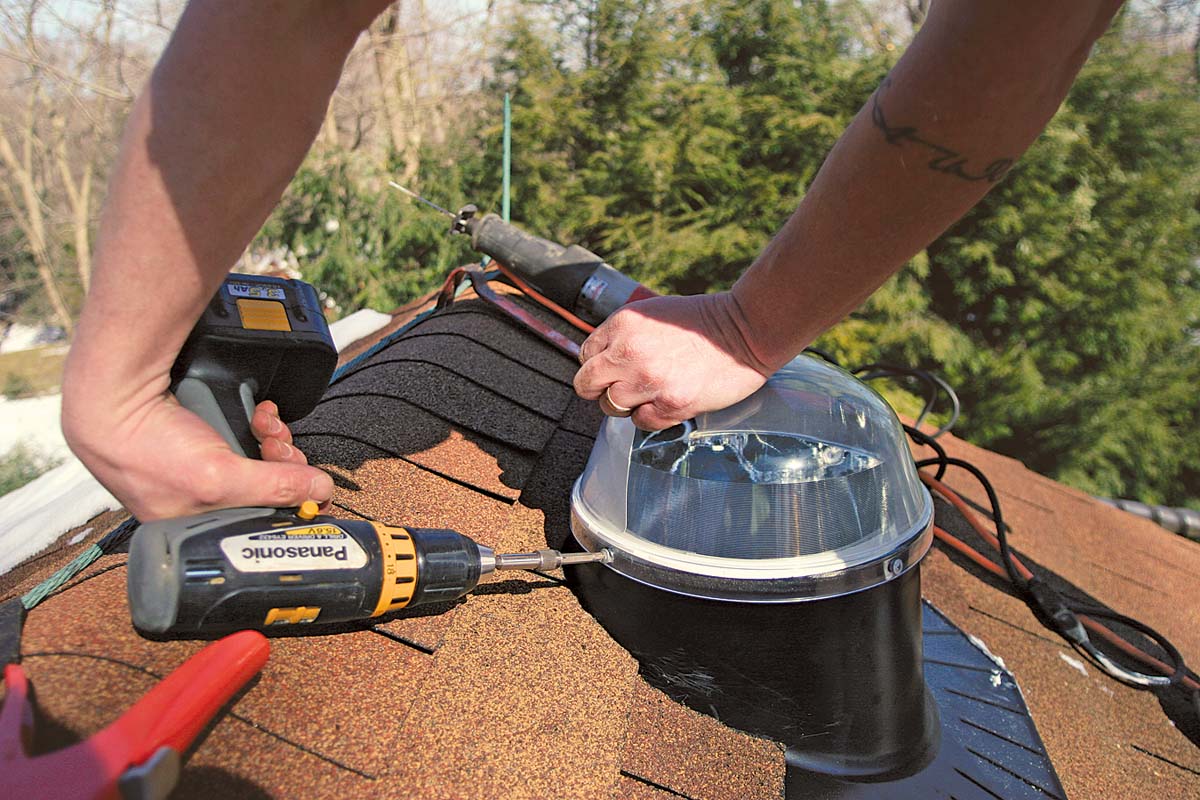
5. After the flashing and tube are in place, attach the dome, and get off the roof. |
 |
 |
 |
|
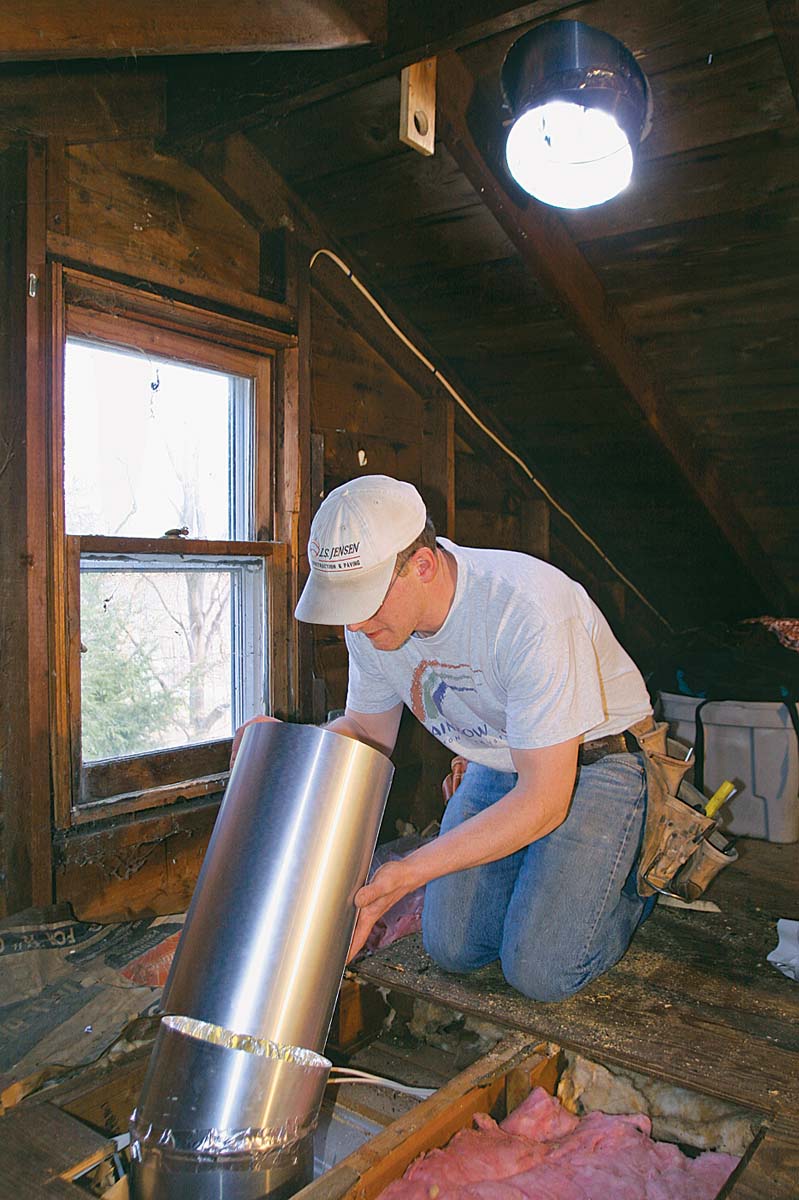
Connect the tubes. The tube extensions fit together and are sealed with tape supplied with the kit. Once the tape goes on, the tube is fairly rigid, but most manufacturers supply machine screws to hold the tubing |
You’re done. The diffuser on this unit just snaps in place. |
Options Stretch The Basic System
Accessories like lights, fans, and dimmers use the same ceiling penetration to keep clutter to a minimum. But be aware that wiring a switch or hiring an electrician can mean a substantial increase in the cost of the project and the time required to get it done.
 |
Vent Fan
A vent fan is available as an option from some companies, but it requires a separate roof penetration. The Solatube model shown here costs $200. |
| Night Cap
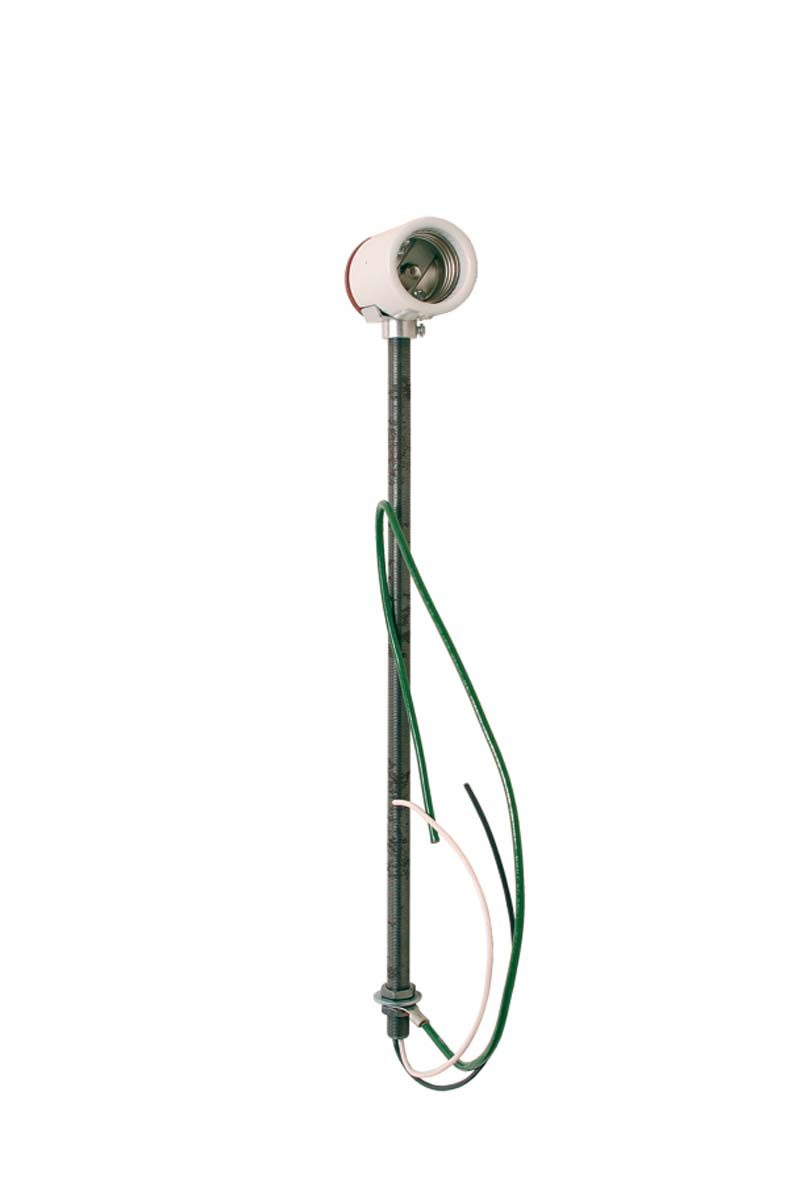
Many companies put a light inside the tube that can use existing wiring. An electric light inside the tube cuts down on natural light by about 10%, depending on tube size. Sun-Tek’s light kit (shown here) is $29. |
 |
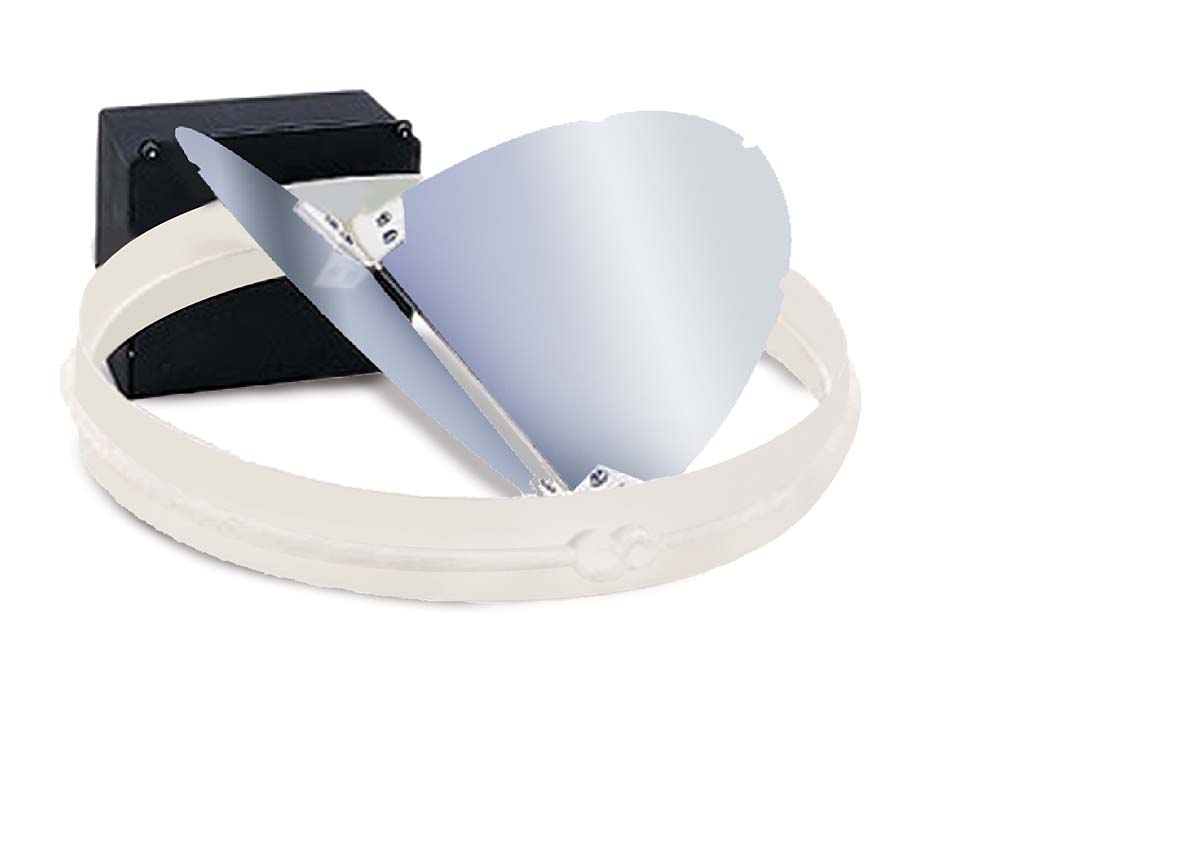 |
Dimmer An “off” switch for natural light. Solatube offers a baffle-style dimmer ($190) that’s wired to its own switch to allow you to control the light level. |
|
Flexible-Tubing Unit It transmits less light than a rigid tube, but the Velux flexible-tubing unit is designed to get around obstructions and is easy to install. The 14-in.-dia. kit is $260. |
 |
|
|
Low-Profile Flashing If you want to avoid a protruding dome on the roof, Velux has a low-profile flashing system that’s available at no additional cost. |
|
90° Fitting Elbows and tube extensions are sometimes |
|
For more photos and details on tubular skylights, click the View PDF button below.
Fine Homebuilding Recommended Products
Fine Homebuilding receives a commission for items purchased through links on this site, including Amazon Associates and other affiliate advertising programs.
Fall Protection
Flashing Boot Repair
Roofing Gun