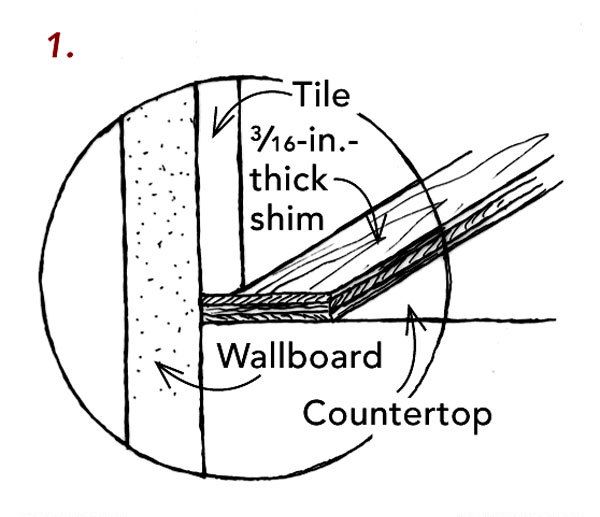
My experience as a kitchen designer has taught me that tile installers rarely use color-matched caulk to fill the space between the first row of tiles in a kitchen backsplash and the countertop—and perhaps for good reason. Color-matched caulk almost never matches the appearance of the grout perfectly. And if that joint is filled with grout instead of caulk, it will discolor, crack, and eventually start to fall out. To reduce the visibility of the problem, some installers minimize the grout line. However, an undersize grout joint is weak and breaks down more quickly. Over the years, I’ve learned to use the detail that’s shown in the drawings to solve this problem.
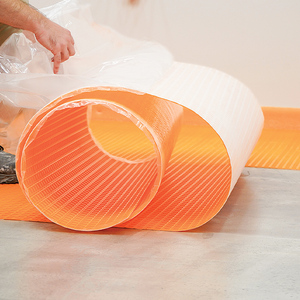
As shown in drawing 1, I begin working on a tile backsplash by supporting the first row of tile on strips of nominal 3/16-in.-thick plywood, the kind typically used for flooring underlayment. This creates a space wide enough for the grout to have some strength, and the gap is wide enough to be proportional to the wider grout lines typically used for the tumbled-marble and slate tiles my clients prefer.
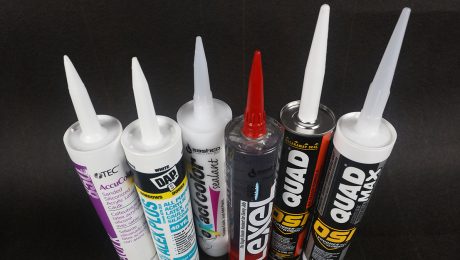
Once the tiles are adhered to the wall, I remove the shims and pack the gap with sanded grout (drawing 2). After 30 minutes or so, the grout has firmed up enough to back-bevel it at about 50° to 60° (drawing 3). I use a putty knife or a taping knife for this step. When the grout has dried overnight to its final color, I caulk the joint with a clear, matte-finish siliconized latex caulk (drawing 4). I’ve found that DAP Dynaflex 230 is the best. I have used other brands, but they either turn yellow or become sticky over time.
The cured clear caulk lets the color and texture of the underlying grout remain visible in a beautiful way. The matte finish almost makes the caulk disappear. I installed backsplashes more than 15 years ago that look as good today as they did when they were completed.
Kerry L . Klages, Ann Arbor, MI
