A Beautiful Floor from Wood Scraps
Achieving the intricate geometry of a parquet floor doesn't require much more than a tablesaw, kraft paper, and wallpaper paste.
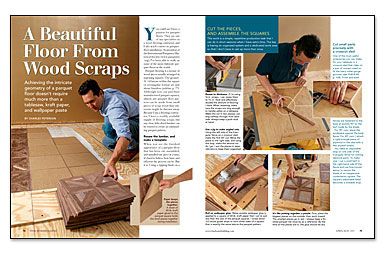
Synopsis: Parquet tiles create some of the most beautiful wood floors in the world. Wood-flooring expert Charles Peterson outlines his technique for building parquet-flooring tiles and then putting them in place.
You could say I have a passion for parquet floors. They are one of my specialties as a wood-flooring contractor, and I also teach courses in parquet floor installation. As president of the International Parquetry Historical Society (www.parquetry.org), I’ve been able to walk on some of the most elaborate parquet floors in the world.
Parquet flooring is a mosaic of wood pieces usually arranged in repeating squares. The geometric variations within this square or rectangular format are just about limitless. Although you can purchase manufactured parquet squares, almost any parquet-floor pattern can be made from small pieces of scrap wood that otherwise might be thrown away. Because I am a flooring contractor, I have a readily available supply of flooring scraps, but any clear, kiln-dried lumber can be resawn to create an outstanding parquet pattern.
Resaw the lumber, and make a template
When you see the finished appearance of a parquet floor that has been cut, assembled, and installed one piece at a time, it’s hard to believe how basic and efficient the process can be. But it is. Using a ripping blade on a tablesaw, I resaw scrap pieces of ¾-in.-thick strip flooring (walnut here) to create 5⁄16-in.-thick parquet stock. This material then can be ripped to finished width. At this point, I cull any pieces with knots, splits, or other imperfections. To make precise square or miter cuts in the parquet pieces, I use a crosscut sled on a tablesaw.
Any parquet-flooring project starts with the pattern. Once I’ve decided on a design and made a full-scale drawing, I cut all the pieces to fit in that drawing. These pieces then become templates to establish the stop settings on a crosscut sled and its miter cutting jig.
When I have cut enough pieces to assemble a run of parquet squares, I jig up for that process as well. The 1x3s that I screw to a plywood worksurface form a perfect square, and they serve as guide strips. I then glue the parquet pieces to a square piece of kraft paper, assembling from the outside in.
If I have a dedicated space to work, I can cut and assemble pieces as time allows. I once cut an entire floor during the halftimes of college-football games.
Find the floor’s center, then the starting point
Once I’ve made all the parquet squares (plus a few extras) but before I glue down anything, I establish the layout. Keeping the parquet squares symmetrical with the walls is standard practice, but sometimes, the squares might need to line up with a focal point in the room, such as a stairway or a fireplace. Once I’ve found the exact center of the room, I dry-lay enough parquet squares to go across the room in both directions. This test layout tells me what kind of a partial square I can expect to need at the intersections with walls.
For more photos and details, click the View PDF button below:


