A TV Complicates the Mantelpiece
Tips on trim details and new design tools from a big project.
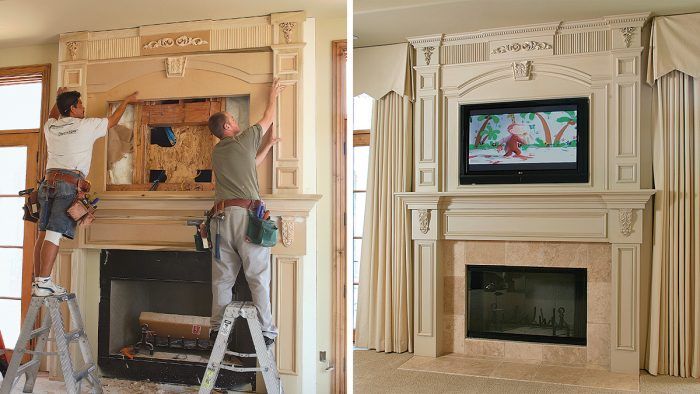
Synopsis: When Fine Homebuilding contributing editor Gary M. Katz undertook a project to build a fireplace mantel with room to recess a flat-screen TV, he knew he’d probably make some mistakes but also learn some valuable lessons. He highlights the ups and downs of this unusual project. Among the lessons Katz learned: Always start a project with a drawing. Katz made excellent use of the design tool SketchUp in the course of this mantel project. He also did as much work in the shop as he could and modified existing molding profiles to create a custom look.
Magazine Extra: Watch an animation of this mantelpiece created from Katz’s original SketchUp drawings.
For step-by-step photos of the construction of the mantelpiece, visit Gary’s Web site.
Building a mantelpiece — a simple one or an elaborate one — is a lot like building a house. A carpenter must visualize each layer from the foundation to the roof, or from the hearth to the attic entablature. One mistake in the shop or during installation can cost hours of additional labor and hundreds of dollars in lost material. The double mantel featured here demonstrates planning and construction techniques common to nearly every project I tackle, but it also illustrates what can go wrong. Here, we made false assumptions about the framing modifications necessary to install the big television and paid for it later.
For years, I beat myself up every time I assembled two legs of casing instead of a leg and a head. Now I’ve learned to develop an attitude of forgiveness: After making every effort possible to prepare for the job, I forgive myself for any mistakes I’m about to commit, then start my saw. The problems and mistakes I encountered while installing this surround were common to the ones I encounter on nearly every job these days. I’ll point out those problems and mistakes in case you miss them.
One mistake I don’t make anymore is starting a project — even a simple bookcase — without a drawing. The drawing for this mantelpiece allowed me to organize the job into sections, moving one piece at a time, and provided me with the confidence that each finished piece of the puzzle would fit together perfectly in the end.
Pocket screws are the majority fastener
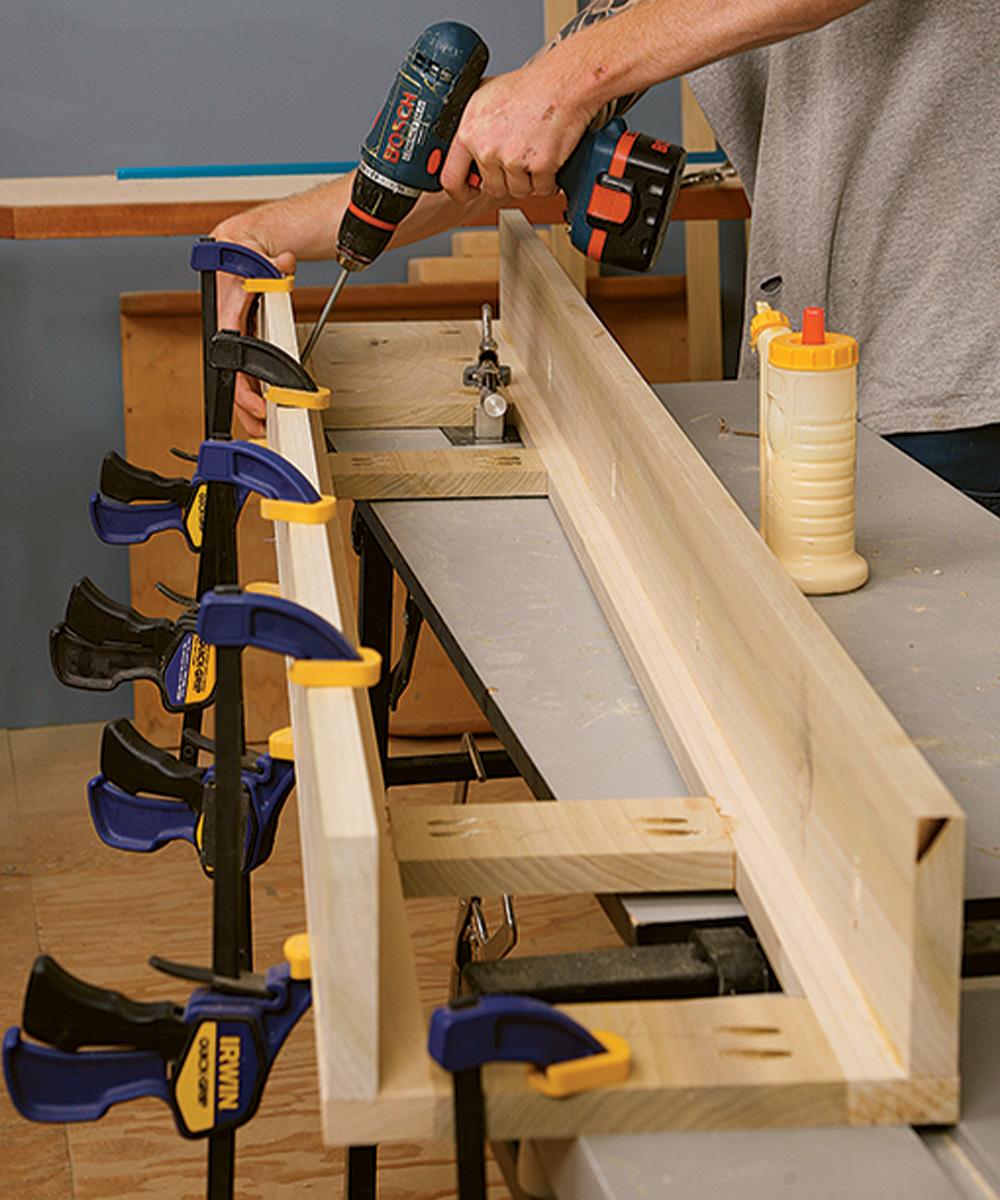
Pilaster sides were fastened to their face frames with butt joints reinforced with pocket screws and glue. My crew and I clamped everything to a worktable during assembly so that one carpenter could work efficiently. We’ve discovered that as pocket screws are driven in, they tend to push the workpiece beyond its intended location. We now leave the face frames proud of the sides by a fingernail’s thickness, then use a laminate trimmer and a flush-trim bit to even the joints after the glue has dried.
Make MDF the foundation of the overmantel
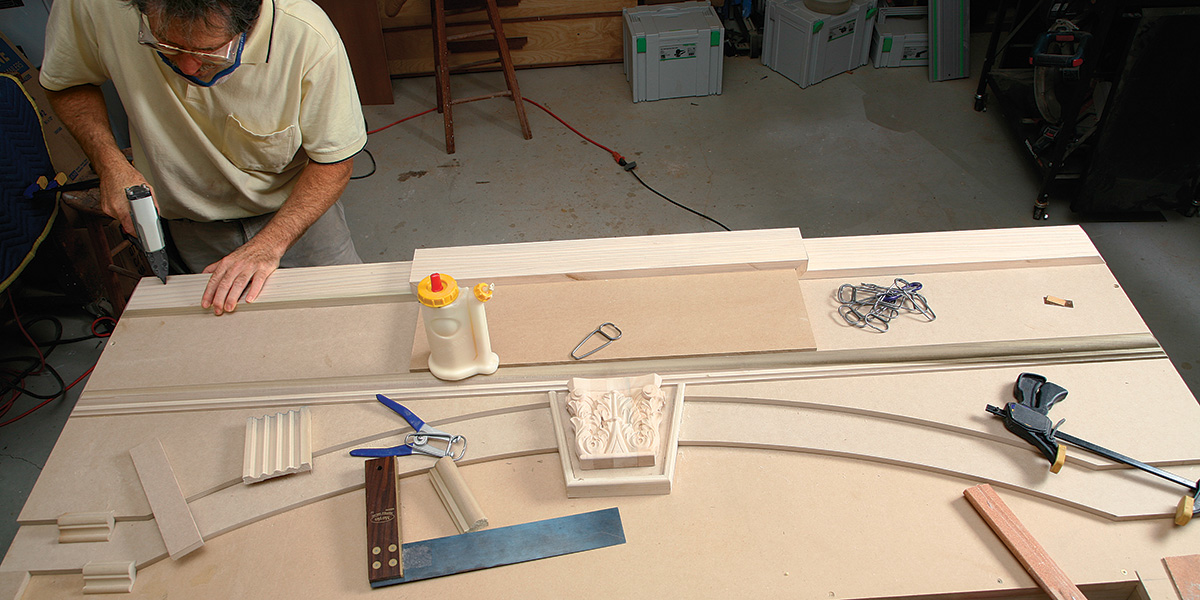
I cut the basic shape (the first layer) of the overmantel from a sheet of 1/2-in. medium-density fiberboard (MDF), using a plunge-cutting saw and guide. The center panel was taller than 48 in. and more than 6 ft. wide, so I used biscuits to splice an additional piece to the top. Both panels were nailed and glued to a 2-in.-deep frame. To create the layered arches, I added two more pieces of 1/2-in. MdF. a long scrap served as a trammel arm, allowing me to scribe two arches that I then cut with a jigsaw. The arches were faired with a random-orbit sander. One mistake I made was cutting both arches the same radius. Fortunately, I caught the error before permanently attaching those layers.
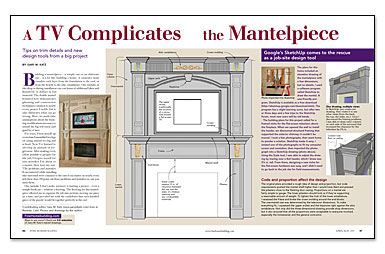
From FineHomebuilding #186
To view the entire article, please click the View PDF button below.
