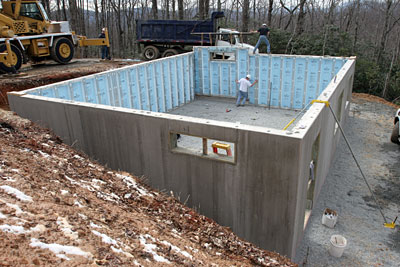
Insulated, precast concrete foundation walls need a compacted and leveled gravel footing before the walls can be dropped in place. This type of foundation system often can be set up in only two days: one day for prep work and one day for setting the walls.
But before the foundation crew can set the panels, the contractor’s crew must install a foundation drain and then dump, level and compact the gravel footing. The next day, the foundation crew will regrade the gravel to a more exacting tolerance and then install the wall panels.
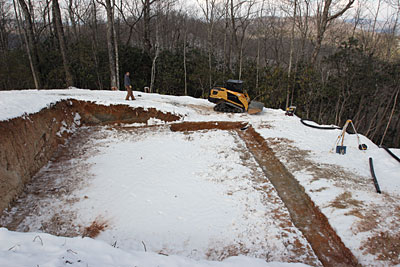
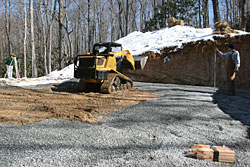
In order to get the skid steer loader into the actual excavation, a section of the trench is filled with gravel so it can be driven over.A perforated drain pipe runs along the back and sides of the excavation. Wooden grade stakes that mark gravel height are visible in the foreground next to the pipe.
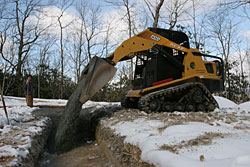
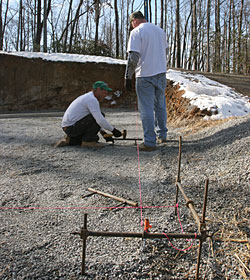
Surveyor’s tape on rebar stakes mark the approximate corner of the foundation. After gravel is dumped to cover the drain pipe, it’s raked nearly to the top of the grade stakes.
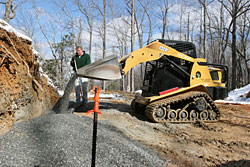
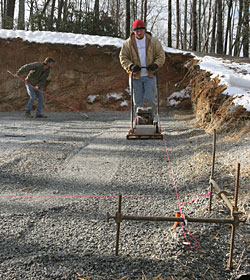
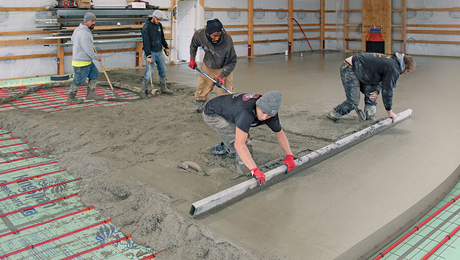
Two crew members use a transit to add more grade stakes while another spreads gravel to the right height. By starting in the back of the excavation and working towards the front you can avoid driving over already spread gravel and grade stakes.A crew member works the compactor back and forth around the perimeter only in the area where the walls will be erected. The gravel in the center of the excavation will be compacted later, before the concrete floor is poured.
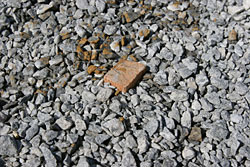
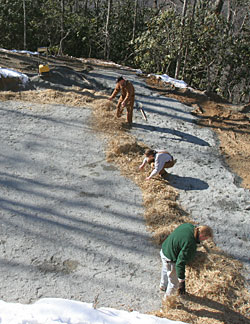
After compacting the gravel, low spots are filled. Because the foundation crew will check and readjust the gravel height before setting the wall panels, it is necessary at this stage to get the gravel height correct to within one inch.Hay is spread to keep the compacted gravel footing from freezing. If the gravel freezes solid during the night the footings will expand.
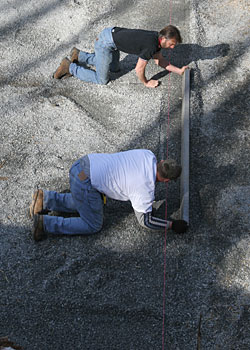
The foundation crew sets up adjustable batter boards to re-figure the footprint, and then they re-grade and re-compact the gravel to assure that the walls will sit perfectly square and level.After compacting the gravel, screed bars are driven into the gravel to the correct elevation. The process is guided by a rotary laser.
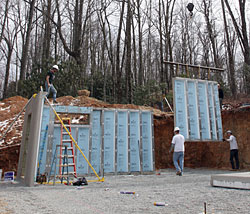
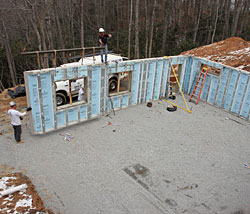
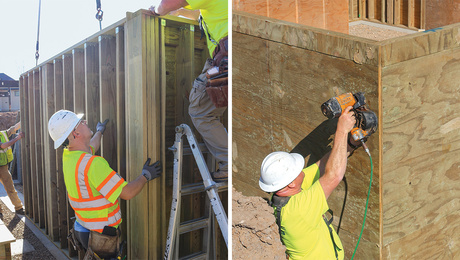
The crew then uses a long aluminum straightedge atop these guides to screed the gravel perfectly level. The screed bars are removed before setting the walls.The first panel is set to the string, and braced.
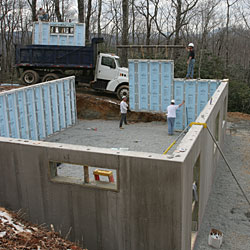
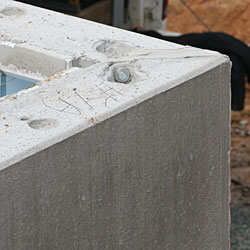
The perpendicular panel is set to form a sturdy corner.The first corner is set, plumbed and bolted together.
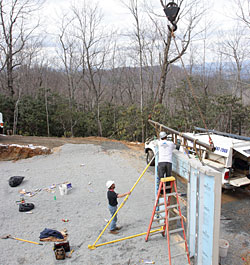
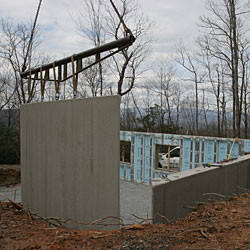
The remaining panels slip right into place.The crew simply guides the crane to deliver the panels along string lines stretched between adjustable batter boards which define the house’s footprint.
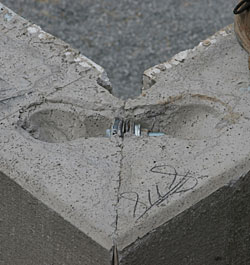
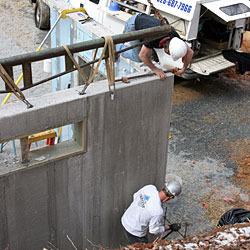
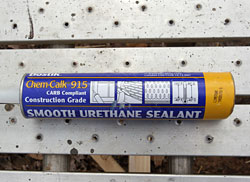
(This row and above two rows): The panels bolt together, and urethane sealant keeps the joints tight.
For a complete discussion of how to build and install insulated, precast concrete foundation walls, read An Energy-Smart Foundation in Two Days in the April/May 2007 issue of Fine Homebuilding.
Photos: Daniel S. Morrison
Fine Homebuilding Recommended Products
Fine Homebuilding receives a commission for items purchased through links on this site, including Amazon Associates and other affiliate advertising programs.
A Field Guide to American Houses
If you want to plan, design, or remodel based on the vast tradition of American architectural styles you first have to understand their history, geography, architectural significance, and relationship to one another. This book can help with that.
Code Check 10th Edition: An Illustrated Guide to Building a Safe House
It would be great if this book didn’t need to exist, but it's definitely a must-have. It's a one-size-fits-all code book that's easy to understand and will help you sail through your inspections.
Homebody: A Guide to Creating Spaces You Never Want to Leave
Joanna Gaines may have started as a celebrity designer on HGTV, but she’s proven to be the real deal. This book help you understand how and why good design works so that you can recreate it on your own.
"I have learned so much thanks to the searchable articles on the FHB website. I can confidently
say that I expect to be a life-long subscriber." - M.K.
Get home building tips, offers, and expert advice in your inbox
This is a dialog window which overlays the main content of the page. The modal window is a 'site map' of the most critical areas of the site. Pressing the Escape (ESC) button will close the modal and bring you back to where you were on the page.
We use cookies, pixels, script and other tracking technologies to analyze and improve our service, to improve and personalize content, and for advertising to you.
We also share information about your use of our site with third-party social media, advertising and analytics partners.
You can view our Privacy Policy
here and our Terms of Use here.