Paint-Grade Wainscot on a Curved Stairwell
With the use of bendable materials and flexible molding, builder Joe Milicia took the challenge of working with wainscot to a new level.
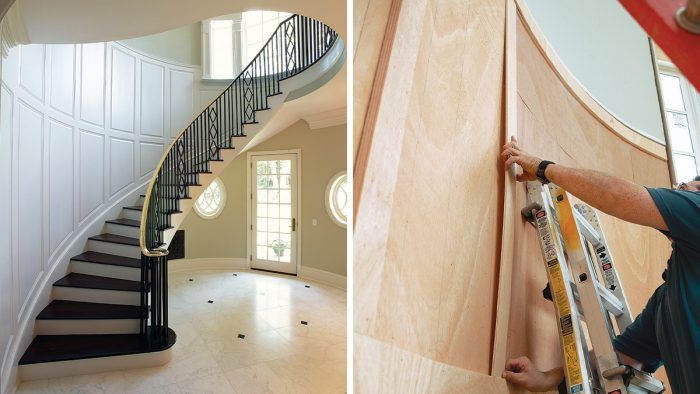
Working on a paint-grade trim job gives a finish carpenter the latitude to use disparate materials that blend together under the paint. The physical characteristics are what determines the choice of materials. For instance, plywood trumps solid stock when it comes to stability, a smooth surface is better than open grain, and laminations usually are preferred for bending.
On this job, one of our tasks was to run a raised-panel wainscot along the wall of a spiral staircase. Because the trim extended up to and past eye level, the layout had to be right on the money, and the finish had to be pristine. We needed materials that were flexible enough to bend easily to the curve of the wall but that wouldn’t require days of finish prep.
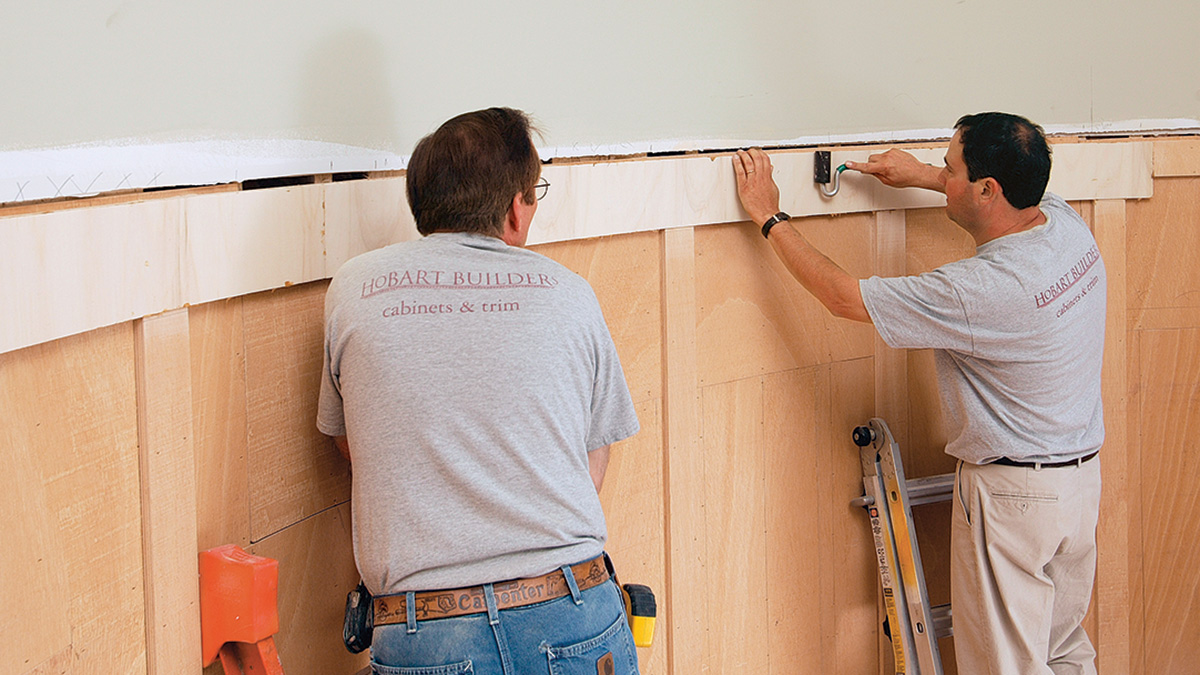
We took over the stairwell before the stairs were measured and the drywallers had arrived. Rather than spend a day setting up staging and ladders in the twostory stairwell, I drew the layout on the bench, so to speak. Of course, it’s almost impossible to use a tape measure on a curved wall, so we ripped 3-in.-wide strips of bending lauan and tacked them end to end along the wainscot’s planned top-rail position to make a story pole. Once the length of the layout was established, we took down the strips and divided the total length by a suitable number of stiles and panels, then transferred these measurements back to the flexible story pole. After covering the walls with two layers of bending lauan, we nailed the story pole back in place. The stile locations were plumbed down from the top rail, and we penciled the remaining layout on the wall.
Three carpenters spent nine days in the shop and at the site to finish the installation. The completed staircase is the jewel of the home’s entry.
Solid backing
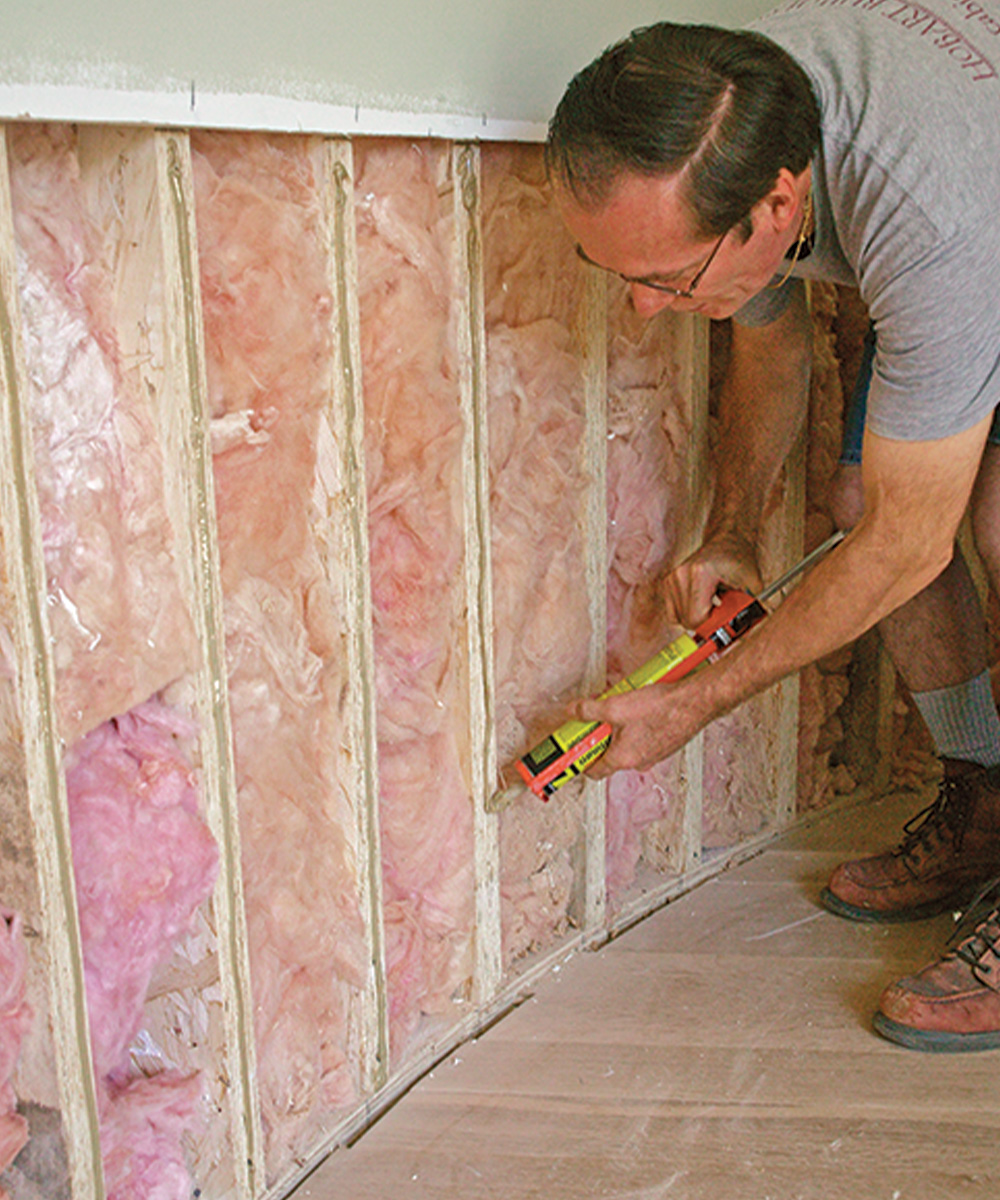
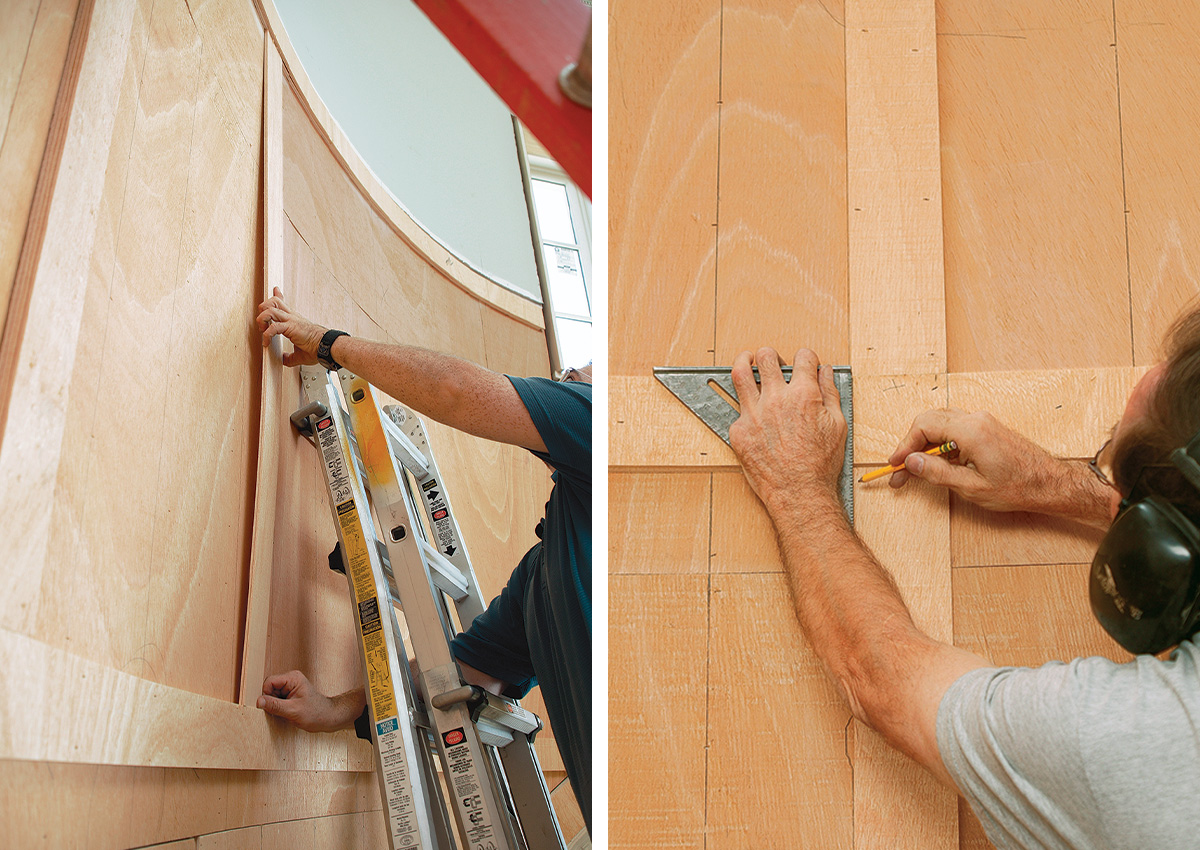
We apply a double layer of 3/8-in. bending lauan directly to the studs; it helps to smooth out framing imperfections. As shown on the upper landing, after tacking up the first layer, we make sure that the radius is fair and shim wherever necessary. Next, we apply polyurethane construction adhesive to the framing and staple off the first layer. The second layer is applied in the same fashion; the seams should land on the framing, offset by at least one stud bay.
Curved Assembly is a Union of Disparate Materials
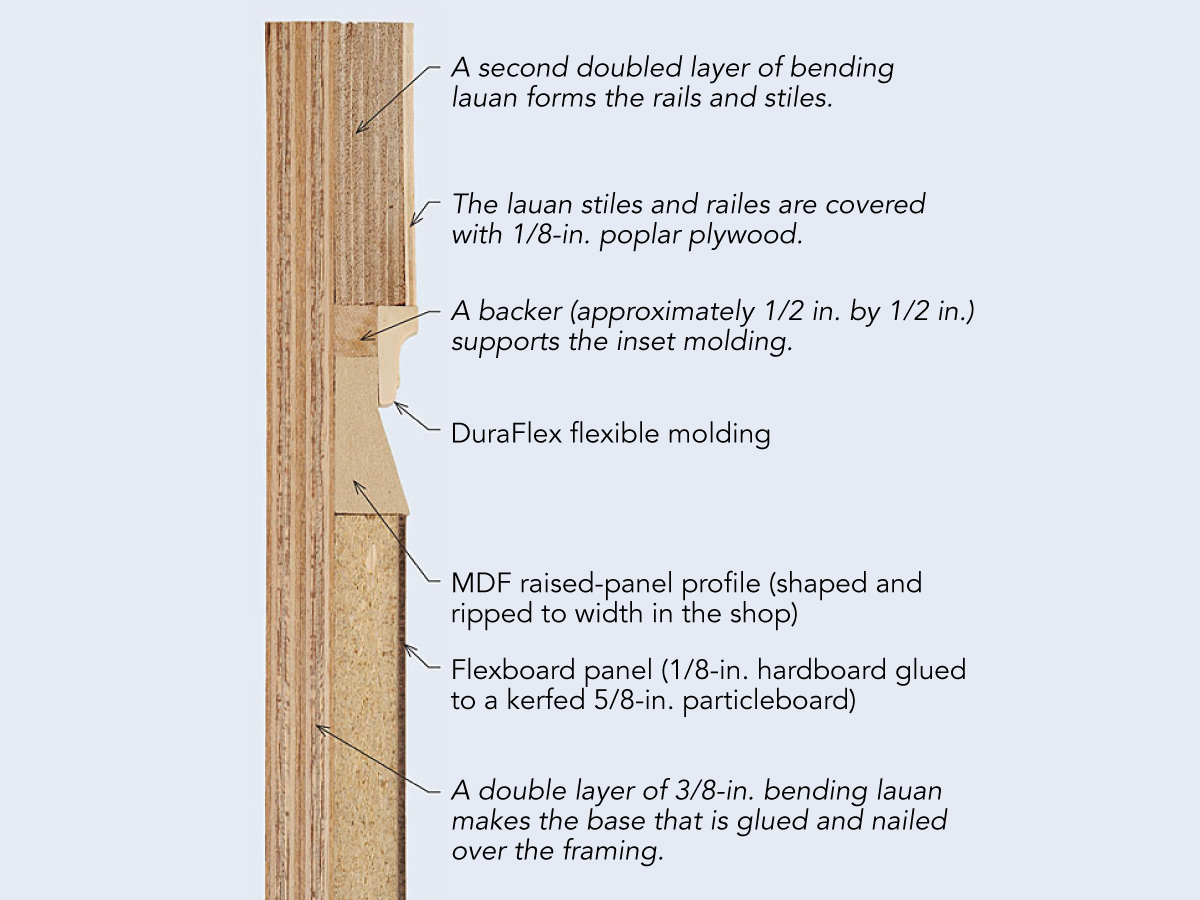
The beauty of paint-grade trim is that only the surface that receives the paint has to be uniform; the substrate is chosen for its best characteristic, whether it is flexible enough to conform to curved walls or a material that remains stable throughout the seasons. On this stair, bending plywood formed the substrate of the backing, stiles, and rails. The raised panels consisted of a hardboard and kerfed-particleboard panel picture-framed with MDF and a flexible molding.
Rails and stiles are laminated
We build up the rails and stiles with strips of bending lauan; cross-grain pieces work best on rails, while long grain seems to work best for stiles. Because the frame had to be 3/4 in. thick, we built it up with two layers. It was important to align the layers over one another. To get consistent widths throughout, we ripped all the pieces at the same time. Everything was glued down with construction adhesive, squared up, and stapled.
Smooth out the finish with a veneer
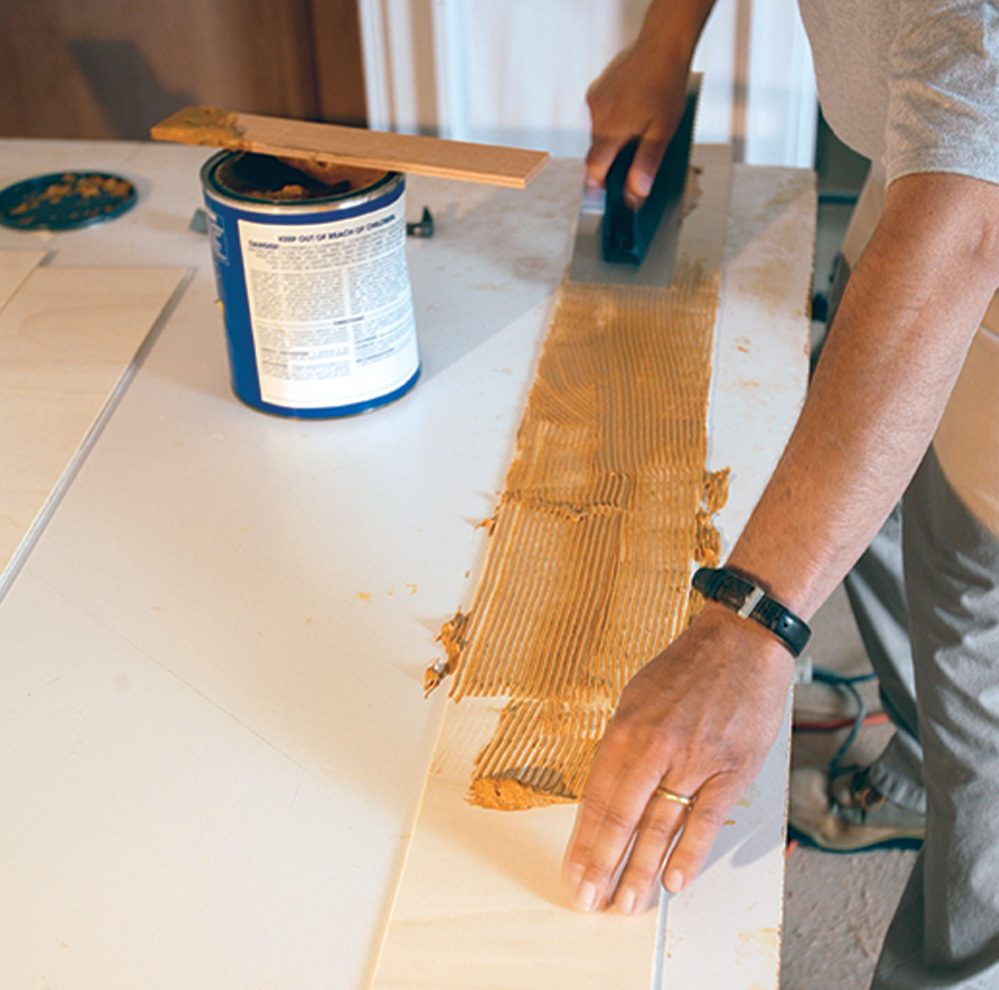
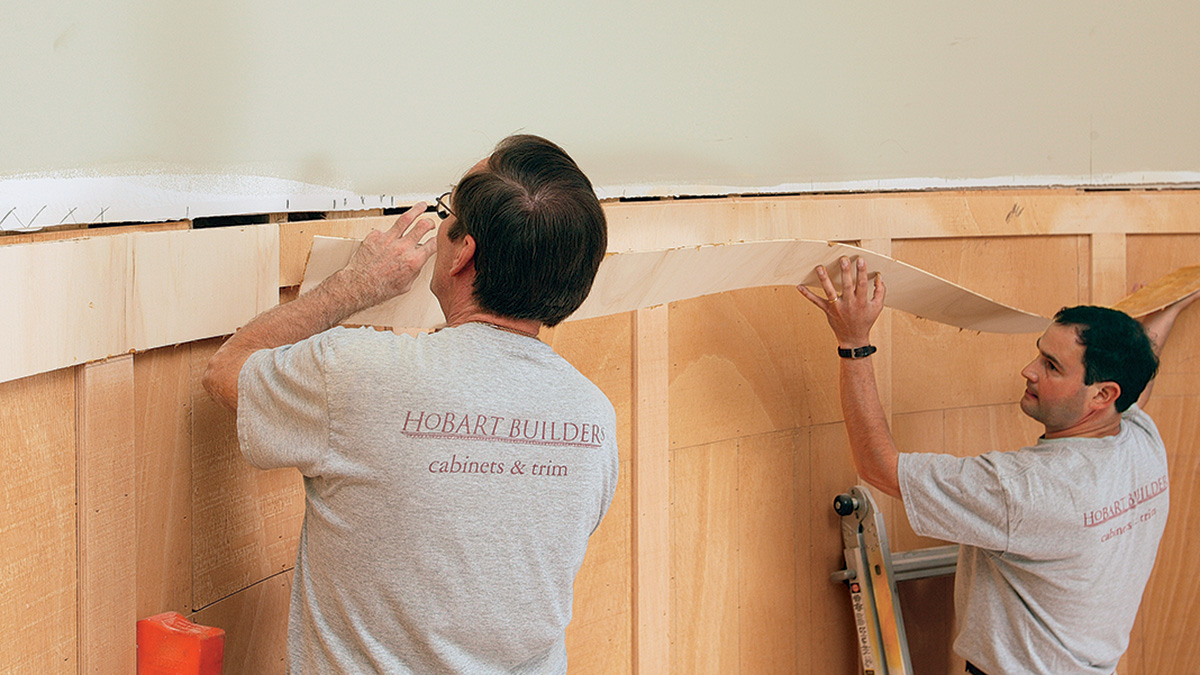
The lauan is too rough for a painted finish, so we laminate a final layer of 1/8-in.-thick poplar plywood. We apply mastic-like Miracle All-Purpose Adhesive (C.R. Laurence Co.; crlaurence.com), with a notched trowel, then squeegee the veneer into place with rubber rollers.
 |
 |
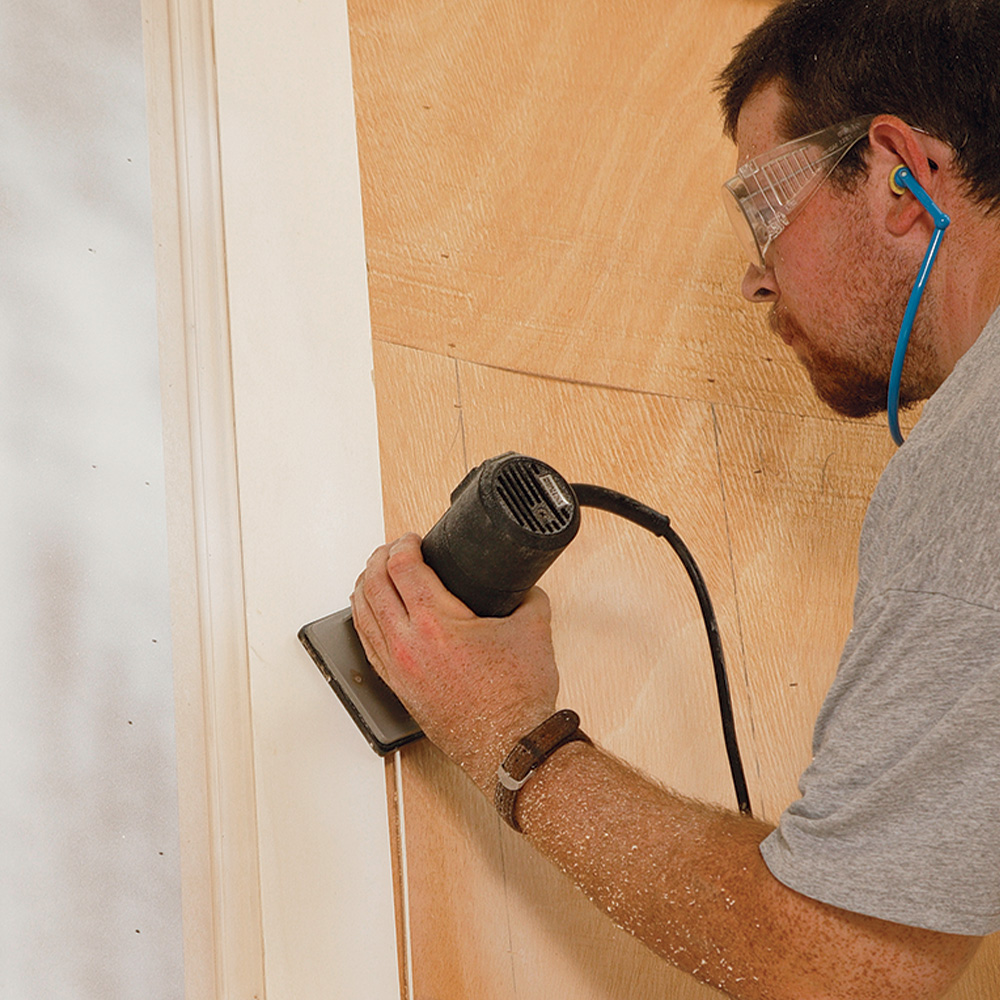
Here’s where substrate alignment is important
We rip the poplar veneer wider than it needs to be. After the glue has dried, we go back and run a laminate trimmer with a flush-trim bit around the veneer’s perimeter. A word of caution: Any deviation in the substrate is transferred to the finish.
Like everything else, the raised panel is built out of parts
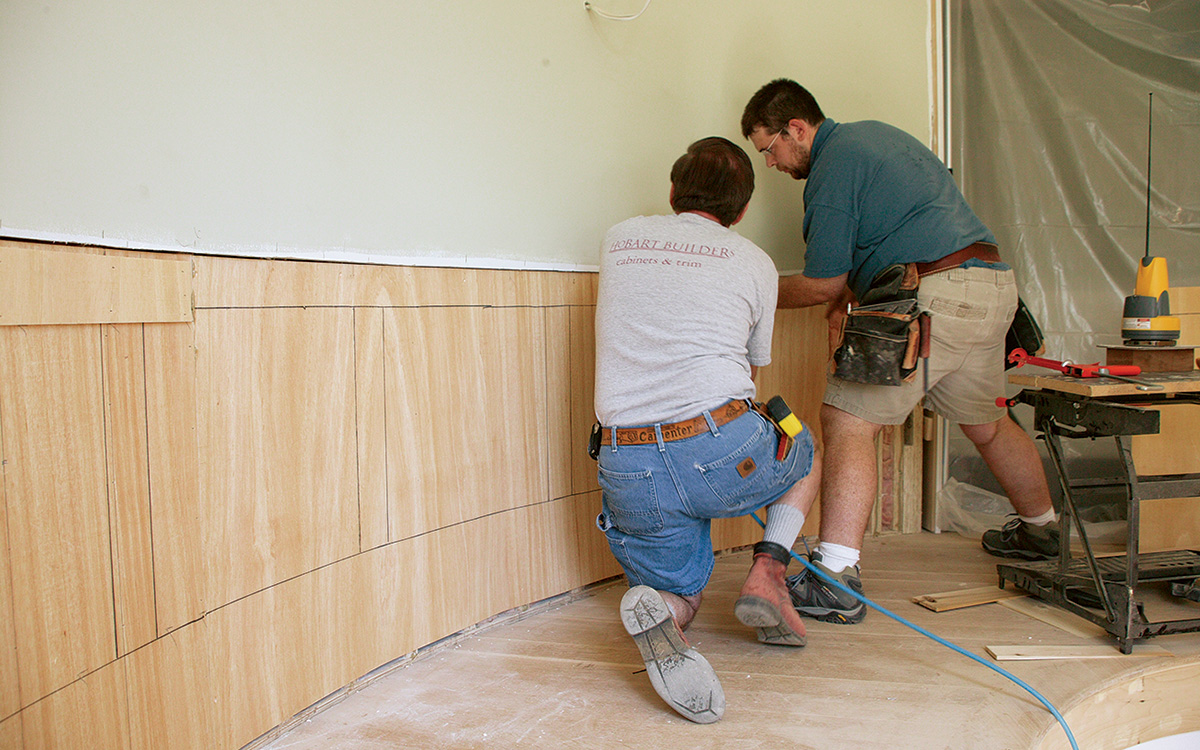
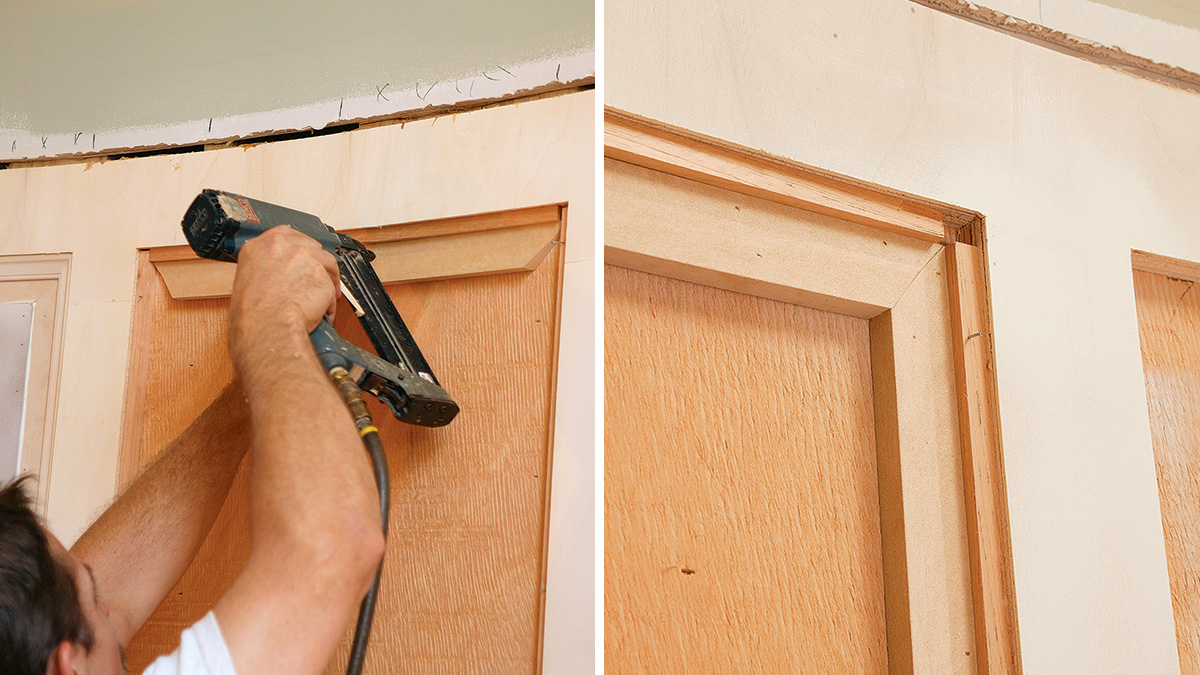
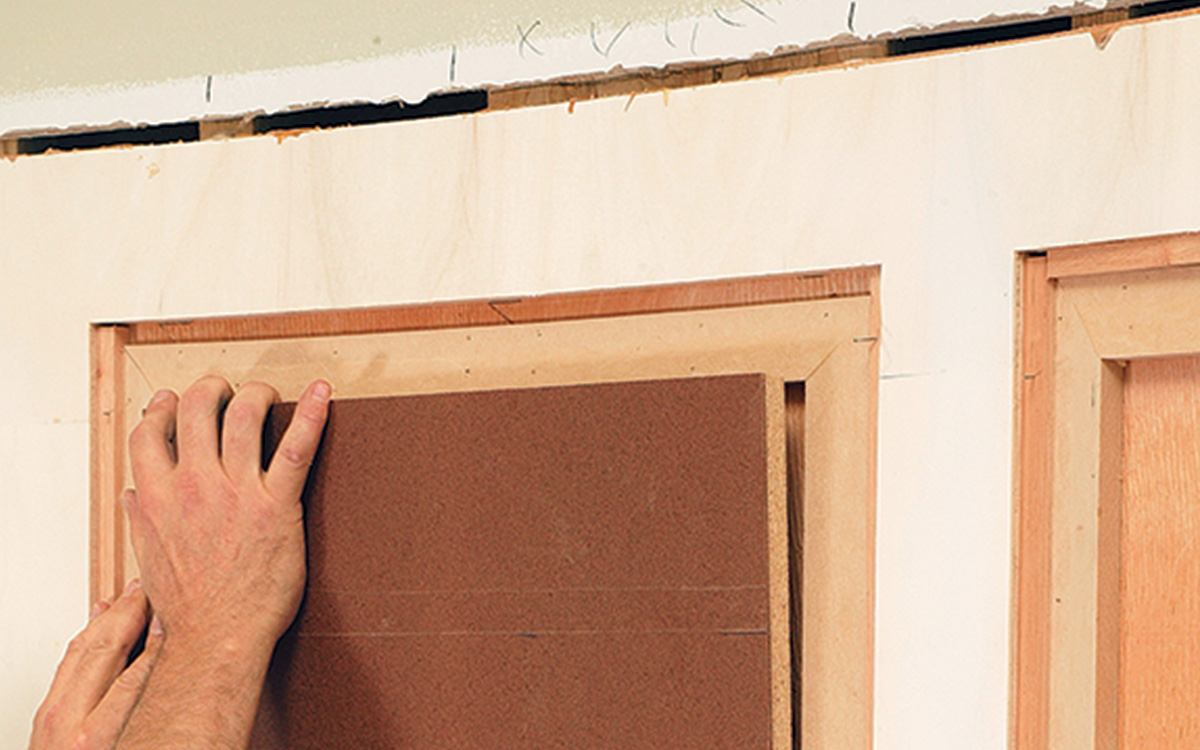
Due to the curved walls, we assembled the raised panels in place. The first stage was to apply spacers around the perimeter to support the molding. Next, we applied MDF bevels made by running sheet stock through a shaper fitted with a raised-panel bit, then ripping the profile from the sheet. We miter the pieces into a picture frame that butts against the spacers.
Fill in the center
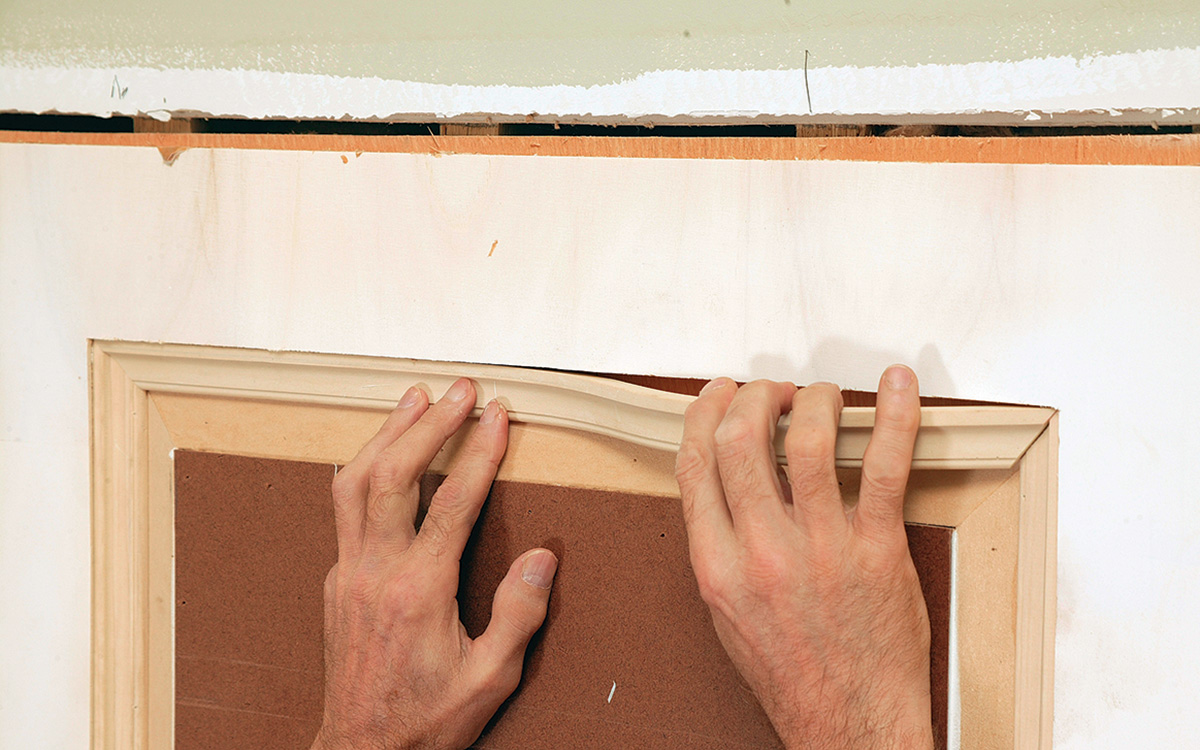
The center panel is a rectangle of hardboard backed with kerfed particleboard (Flexboard). The panel’s field is measured and cut to fit tightly; because hardboard tends to swell around nail heads, we use only adhesive. The last piece of the puzzle is the flexible molding (DuraFlex; resinart.com), which is both glued and nailed in place.
 |
 |
Trick of the Trade
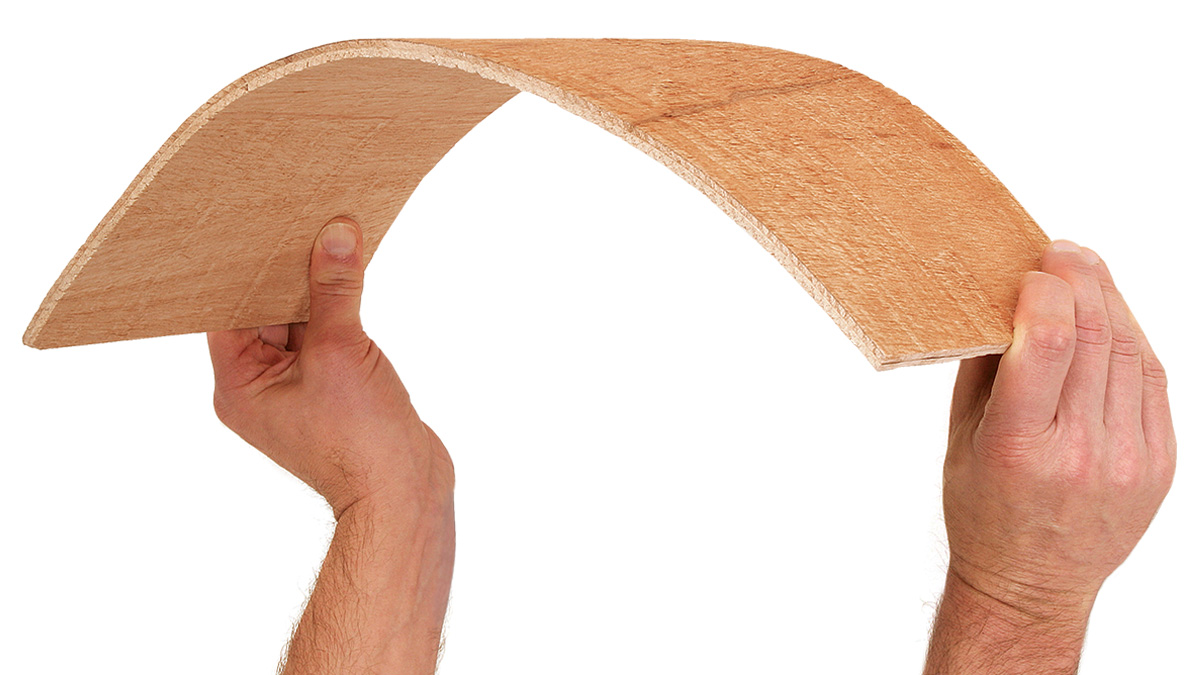
Faced with curved work, I like to use ready-made bending plywood, often known by trade names such as Wacky Wood or Wiggle Wood. Lauan, birch, or Italian-poplar veneers are laid up so that the grain orientation allows the sheet to bend along one dimension rather than add strength. Available in 3/8-in., 1/4-in., and 1/8-in. (poplar) thicknesses, the plywood comes in 4×8 or 8×4 sheets; that is, it bends along the length of the sheet or along the width. According to wholesaler North American Plywood Corp., a 3/8-in.-thick sheet can bend to a radius of 7 in. Check your local plywood distributor for availability and pricing.
Photos by Charles Bickford, except where noted

