Q:
I want to build a ceramic-tile shower with a traditional mud base. Are there any special details to keep it from leaking, such as where the membrane abuts the shower drain?
Ron Moore, Provo, UT
A:
Jane Aeon, a tilesetter in Berkeley, California, replies: The key shower-base detail is that it slopes toward the drain; I like prefab products such as Proslope (www.noblecompany.com) under the membrane. Measure the tile membrane, then make a preliminary sketch that includes the length, width, and the 6 in. or more that the membrane needs to extend up the wall. Cut the membrane to size.
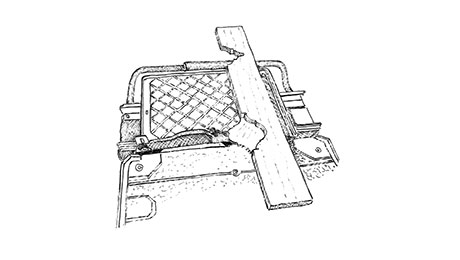
The key detail in installing the membrane is, as you suggest, around the drain. First, bolt the drain in position, and remove the top of the two-piece metal drain. Position the membrane in the shower pan, find a bolt hole, and carefully twist the cap of a pen into the hole to remove the circle of membrane cleanly. (Sharpies work well.) Do this to all the bolt holes. Screw the top of the drain back in, and use it as a template to cut out the drain hole.
Getting the holes in the right place isn’t the end of the work here. You need to seal around the holes. Remove the top of the drain again, fold back the membrane, and apply a layer of silicone caulk to the part of the drain bolted to the subfloor as well as around the bolt holes. Fold the membrane back to the original position, and clamp the top part of the drain onto the membrane. Tighten the bolts sequentially as you would when changing a tire. Twist each bolt equally. Don’t just tighten one all the way, then go on to the next bolt, or the drain might not sit properly. When clamping the drain together, look for silicone oozing from the seam inside the drain. Put a small stub of cardboard in the weep holes to keep them free of silicone, and pull it out the next day.
