Removing Concrete Countertop Forms
Once the pour cures, a surgical hand protects the unfinished surface
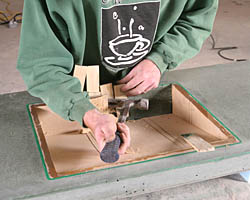
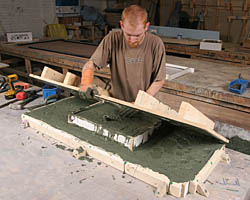
Part of the process of removing the forms begins immediately after the pour is complete. The cap, which was used to control the mix to build up the sink bowl’s bottom, comes off first but the rim stays until the top cures.
Allow the top to cure for 24 to 48 hrs. before removing the remaining parts. Most of the form, especially the rim and base form, will pull away easily. The bowl knockout, however, will require some finesse. Be careful not to scratch or chip the casting as you go.
Step 1: Off comes the cap
Remove the cap immediately after the pour. Remove the screws that run through the 2x bracing and into the rim. After removing the screws that secure the cap to the base form, gently pull it from the base making sure to not lift the rim along with it. Push gently down on the rim, but don’t push it so hard you displace any of the concrete.
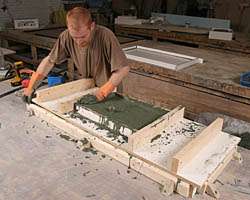
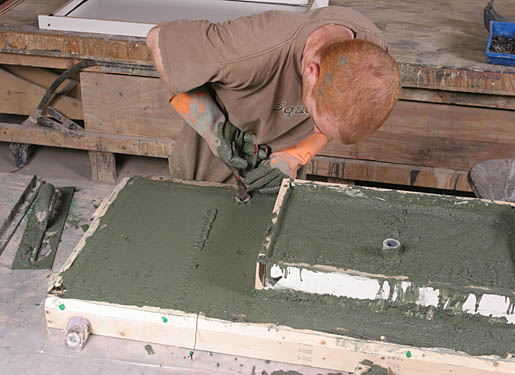
Cut the tie wire. If necessary, add concrete to any visible pockets and smooth the countertop’s bottom with a screed or trowel. Cut the tie wire just below the surface of the concrete to release it from the table. Push the cut wire that’s still attached to the rebar into the top, and trowel the surface smooth.
Step 2: Pull apart the base
Think of peeling away layers. After removing the rim from around the sink bowl, remove the screws from cleats and 2×4 bracing around the base form. Use a hammer to knock away the side pieces of the base form. Be careful that you don’t hit the edges of the concrete.
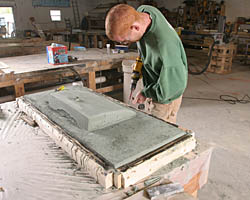
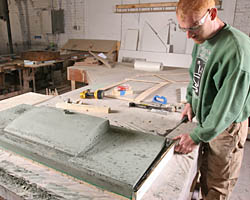
Release the faucet knockouts. With the edges of the base peeled away, remove the screws that attach the faucet knockout to the base’s bottom. It might be necessary to tap away concrete that dried over the rigid foam, locking it place.

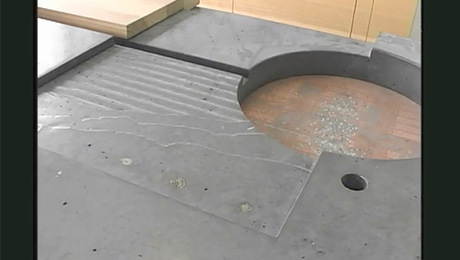
Flip the casting onto foam blocks. Cut the excess drain knockout so that it is flush with the sink bottom. Flip the top onto foam blocks and remove the base’s bottom.
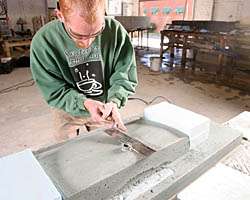
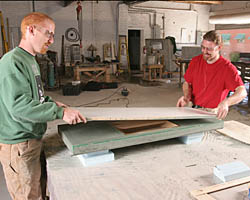
Ease the edges
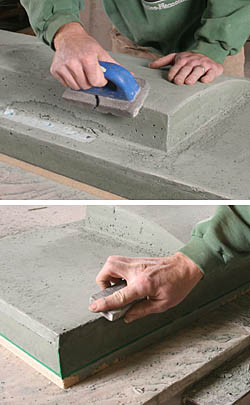
Get rid of the sharp edges. Though the bottom of the sink won’t be visible, it’s a good idea to ease the edges with a coarse silicone carbide grinding block. Then use a fine silicone carbide grinding block for the edges of the countertop that will be visible.
Step 3: Remove the knockouts
Work surgically so you don’t scratch the bowl. Even with saw kerfs added for relief, removing the bowl knockout is a process. After removing the center brace, tap shims behind the back piece (the knockout’s “front”) and cut it in half (be sure to place a shim behind the area you’re cutting so you don’t accidentally slice into the sink bowl). Add more shims as needed until the piece begins to loosen, then pry it away with a hammer. Once all of the sides are removed, run screws just slightly into the knockout’s bottom and pull up with a hammer. Add shims as you go to keep the piece from falling back into the bowl.
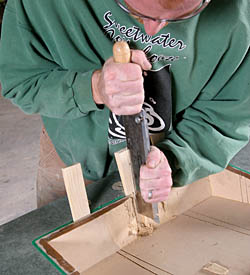
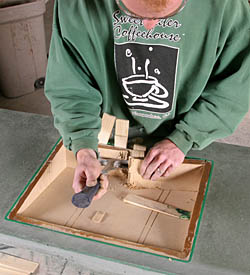
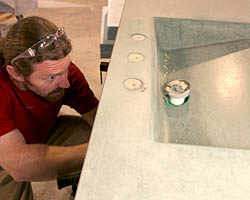
Clean up the edges and remove the remaining knockouts. When the sink form is removed, scrap away the modeling clay. Using a carriage bolt or something similar, tap the drain knockout out of the sink from below with a hammer. Use the same technique to tap the faucet knockouts out of the casting from above.
To learn more about Matt’s and Jeremy’s process, read A Concrete Countertop and Sink in a Single Pour from Fine Homebuilding Issue #190 (Oct/Nov 2007), pp. 86-91.
Photos by: Chris Ermides


