A Knockdown Router Table
This interlocking design needs no fasteners and stores flat.
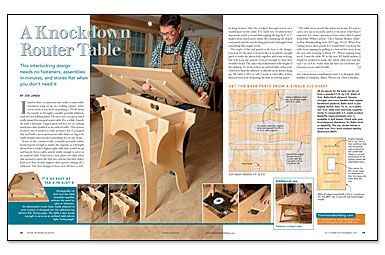
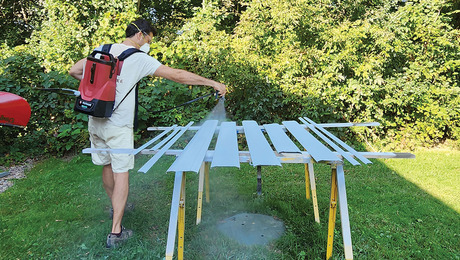
Synopsis: When Massachusetts carpenter Joe Lanza changed his job-site tool setup from a heavy contractor saw on a rolling cabinet to a portable tablesaw, he discovered that he liked having less weight to push around but that he missed having a router-table extension wing. That led him to design and build a knockdown router table. Joe cut the pieces for the router table from a single 5×5 sheet of Baltic-birch plywood, and topped the table with a piece of 3/4-in.-thick medium density fiberboard.
Magazine Extra: Download a detailed, scalable parts drawing of Joe’s knockdown router table.
I used to have a contractor saw with a router-table extension wing set up on a rolling cabinet. After a few years, I was tired of pushing a 250-lb. beast by myself, so I bought a smaller portable tablesaw with its own folding stand. The new saw was great, but I really missed the integral router table. For a while, I made do with a laminate-topped plywood box set on folding sawhorses that doubled as an outfeed table. This system worked, but it tended to slide around a bit. I scrapped that and built a more permanent table that’s too big to be easily mobile, but I needed something for on-site work.
None of the commercially available portable tables seemed good enough to justify the expense, so I thought about how to build a lightweight table that would set up and knock down easily, and be stable enough to serve as an outfeed table. I had seen a few plywood-table ideas that seemed to meet the first two criteria, but they didn’t look as if they would support sheet goods coming off a tablesaw. The best designs I have seen all have a self-locking feature, like the wedged through-tenon on a traditional trestle table. I’ve built low workbenches/step stools, and I’ve found that angling the legs by 5° to 7° makes them much more stable. By combining the sloped end panels and the interlocking plywood, I thought I had something that might work.
The angle of the end panels is the key to the design. I picked 10° because it seemed like it would be enough pitch to make the pieces lock together and resist racking, but still keep the panels vertical enough so that they wouldn’t bend. The only critical dimension is the height of the tabletop. To work well as an outfeed table, it has to be a bit lower than the tablesaw so that the stock doesn’t hang up. My table is 34 1⁄2 in. tall. I made it a bit taller at first, then lowered it by deepening the slots in each leg panel.
The table stores nearly flat when not in use. It’s easy to carry, sets up in seconds, and is even more solid than I expected. For router operations, I use a fence that I copied from John White’s article “The Ultimate Router Table” in Fine Woodworking issue #153. When I’m cutting heavy sheet goods, I’ve found that I can keep the table from tipping by pulling it a few inches away from the saw and rotating it about 15°. When ripping long stock, I turn the table 90° to the saw. If I build another, I might be inclined to make the whole table (not just the top) 3 in. or 4 in. wider than the first one for better performance as an outfeed table.
For more photos, drawings, and details, click the View PDF button below:
Fine Homebuilding Recommended Products
Fine Homebuilding receives a commission for items purchased through links on this site, including Amazon Associates and other affiliate advertising programs.
Milwaukee Cordless Tablesaw (2736)
Metabo HPT Impact Driver (WH18DBDL2)
Large-Capacity Lightweight Miter Saw
